Tag Archives: clay

A Week of Clay Exploration

Standard

I’ve been a TAB teacher now for more than half my teaching career, and even I still struggle sometimes with creating exploration camps for my students that are open enough to give kids a taste of “new” mediums. One of these that I struggle with is clay. I know, I know, I teach ceramics, how could I struggle with this one? Giving students a week and a half to explore a medium that takes practice to understand is hard. I wanted to give them as much freedom as I could, but still limit some things due to practical aspects such as the amount of clay I have and the many students I have.

I had planned just on letting 2 of my 4 classes explore, but then decided I was too lazy to have 2 different explorations going on at the same time. And, I’m glad that I had all of them explore. Out of my almost 100 students, I had 95% engagement all week. I had about 3 kids decide they never want to touch clay again and I had several kids say they are signing up for ceramics next year–kids that I thought would stick with our 2D path. So, bonus for me and my program.

How did I run the exploration camp? I showed 2 quick demos on Monday, pinchpot and coil, with lots of finished examples of pieces created using those methods. Then on Tuesday I showed slab building. We talked about the term vessel, a hollow container, and how I was very open to how they could interpret that term. Then I let them go. They were to build a vessel of their choosing with any hand-building technique or combination of them they wanted.

If you have a lot of kids working at once, I would advise creating some damp boxes to help store as the kids work all week. See this post on how to create a damp box. It was a game changer on storage and keeping 90+ pieces workable all week. And, over a weekend for the handful that needed/wanted more studio time. I had been wanting to make some for my ceramic students, but never had time. This week forced me to make them. So glad I did.

I don’t have many pictures to share this time as we were having so much fun, I got caught up and forgot to pill out my phone.

2 Weeks of Exhausting Fun

Standard

September is finally here, and for me, it marks having the first 2 weeks of school in the books.  It’s been exhausting and I have had to stop my personal exercise regime because of it. BUT, it has been so worth it.  My new (and returning) students and I have had a blast and have rocked it.

Screen Shot 2016-09-03 at 10.52.36 AM

I don’t like to start off the school year in a traditional way.  I like to have my students jump right in and get busy getting messy.  On our first day, we had 20 minute classes, and I was required by my admin to go over certain things during certain periods.  But, that did leave me time to show a small video to hopefully get my kids thinking about my class and art making in a different fashion.

Over the summer, or maybe it was last year, I found this video by artist and motivational speaker, Erik Wahl.  I thought it was perfect for some first day inspiration.


The next two weeks were spent doing not one, but two community projects.  First my students prepped, and installed our own Unity Project.  The welding students cut down steal tubing to use as our braces.  My students painted 7′-6″ PVC poles black, and they balled up miles of yarn.  Once the set-up was complete, they began to add their voices, by choosing the identifiers that represented them, then bringing it to life with yarn on the installation.  (I will write more about the Unity Project in another post once it is complete.)
 

Once we were finished with our part in the Unity Project, it was time to play with some clay. I like to start the year working with clay.  The majority of kids like clay, and it gives them some time to get to know me and each other without much pressure.  I use this time to teach some basic clay skills–slab draping, scoring/slipping and other surface treatment techniques, and to have the kids give back to their community.  This is the one piece the students will make this year that they aren’t allowed to keep.  I do ask all my students to create a bowl for out Duck Art Club’s charity fundraiser–Empty Bowls.

Next week, we will finish up our bowls, then move onto exploring the artistic behaviors that are essential to my classes.  I hope my students keep enjoying art class and continue to knock it out of the part when it comes to my expectations as the weeks, semester, and year continues.

TAB and the Single Media Art Class

Standard

From time to time, I come across the question of how to run a class that has a single focus such as painting, printmaking, or ceramics following a TAB pedagogy.  It seems as if people think it isn’t possible to be fully TAB because the students don’t have 100% choice of everything.  I mean, the medium is already chosen for them.

DSC_0375.jpg

Well, I think it is possible, and I have been running my ceramic classes that way for the past couple of years.  It has evolved into the almost fully student-led class it is today, but there is always room for improvement.

As we know, TAB isn’t just about giving the students free reign over things. It’s about a way of thinking and about the process of going from conception through to end product and all the steps in between. So, since it isn’t about a product so to speak, that leaves room for lots of exploration, skill building, and concept growth.

DSC_0360.jpg

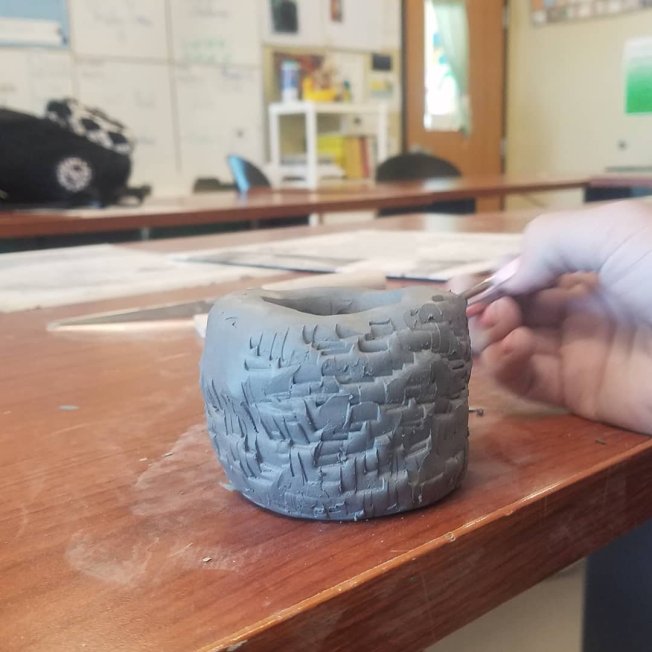
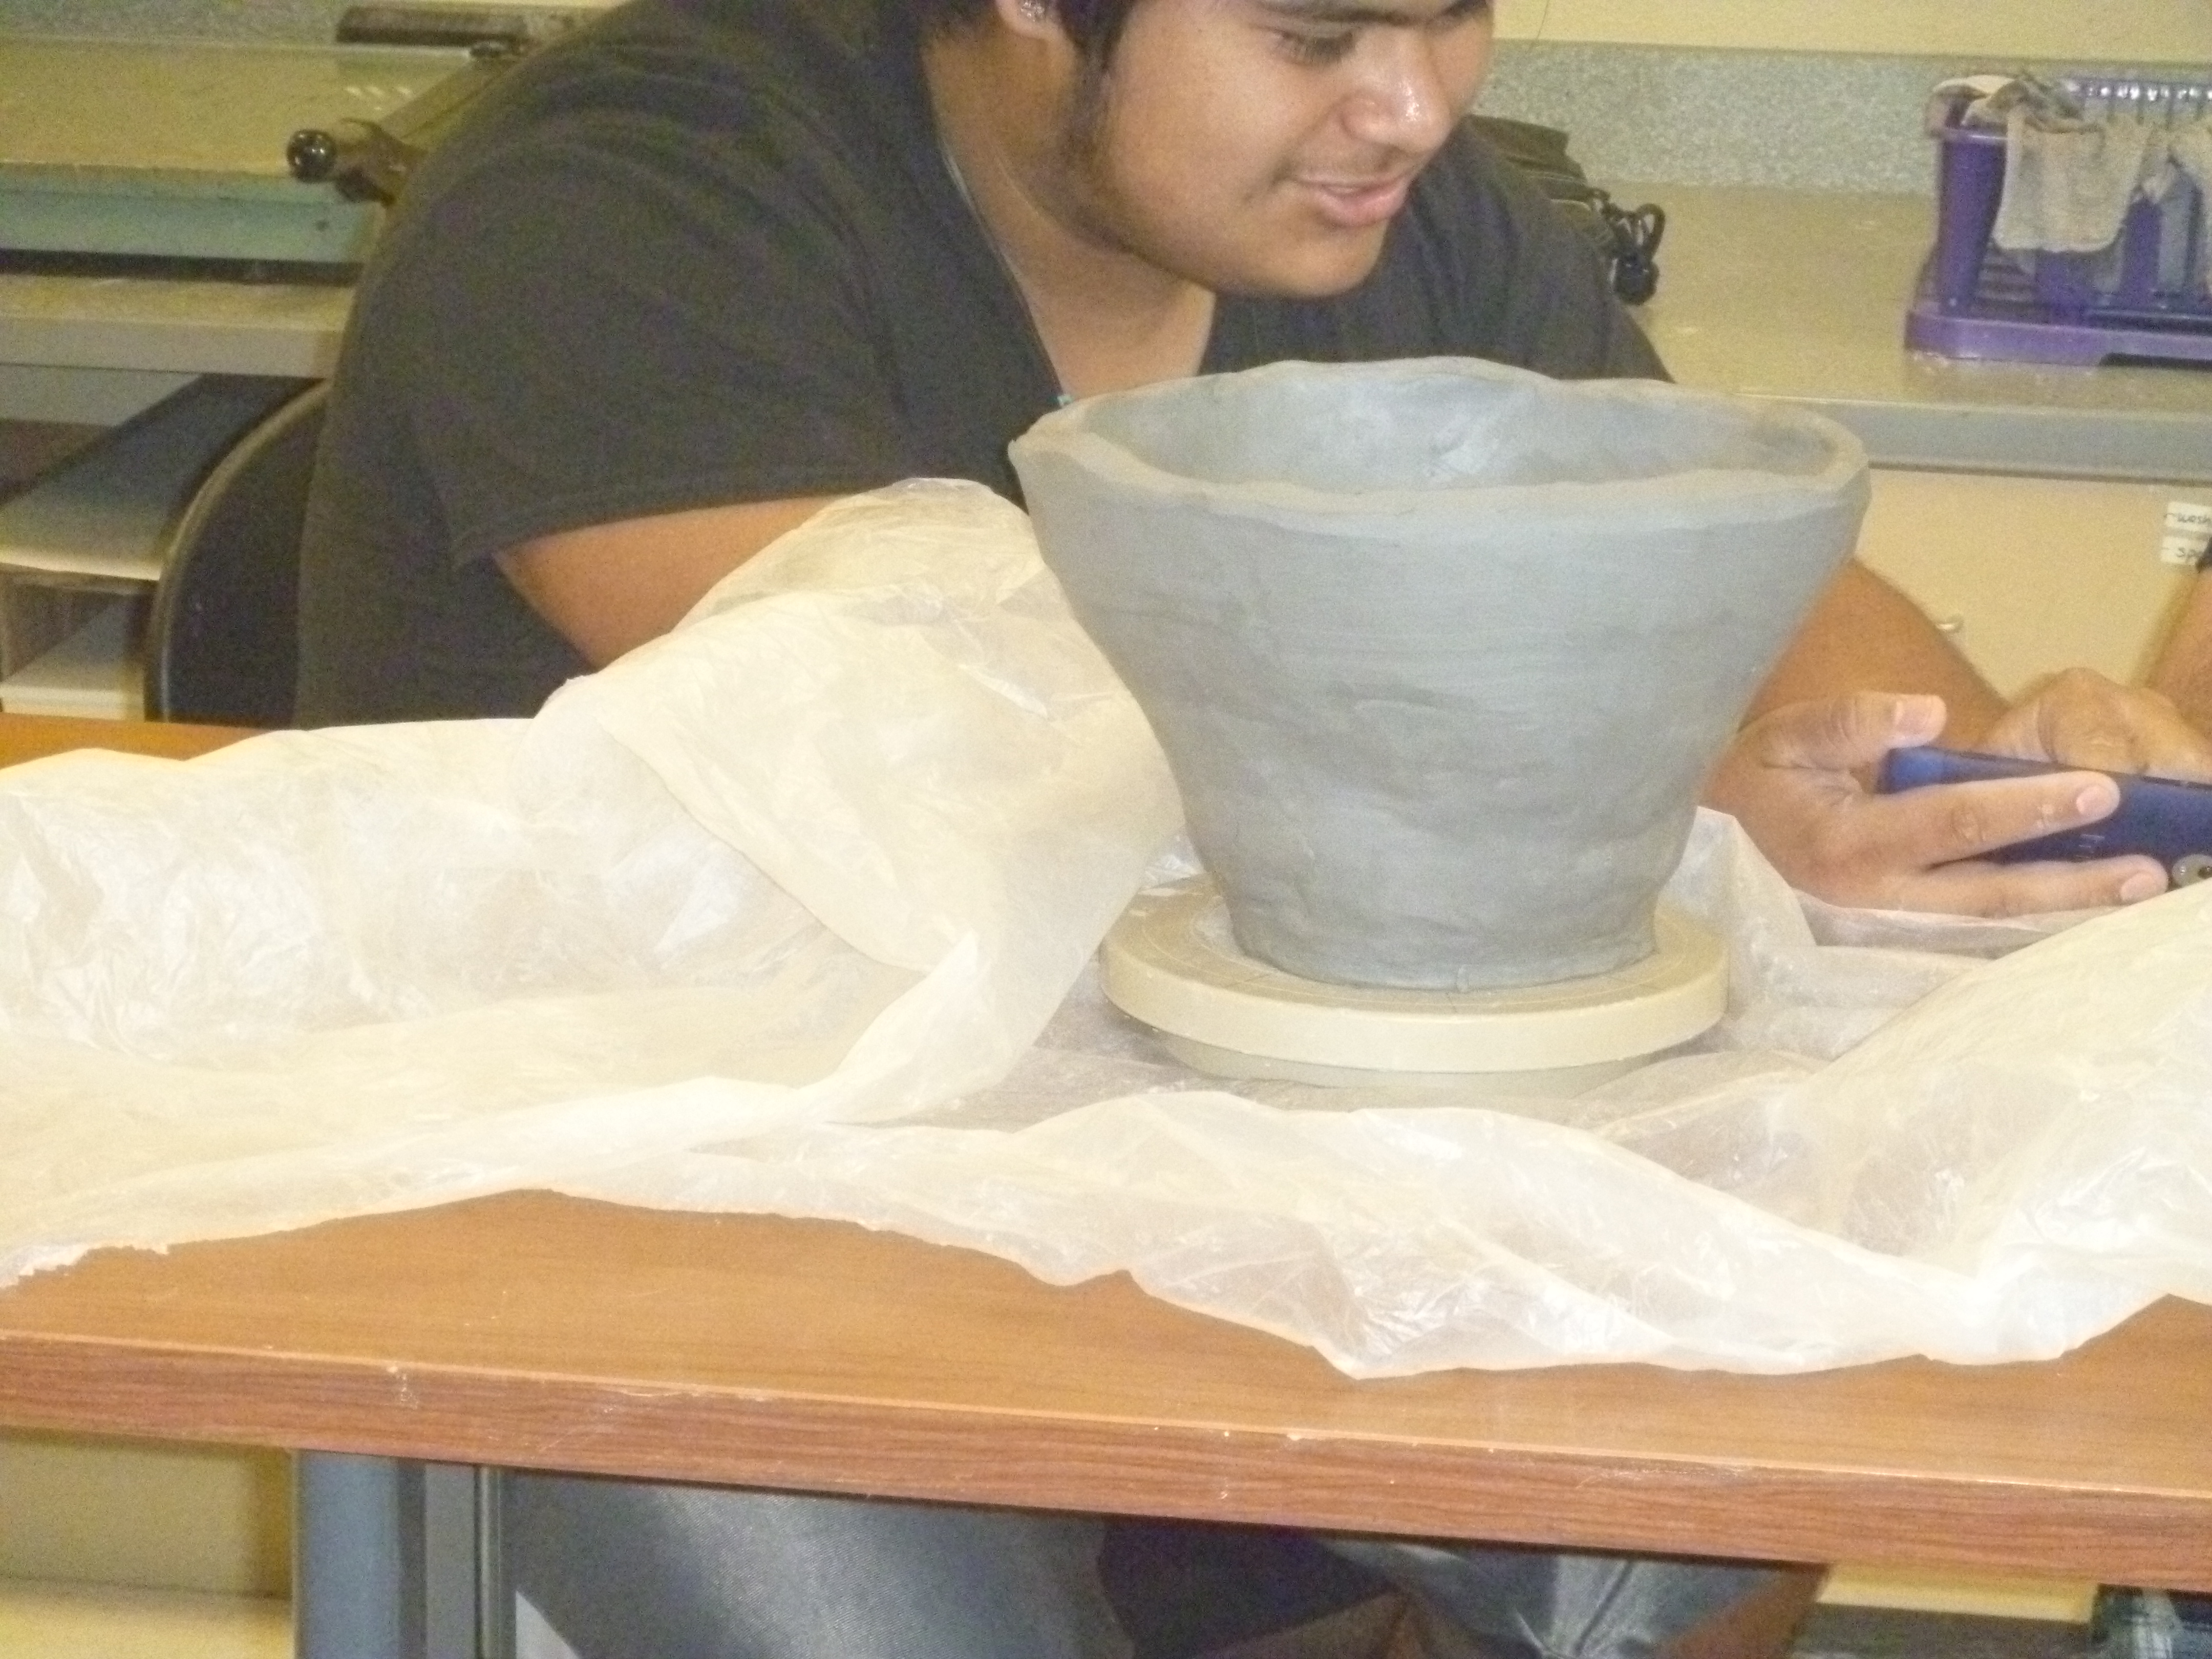
I have three levels of ceramics…beginning, intermediate, and advanced.  My program is small, so intermediate and advanced meet at the same time.  I think that is better anyway.  Our classes run for a full year.  I start off my beginners with a bunch of “have to” projects. Yes, I know, not very TAB, but I think this lays the ground work for moving to full student driven work.  We spend the first semester learning basic hand-building techniques: a slab box with rolled in texture, a carved pinchpot sphere, a carved tile, and a coil built vessel with some kind of additive texture.  We also spend some time on the wheel. The students do have some choice aesthetically, but in the end, I have picked the project for them and I know the outcome.

DSC_0372.jpg

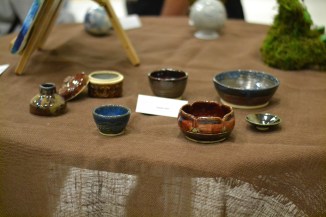
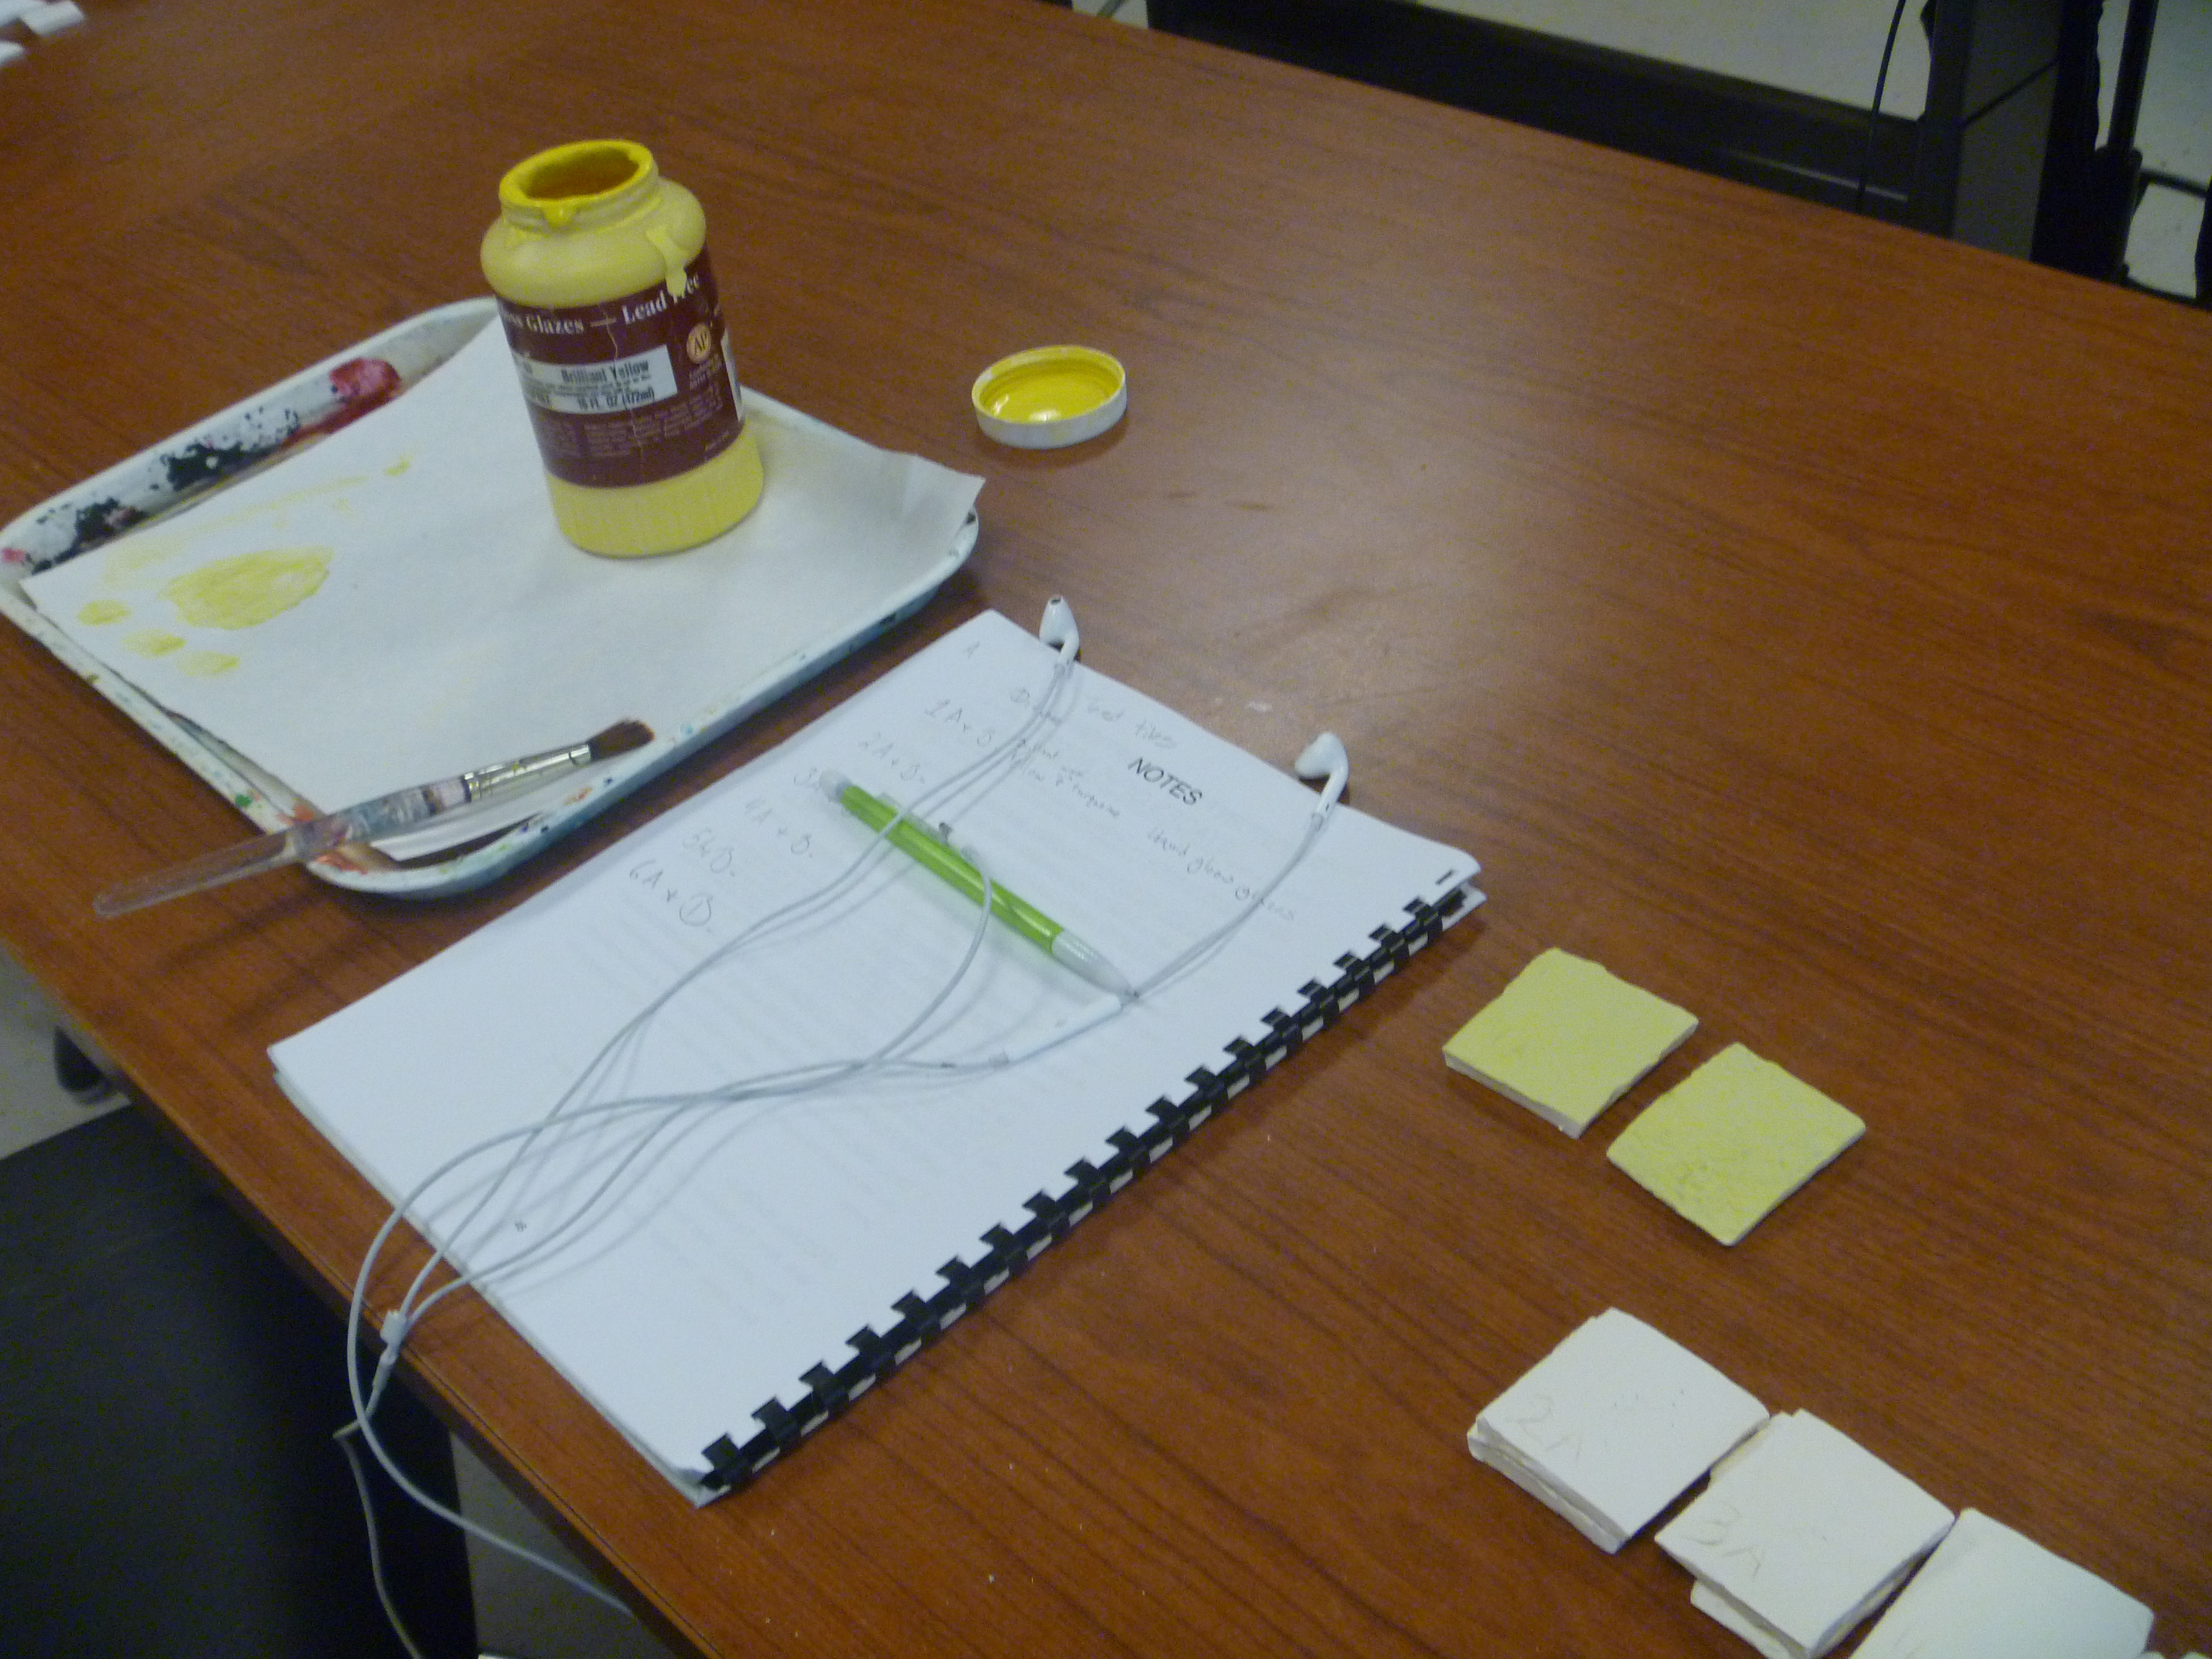
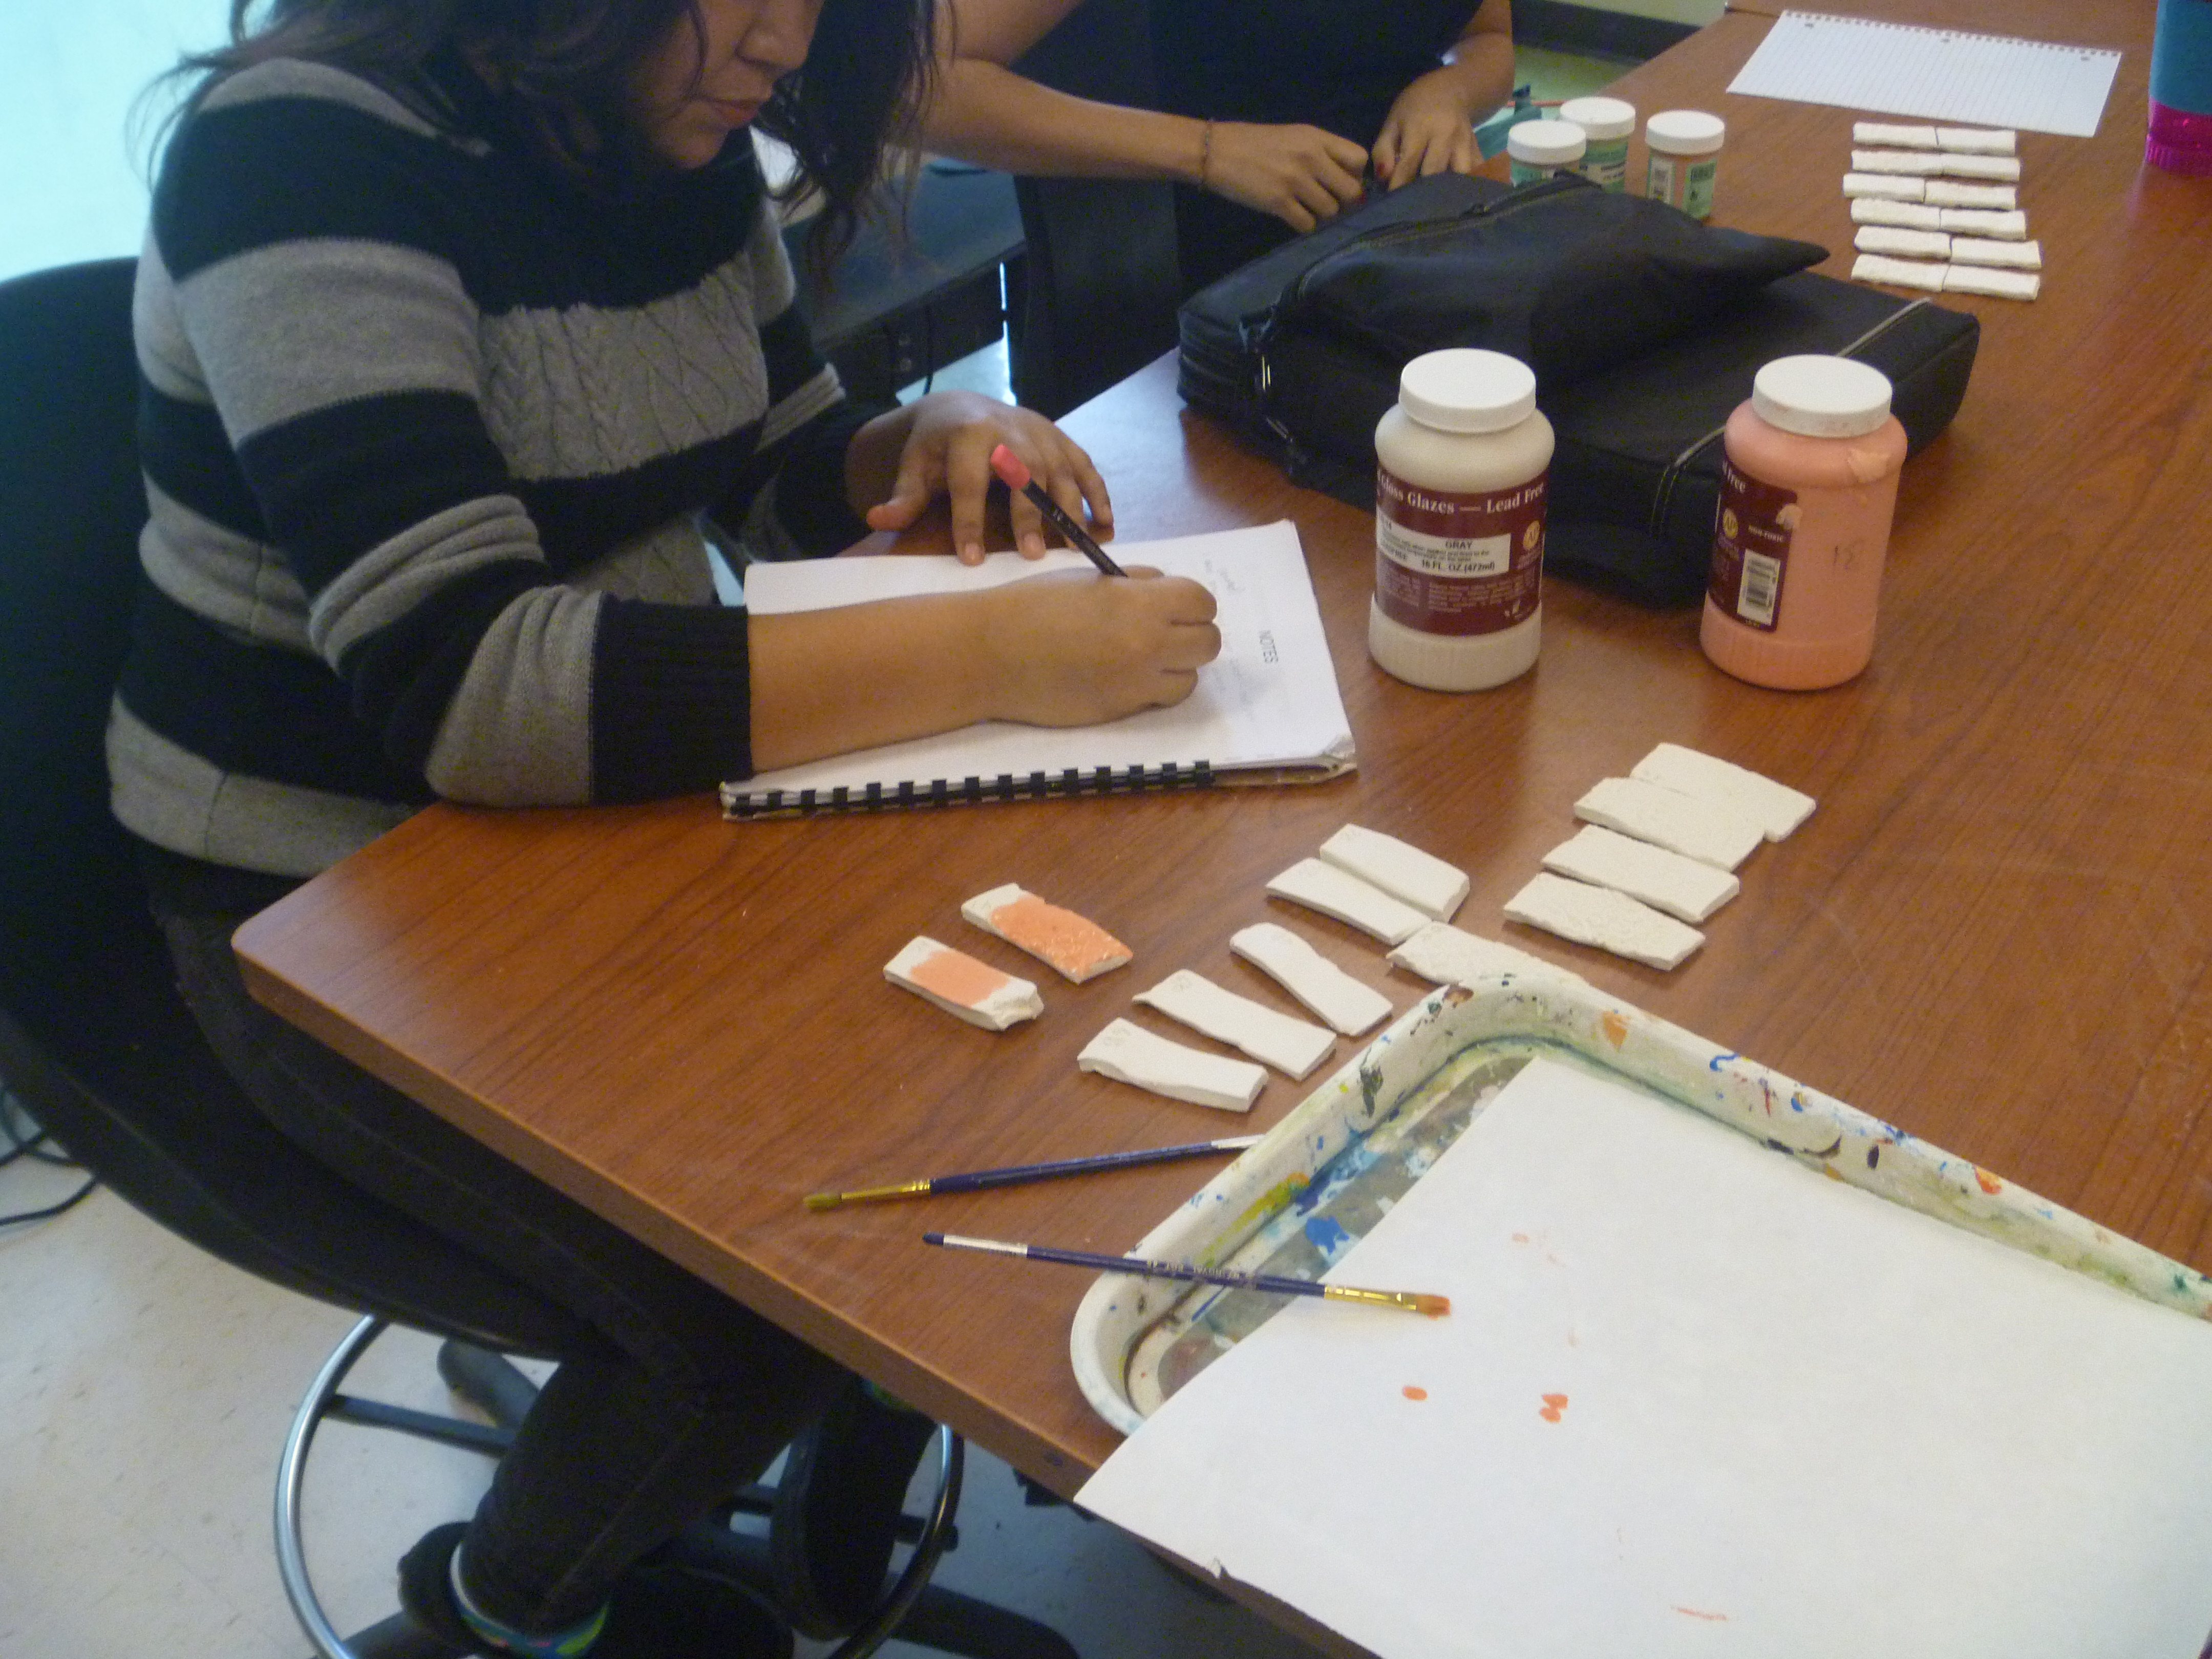
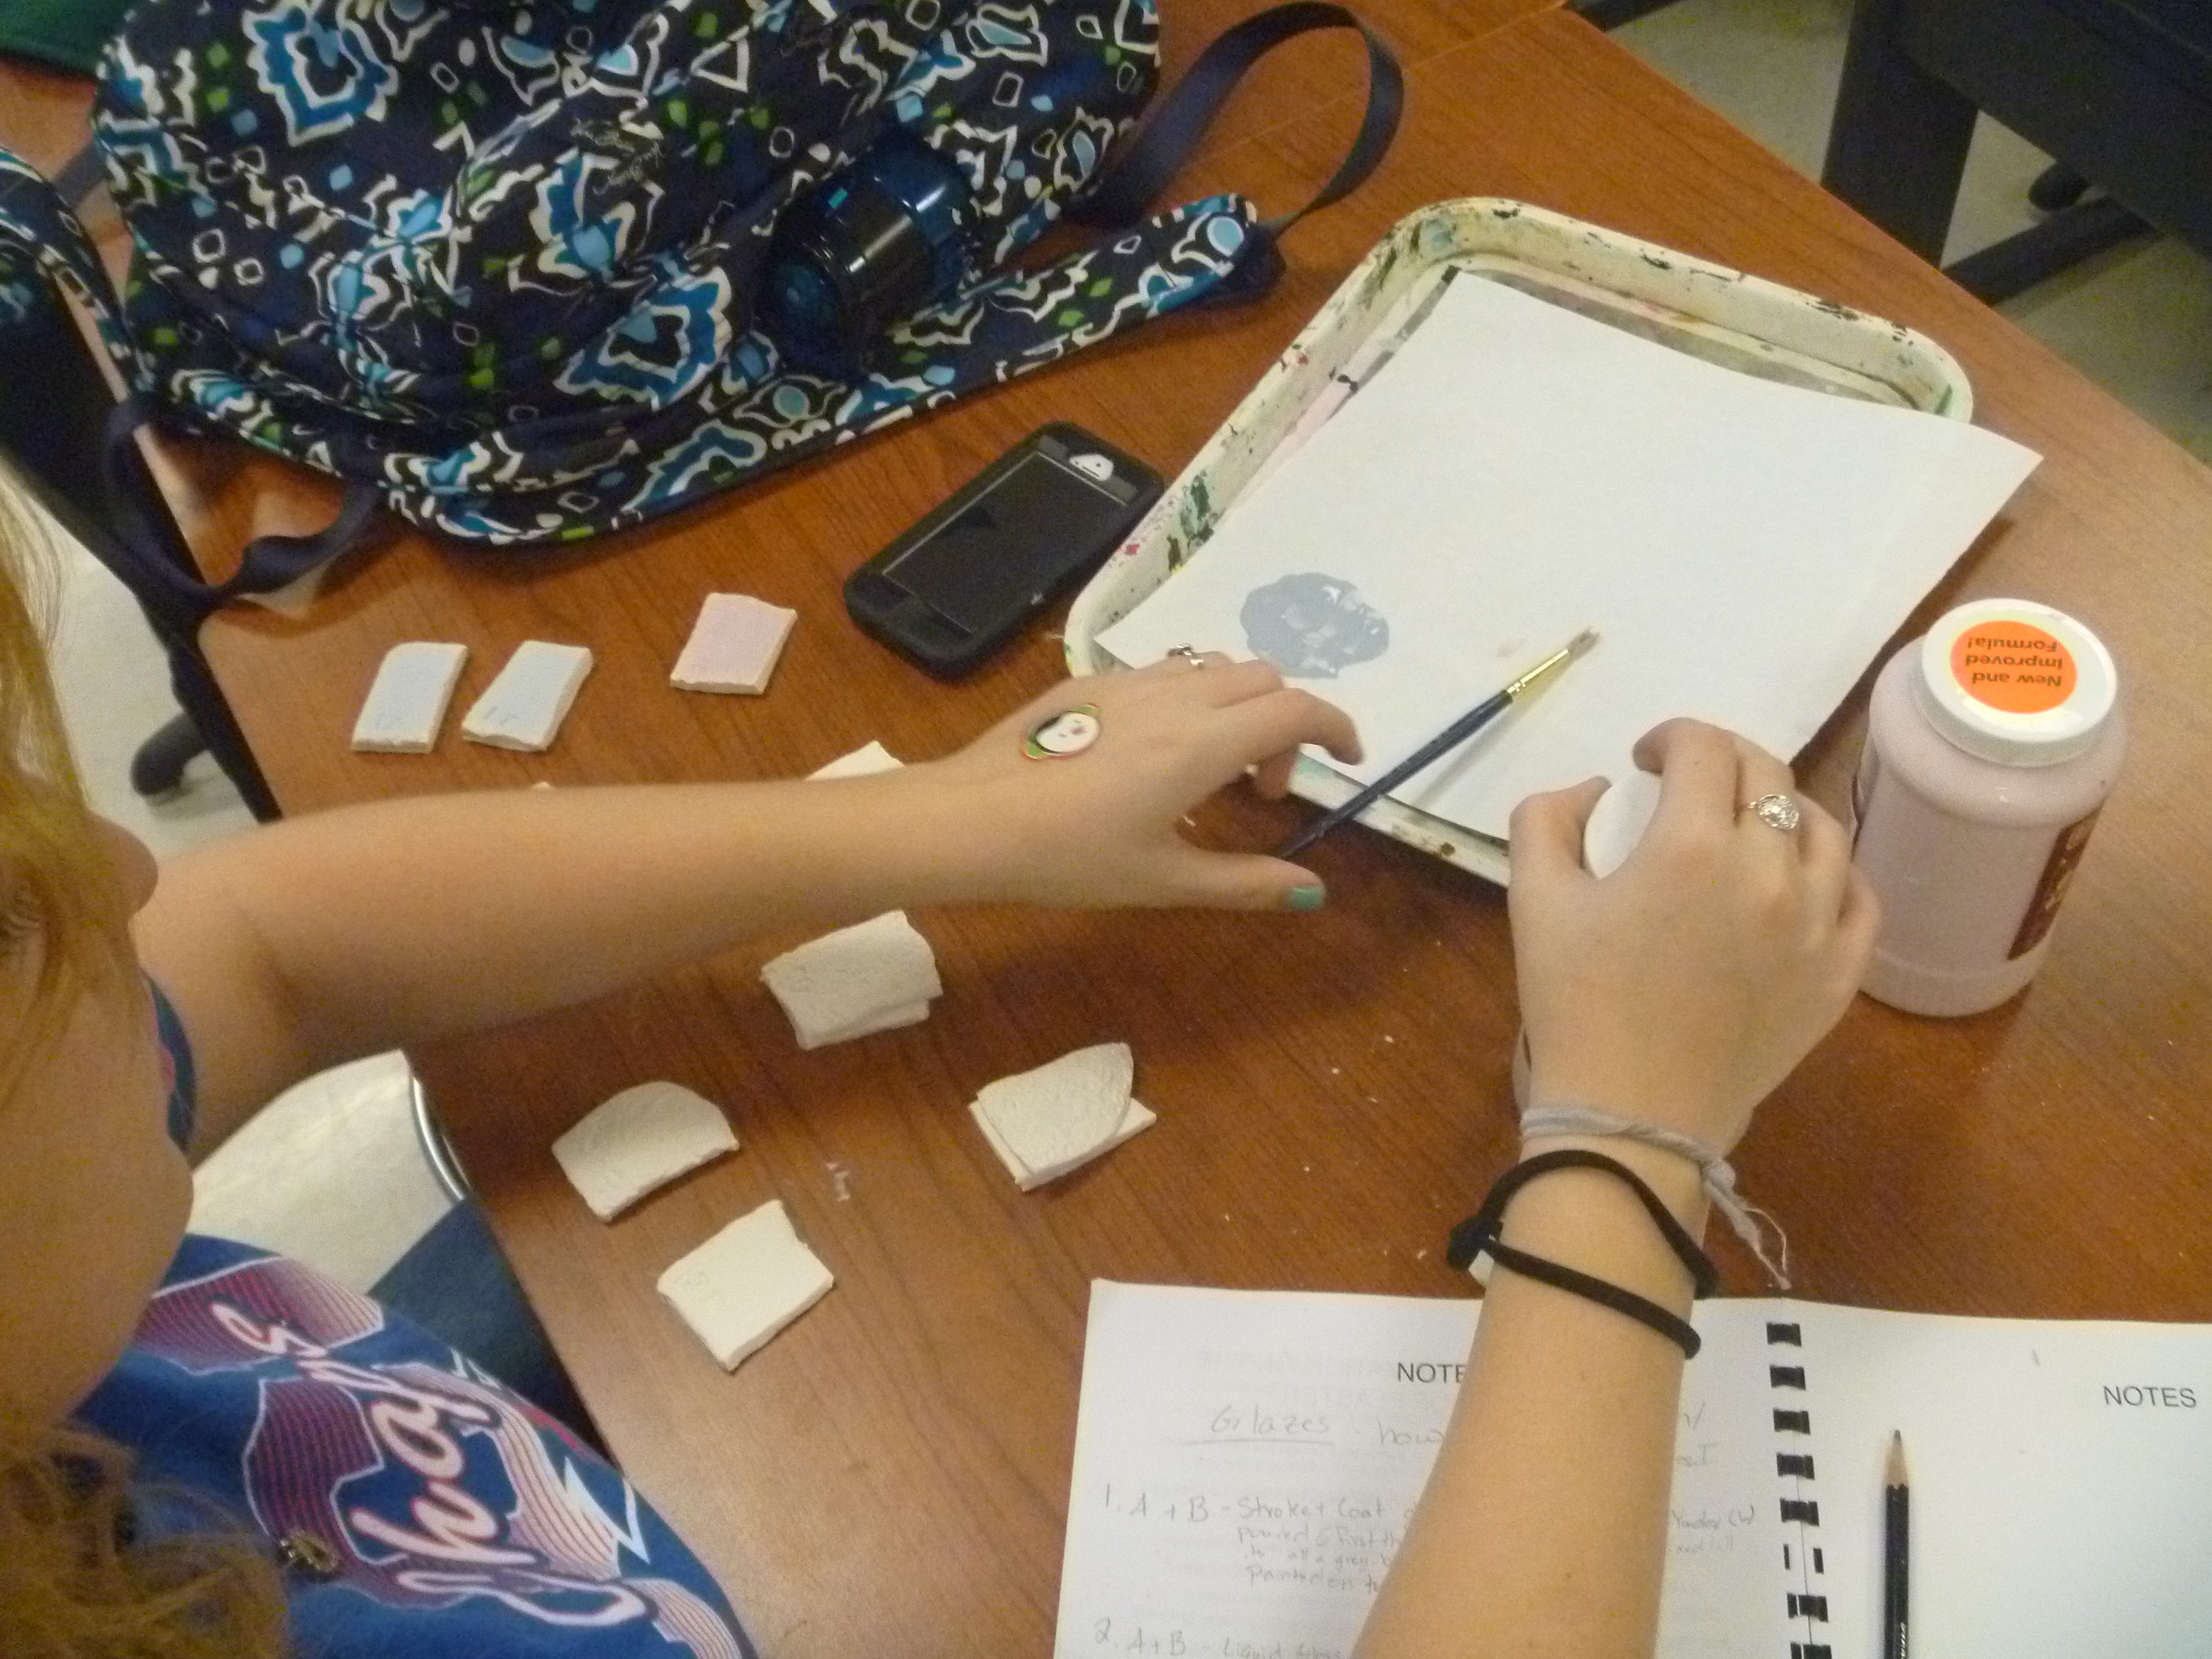
Once we get passed that, we move to themes.  I came up with a bunch of themes and put them on the class’ website.  Under each theme, I asked some questions to help them begin thinking about how they could interpret the theme.  From there, they can pick a theme that speaks to them and begin the creative process.  They decide how to build.  They decide size.  They decide clay type (we have low-fire, mid-fire for the wheel, and porcelain).  They also decide their time schedule.  They work at their pace.  No longer is the class all together in the same place working on the same thing.  My intermediate and advanced classes work in the same way, but without the have-to projects at the beginning of the year.  We do start together with the same theme–just to get back into the flow and shake off the summer, but after that, they can move into their own groove.  If a student wants to repeat a theme, they can.  If a students doesn’t like any of the themes, they can come up with their own.  Once pieces are bisqued, they also get to choose surface treatments.  Not all students like to glaze, so I have tried to show and display many other non-glaze treatments.  This really gives a lot of variety to the pieces my students create.

DSC_0314.jpg

Another great thing about keeping the class student-led is that it really allows for mistakes and taking risks.  Students don’t have the looming deadline over them of a piece they may not even want to be doing.  If a piece blows up in the kiln because I rushed it or it falls apart because they didn’t score/slip properly, the kids have been okay with that. They move on to the next thing and figure out what went wrong so they don’t do it again.  If something they are building isn’t coming out right, they are more willing to fix it or take it apart and try again because they know their project isn’t being graded and that I am instead looking at their artistic process, habits, and growth.

As for assessment, I do follow the same thing I do for all of my classes.  Each student has a blog and has to write about artistic behaviors every other week to let me know what they are doing and how they are progressing and thinking like artists.  However, for the past 6 or so weeks, we have been playing with a combination blendspace and the blog.


As my class evolves, I am working on changing up the ceramic reader I have created to be more helpful to the students.  I am also going to implement what I plan on calling “Technique Tuesday”.  I have created a list of things I think the students should know how to do and what they are, such as press molds, sprigs, 2 part molds, different tools, glazing techniques, etc.

imag5890.jpg

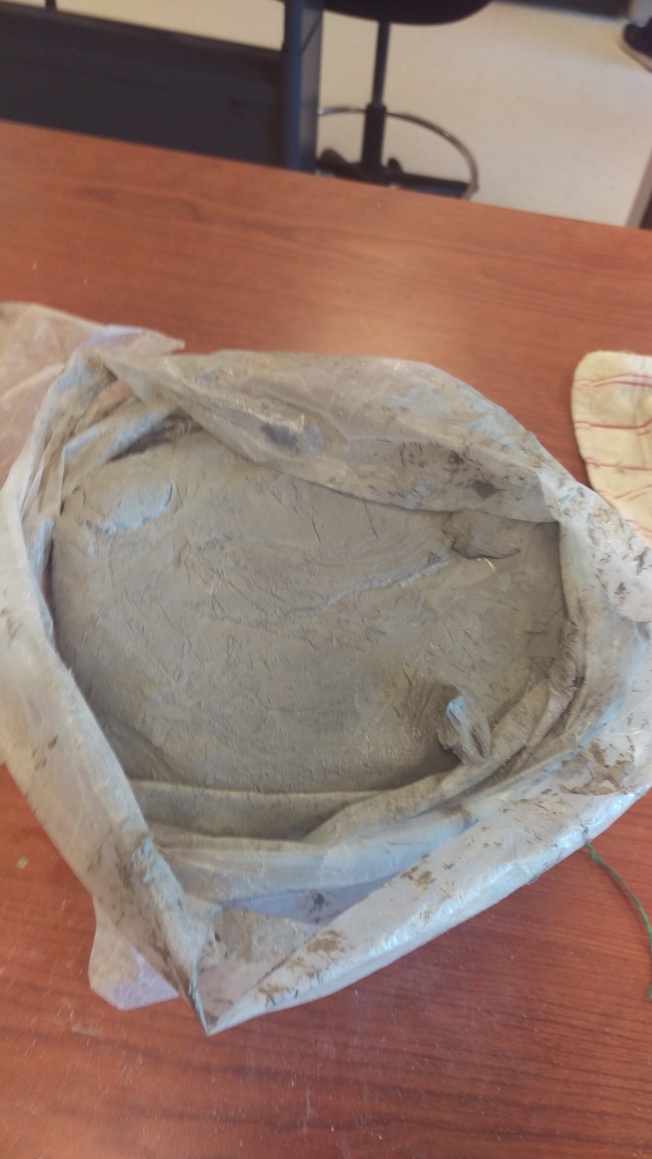
I really enjoy running my ceramic classes under the TAB pedagogy.  My students have really began to flourish.  I can see them applying the techniques they have learned.  They are creating pieces that are important to them.  It allows them to be always working and not waiting on classmates to finish in order to move on.  It allows them to stop a project for a while and come back to it later.  One of my intermediate students, Julia, is working on a willow tree.  She has been all year.  But, she also has worked on other pieces when she tires of it.  She comes back to it with more interest each time.  It is a fabulous piece. Another student, Frank, has been able to work in a more “make it up as I go” type fashion…which is where his work flourishes and becomes fabulous.  Having “projects” wouldn’t work for him.  A beginning student, Braeden, has completely blown me away this year because the TAB atmosphere has allowed him to follow his path.  He has learned how to make his own clay, how to create his own wood ash glaze, and he is close to surpassing me on the wheel.  If I made him to projects, he wouldn’t have realized that working in ceramics is what he wants to do with his life after high school.DSC_0383.jpg

I am writing about my experience, but I think this can be done in any single-medium class. It’s all about giving them the reins to drive what interests them.  They will learn the process as they go along.  It’s about learning through exploration.  Because it is single-media, they really get to know the ins and outs; therefore, since so much time isn’t spent learning multiple mediums, they can really focus more on message, process, and content. Which, in my opinion, leads to higher quality work.

Tired of Traditional Wedging?

Standard

I hate wedging.  There I said it.  My name is Jean, and I hate wedging.  I have no upper body strength.  I don’t have a wedging table that is the correct height for me.  And I don’t like spending my spare time wedging.  Earlier this year one of my ceramic students came upon this video that showed him how to “Slam and Stack Wire Wedge”.  He said it would be easier for me, but of course, I didn’t believe him.  And, well, it seemed like a lot of work…I would have to have him teach me and set up a make shift wire cutting station.  I was very busy. (Yeah, I wasn’t busy, I was just lazy and wanted him to do all the grunt work for me.)

I finally told him that if he would make a tutorial video for me, I would watch it over the summer and use it next year.  He said okay.  Then, about a week ago, a video appeared on a Facebook group, Clay Buddies, showing exactly what my student had been talking about. The method looked easy enough, so I thought I would try it out.

So, I had my student take some our reclaim and spread it out onto our plaster wedging table to dry out some.  We left it overnight, and the next morning, he set up the make-shift wire cutting station for me.

Game on.  We cut the clay into 4 “smaller” sections, so it was easier to work with.  I took 2 pieces and slammed them together 4 times, flipping over each time.  Next I cut the “new” piece in half with the wire cutter.  Then I put the 2 pieces on top of each other and slammed again 4 times, flipping over each time.  Wash, rinse, repeat for 30 times.

The result?  My clay is wedged.  My students can get back to hand-building.  My arms aren’t so tired.  I am a little sweaty, but I did get a lot of frustration out with all that clay slamming.  And, it saved me so much time.  I call this a win.

imag5985.jpg

The clay after 30 stacks and slams. You can see it is uniform and ready to be used.

Does this mean I don’t have to wedge traditionally anymore?  Yes.  Of course I will wedge my clay before I throw, and of course my students will wedge before they throw.  But, that will be smaller quantities. This is good for all that clay I have in my reclaim buckets.  Now I have 2 methods to help me with all that “old” and reclaimed clay I have just cluttering up my classroom and kiln room.  (Other method for larger blocks of clay.)

Here is the “Stack and Slam Wire Wedging with Michael Wendt” video:  

What to do with all that dry clay

Standard

I have been teaching ceramics classes for about 4 years now.  And before that I taught sculpture classes and we would always have at least 2 projects with clay during those classes.  Now, as students work, clay dries out and because “unusable” for awhile.  Clay dries out because as you work with it, you hands and the air take out the moisture, kids build things that they don’t want or need, they fail to wrap up their pieces correctly and instead of trying to work with it, they move on, or they rip holes in the bags that hold the clay.  So, due to all of these reasons, I have a ton of extra clay.  Seriously…it is just so.much.clay.

Normally, I reconstitute my clay by putting the pieces in a 5 gallon bucket and then fill the bucket with water.  Eventually the clay softens and becomes slurry-like.  From there, I pull some out, put it on a plaster bat, and let it dry enough so I can wedge the clay back into a usable form for my students.  Quite frankly, this is a pain in the ass.  I hate wedging with a passion.  It reminds me how weak and out of shape I am.  Not to mention it is time consuming.

Recently it was brought to my attention that our district has a grant program.  I thought great, I can apply for a grant, talk to the principal to see if the district will help with the cost, and add in the money that ceramics club has raised, and with all that I can purchase a pugmill to help me on my “mission” to get all this dried clay usable again.  I asked a group of potters on a Facebook group I am part of for a pugmill recommendation.  That is when a woman told me this method of reconstituting I had never heard of.

She told me to put no more than 2 cups of water into the bag with the dried out clay.  Next put the clay bag in a big bucket–like a 5 gallon one, and fill the bucket with water until the bag of clay is covered.  Finally, let it sit for a week or so.  The theory is the pressure from the water outside of the bag will push the water in the bag back into the clay and soften the clay so it can be used again.  I’m gonna be honest here, I was a little skeptical.  But, I did it anyway.  P1080085

Well, after about 5 days I checked the bucket.  Almost all of the water I had put into the bag was gone…it had soaked into the clay.  I took the bag out of the bucket and opened to see what the clay felt like.  It was a little slimy on the outside, but the clay it self was wet all the way through.  It was as if it was brand new from the store.  And bonus, because this was a bag of clay that was solid and not a bunch of pieces left over, I don’t have to wedge it.  I was able to re-bag it and put it with the other clay for my students to use.IMAG5300

I am so excited that this worked.  I went through all my clay and pulled all the bags where the clay was one big giant block like this and put them aside.  I loaded up my bucket with a new block and water, and in a week I hope to have another bag ready to go.  I still have the other buckets with scraps the kids create, and that will have to wedged, but this new method will really help me out, and I can save the ceramic club’s money for something more fun for us to use it on.

Test Tiles Are Where It’s At

Standard

The last 2 weeks of the marking period are always hard to come up with something meaningful to do–especially in a ceramics class.  It is not enough time to start a new project.  Luckily though, we have been working so hard on building and learning basic building techniques that we can take a break from building and focus on surface treatments.

One thing we are focusing on is creating test tiles.  Beginning students each cut 12 test tiles.  The took 6 of the tiles and left them smooth.  The other 6 were imprinted with a texture stamp.  They labeled one set 1-6A and 1-6B.

Now that they are bisque fired, they are trying different glaze combos.  They are laying 1-3 glazes on each tile.  And, what they do to 1A, they do to 1B so after glaze firing they can see how the texture could possibly effect the glazes and how it breaks, if it breaks at all.

And, of course, they are taking notes on what colors they use and how they apply the glaze.  They are taking notes not only for themselves, but for their peers as well.  The plan with these test tiles is to have the class share tiles so they have many choices.  Maybe someone else created something awesome.  They will glaze their spheres from one of the group of test tiles.

P1040946 P1040947 P1040948 P1040952 P1040950

Rice, Panty Hose, and Soft Molds

Standard

Intermediate and Advanced ceramic students are learning a new technique.  They are learning about hump molds, and in particular soft molds created by using a rice-filled panty hose leg.

I found the idea on pinterest and I followed the link to here. I thought this type of mold would be a wonderful addition to our ceramics studio.  They would provide much versatility and would prove to be much more inexpensive than plaster molds.

Today the boys filled the stocking with rice…40 pounds to be exact.  Tomorrow they begin to lay slabs on them.

P1040844

P1040849

P1040850

A Student’s Story about Problem Solving

Standard

I wanted to take a moment to brag on one of my ceramic students.  Lately I’ve been talking so much about my art 1 and art 2 classes and how their immersion into TAB has been off the chain.  I feel like I’ve been neglecting my other classes…my ceramic classes.  They do make up half of my class load after all, they should not be looked over.

It has been slow going in the beginning classes as we were waiting for clay and slabs are getting to a working state that isn’t so floppy.  (I have to say I can’t wait until we are past the first project so kids have more than one thing to work on.)

My intermediate/advanced class is creating enlarged organic objects.  I asked them to bring in an organic object, but of course, only one student did.  Luckily I predicted this and found a ton of things for them.  One of the objects was the flower pod from the cactuses here in Texas.  Paul chose that object.

It started out fresh and bulbous and he jumped right in building it 5 times as big.  It was going to be an awesome piece.  However, over the course of the time we’ve been working, the pod began to shrivel as the moisture left.  Neither of us thought of this possibility.  As Paul was close to finishing, I told him if he wanted to just pretend the piece hadn’t shriveled, I was cool with that.  He said ok.

I went about my business and towards the end of class came back to Paul and saw that he had incorporated the shrivels.  His piece looked way more awesome than it did before.  There is now so much more life to his sculpture.  I am so proud of him.  This is his best work to date.  I love that he encountered a problem and instead of getting mad, he ran with it and brought his work to another level.

P1040214 P1040245

Additive Texture Forms

Standard

One thing that I love about working with clay is being able to add texture.  There are so many ways to add texture…stamping, carving, texture glazes, and additive texture.  I never had to be told to add more texture to anything I have created in clay.  I am very particular about it.  But, not all my students have it come so naturally.  So, our next project will be all about adding texture.  We will talk about repetition and how it can be used to create texture.  We will talk about what kind of textures there are–smooth (which unfortunately is not allowed on this project), bumpy, spiky, etc.  We will explore different ways of adding the textures; and we will talk what kinds of textures are created by the shapes or forms used.  Two people could use the same form to add, but the way in which they add it will make the over feel of the form different.

Students will create a form from any of the hand-building techniques we have learned and from there, add texture by repeating a shape or form.

This is my piece based on the lesson.  My students who have watched me work on it over the past 2 days have describe it as a sea anemone, a bunch of cereal like fruit loops, and a mop.  They all want to touch it.  It is fabulous to get them talking about it and asking questions.

ImageImageImage

Link to grading rubric.  This is a new rubric form that I have been working with.  This is the second time I will be working with it.  I am experimenting with different rubrics to find one that works for me and my students.

Gruene Butter

Standard

What is Gruene Butter?  (And for those of you not from Texas, it’s pronounced “green”, not “gru-en”.  Gruene Butter is a type of clay I can buy from the clay distributor I use, Armadillo Clay in Austin.  It’s a high-fire stoneware.  I purchased it to use for throwing.

Back story is that I had read a friend’s technical reader for her college classes and saw that she requires her students to buy both low-fire and high-fire clay.  As I read more, I discovered that she has them use the high-fire for throwing.  I emailed her and inquired as to why this is.  She told me that the high-fire is stronger and less porous.  So, that if the pieces are intended to be used hot hot liquids and be washed in the dishwasher, high fire is the way to go.  Learn something new every day.

Well, I tested it out today and let me tell you….I loved it!!!  It was sooooo nice to throw with!   It was easy to manipulate.  It was smooth.  It was awesome.  I think my kids are going to love it. Image