Tag Archives: reconstituted clay

Tired of Traditional Wedging?

Standard

I hate wedging.  There I said it.  My name is Jean, and I hate wedging.  I have no upper body strength.  I don’t have a wedging table that is the correct height for me.  And I don’t like spending my spare time wedging.  Earlier this year one of my ceramic students came upon this video that showed him how to “Slam and Stack Wire Wedge”.  He said it would be easier for me, but of course, I didn’t believe him.  And, well, it seemed like a lot of work…I would have to have him teach me and set up a make shift wire cutting station.  I was very busy. (Yeah, I wasn’t busy, I was just lazy and wanted him to do all the grunt work for me.)

I finally told him that if he would make a tutorial video for me, I would watch it over the summer and use it next year.  He said okay.  Then, about a week ago, a video appeared on a Facebook group, Clay Buddies, showing exactly what my student had been talking about. The method looked easy enough, so I thought I would try it out.

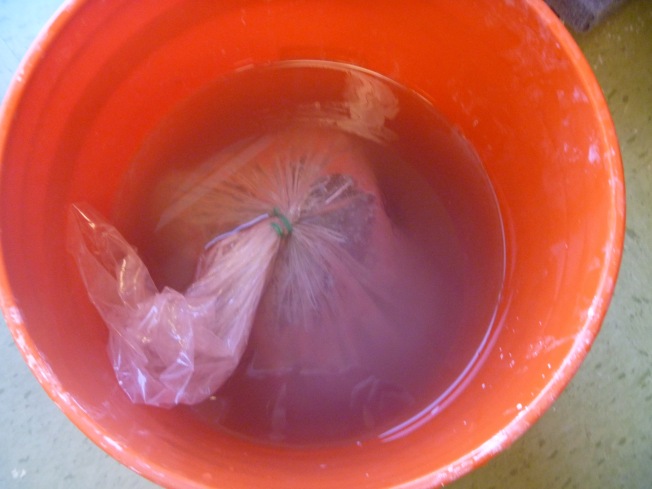
So, I had my student take some our reclaim and spread it out onto our plaster wedging table to dry out some.  We left it overnight, and the next morning, he set up the make-shift wire cutting station for me.

Game on.  We cut the clay into 4 “smaller” sections, so it was easier to work with.  I took 2 pieces and slammed them together 4 times, flipping over each time.  Next I cut the “new” piece in half with the wire cutter.  Then I put the 2 pieces on top of each other and slammed again 4 times, flipping over each time.  Wash, rinse, repeat for 30 times.

The result?  My clay is wedged.  My students can get back to hand-building.  My arms aren’t so tired.  I am a little sweaty, but I did get a lot of frustration out with all that clay slamming.  And, it saved me so much time.  I call this a win.

imag5985.jpg

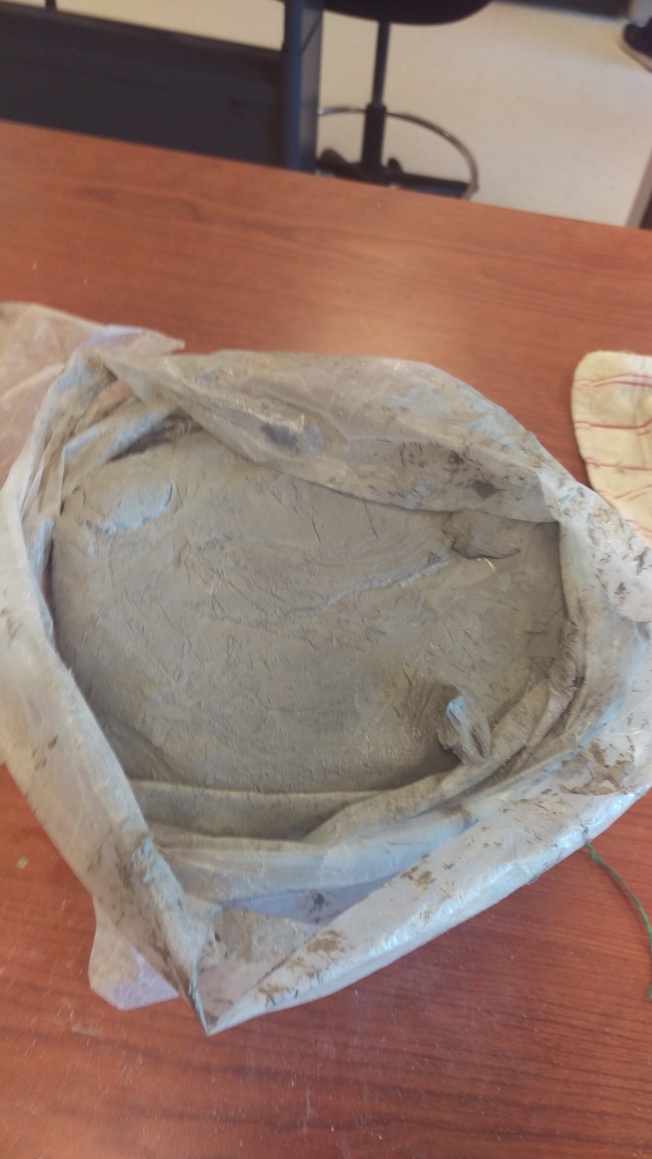
The clay after 30 stacks and slams. You can see it is uniform and ready to be used.

Does this mean I don’t have to wedge traditionally anymore?  Yes.  Of course I will wedge my clay before I throw, and of course my students will wedge before they throw.  But, that will be smaller quantities. This is good for all that clay I have in my reclaim buckets.  Now I have 2 methods to help me with all that “old” and reclaimed clay I have just cluttering up my classroom and kiln room.  (Other method for larger blocks of clay.)

Here is the “Stack and Slam Wire Wedging with Michael Wendt” video:  

What to do with all that dry clay

Standard

I have been teaching ceramics classes for about 4 years now.  And before that I taught sculpture classes and we would always have at least 2 projects with clay during those classes.  Now, as students work, clay dries out and because “unusable” for awhile.  Clay dries out because as you work with it, you hands and the air take out the moisture, kids build things that they don’t want or need, they fail to wrap up their pieces correctly and instead of trying to work with it, they move on, or they rip holes in the bags that hold the clay.  So, due to all of these reasons, I have a ton of extra clay.  Seriously…it is just so.much.clay.

Normally, I reconstitute my clay by putting the pieces in a 5 gallon bucket and then fill the bucket with water.  Eventually the clay softens and becomes slurry-like.  From there, I pull some out, put it on a plaster bat, and let it dry enough so I can wedge the clay back into a usable form for my students.  Quite frankly, this is a pain in the ass.  I hate wedging with a passion.  It reminds me how weak and out of shape I am.  Not to mention it is time consuming.

Recently it was brought to my attention that our district has a grant program.  I thought great, I can apply for a grant, talk to the principal to see if the district will help with the cost, and add in the money that ceramics club has raised, and with all that I can purchase a pugmill to help me on my “mission” to get all this dried clay usable again.  I asked a group of potters on a Facebook group I am part of for a pugmill recommendation.  That is when a woman told me this method of reconstituting I had never heard of.

She told me to put no more than 2 cups of water into the bag with the dried out clay.  Next put the clay bag in a big bucket–like a 5 gallon one, and fill the bucket with water until the bag of clay is covered.  Finally, let it sit for a week or so.  The theory is the pressure from the water outside of the bag will push the water in the bag back into the clay and soften the clay so it can be used again.  I’m gonna be honest here, I was a little skeptical.  But, I did it anyway.  P1080085

Well, after about 5 days I checked the bucket.  Almost all of the water I had put into the bag was gone…it had soaked into the clay.  I took the bag out of the bucket and opened to see what the clay felt like.  It was a little slimy on the outside, but the clay it self was wet all the way through.  It was as if it was brand new from the store.  And bonus, because this was a bag of clay that was solid and not a bunch of pieces left over, I don’t have to wedge it.  I was able to re-bag it and put it with the other clay for my students to use.IMAG5300

I am so excited that this worked.  I went through all my clay and pulled all the bags where the clay was one big giant block like this and put them aside.  I loaded up my bucket with a new block and water, and in a week I hope to have another bag ready to go.  I still have the other buckets with scraps the kids create, and that will have to wedged, but this new method will really help me out, and I can save the ceramic club’s money for something more fun for us to use it on.