Tag Archives: process

Artists Observe

Standard

This will be the first in a series of several posts about the units and activities my art 1 students are participating in to get a good grasp on the artistic behaviors.  Last year my art 1 students went through an “artistic behaviors bootcamp“.  After going back and looking at what we had done, I felt it was too fast and there wasn’t enough depth to each behavior. We spent a day or two on each behavior, but it was like we just glossed over the behaviors and my students never really understood them.

This year, I am spending a week or more on each behavior.  We are doing activities that focus on the behavior, while building skills in various media and techniques.  I think this will be a better solution.  The students may not be making as many finished artworks at the moment, but that will come when second semester rolls around and the studio is really much more open.

Our first behavior that we focused on was “Artists Observe”.  I found a powerpoint at Ian Sands’ Art of South B page that was perfect for what I wanted students to do.  The week was split into 3 activites.  First students created mindmaps/had class discussions of what they like to observe and what kinds of things artists would look at when observing something. They then moved onto a 3-day sketching activity, where they learned sketching techniques and sketched from life.

Our second activity included learning to shade and a group activity, originating from Melissa Purtee, where students would get into groups of 3-4 and together create a large shaded sphere.  It was very cool to watch the students work together, within the time frame, and figure out how to make values darker and to replicate the sphere I demo’d for them.

Our final activity brought the students in the world of 3-D.  We spent our final day doing the Tantamounter.  Faculty lent items that the students replicated in an artful way.  They had to make decisions, work in small groups, and create a copy of the original item.  They had a 30 minute time limit to complete their piece.

p1080916

After the weekend, students came back on Monday and spent the day reflecting on our unit.  We went into the hallway and discussed the spheres they had created, looking critically at the spheres and trying to take non-objective judgement out.  They added tiles to their BlendSpace lessons, reflecting on what artists observe means and how the activities we did correlate to the unit idea.  They also reflected on what they learned from our unit activities.

The rest of the week will be spent on building some color drawing skills before we move on to another artistic behavior unit.

2 Weeks of Exhausting Fun

Standard

September is finally here, and for me, it marks having the first 2 weeks of school in the books.  It’s been exhausting and I have had to stop my personal exercise regime because of it. BUT, it has been so worth it.  My new (and returning) students and I have had a blast and have rocked it.

Screen Shot 2016-09-03 at 10.52.36 AM

I don’t like to start off the school year in a traditional way.  I like to have my students jump right in and get busy getting messy.  On our first day, we had 20 minute classes, and I was required by my admin to go over certain things during certain periods.  But, that did leave me time to show a small video to hopefully get my kids thinking about my class and art making in a different fashion.

Over the summer, or maybe it was last year, I found this video by artist and motivational speaker, Erik Wahl.  I thought it was perfect for some first day inspiration.


The next two weeks were spent doing not one, but two community projects.  First my students prepped, and installed our own Unity Project.  The welding students cut down steal tubing to use as our braces.  My students painted 7′-6″ PVC poles black, and they balled up miles of yarn.  Once the set-up was complete, they began to add their voices, by choosing the identifiers that represented them, then bringing it to life with yarn on the installation.  (I will write more about the Unity Project in another post once it is complete.)
 

Once we were finished with our part in the Unity Project, it was time to play with some clay. I like to start the year working with clay.  The majority of kids like clay, and it gives them some time to get to know me and each other without much pressure.  I use this time to teach some basic clay skills–slab draping, scoring/slipping and other surface treatment techniques, and to have the kids give back to their community.  This is the one piece the students will make this year that they aren’t allowed to keep.  I do ask all my students to create a bowl for out Duck Art Club’s charity fundraiser–Empty Bowls.

Next week, we will finish up our bowls, then move onto exploring the artistic behaviors that are essential to my classes.  I hope my students keep enjoying art class and continue to knock it out of the part when it comes to my expectations as the weeks, semester, and year continues.

The “No-Grade Challenge”

Standard

Sounds interesting, right?  Well, my good friend Ian Sands nominated me earlier this summer to go “no-grades” this year.  And, after much consideration, I have accepted his challenge…well, mostly. There is no way at the high school level, with the GPA reward system we have going in America right now, that I can not grade. My kids need to have some numerical grade…for UIL purposes (pass to play), for college applications, and for the “ever important” class rank–which if you live in the great state of Texas like me, it is important to those kids in the top 10% (or for some colleges like UT–Hook “Em!!–it’s the top 7 or 8%) for automatic admission to state schools.

Anyway, I have accepted his challenge and plan on grading as little as possible this year.  I know I am pushing it, and it my admin gets wiff of it, I may be up sh*ts creek. But, if I am going to start a change and get people talking and thinking about change in the grading arena and the education realm, I need to start somewhere.

Now, don’t confuse what I am doing in so far as grading with what I am doing in terms of assessment.  THEY ARE NOT THE SAME THING!!  And, you better believe that I am going to assess the hell out of my students.  In fact, together we, my students and I, will asses their learning and growth like there is no tomorrow.  It will mostly be informal and occur through dialogue between us–the students and myself.  And, that is what an ideal classroom, at least in my opinion, should be like.  It should be about growth and understanding how to think and move forward in the thinking.  And, in order to do that, things need to be assessed.  Grades have no part in that.

Now comes the part where you say, but how will you do that?   You have to grade.  Why not put numbers to your assessment levels?  Then you can be in compliance and all that jazz.  I answer you with, I’ve done that.  And it works well, but I feel it is truly not a good showing of what a student in my studio has learned or how they have grown artistically–either in skill or thinking or both.  It doesn’t really show growth over time.

Last year I read the book “Hacking Assessment” and I have taken a few things from the book about assessment, like having conferences with the kids and letting them be part of the conversation.  I also went to a fabulous session at NAEA-Chicago with Justin Clumpner who at one point talked about grades and what they mean to each individual student.  I think at one point he even said, I ask the kids what grade they want. Those things really resonate with me right now.  Students need to be involved in their assessment of their learning.  It is a 2-way street.

Now, if you know anything about the program I run, I like to have my kids reflect on their learning and their journey.  We have done that through blogs and, more recently, BlendSpace.  So, it occurred to me, why not combine all these things and thus my answer to the “no-grade challenge” was formed.

I do have to have at least a grade every 3 weeks…one a progress report time and one at report card time.  (Technically I am supposed to have more, but don’t tell my admin, okay?) My plan is to have my students reflect on their learning and art making processes to help them determine their grade for that time frame.  Of course, I have final say if I feel they have either graded too high or way too low.  But, I think this will help shift the focus away from grading and back onto their learning, which is what it’s about….or should be. (Do I say that a lot, because I feel I do.)

Here are some screen shot of the google form they will fill out for this reflection process.


Will this work?  I don’t know.  Will it need to be tweaked?  I am sure.  What document is perfect from the get go?  I am confident in what I am about to embark on. I think that it will make a difference; a difference even bigger than when I stopped grading artwork and focused on the processes only.  Keep your eyes out for updates as the year progresses.  And who know, maybe soon you too will also be up for the challenge.

Journey of an Artwork

Standard

I want to share a story.  The tale of the journey an artwork.  Today a student’s piece finally found where it was going. She started with a proposal to make some kind of moving box…I don’t even know. I didn’t quite understand it.  But, she jumped in and started working, trying to figure out how to make it move.  She cut thin cardboard into enough squares and rectangles to make a box. She found some string and 2 buttons to help pull the walls down.

image

When she got frustrated because she couldn’t make it do what she wanted, she took the box and began to spray paint. Every day she did a different side, experimenting with the spray paint.  Trying different color combos and using different tools.  Learning all this on her own.  She then decided she would instead turn her box into a lampshade.

image

image

image

After completing the forth side, she came back into the room, her face all lit up with the spark of a new idea.  “I have a new idea Mrs. Barnett” she said. She began taking tape off her lampshade.  A little while later she came to me with 5 smaller pieces; each from a different part of her box. She found a silver piece of matboard in the cardboard bin.  She said, this is what I want it to be.  She was so happy.  I could tell she was much more in love with this piece. So was I.

image

I write about this because I think that TAB has allowed this type of focus of the journey and the process.  If I had decided on the lesson and artwork ahead of time, my student would not have had the chance to stray, to experiment with different ways to work with spray paint, to problem solve, to experience the artistic process first hand. She was able to see that ideas change over time.  And to see that it is okay.

TAB and the Single Media Art Class

Standard

From time to time, I come across the question of how to run a class that has a single focus such as painting, printmaking, or ceramics following a TAB pedagogy.  It seems as if people think it isn’t possible to be fully TAB because the students don’t have 100% choice of everything.  I mean, the medium is already chosen for them.

DSC_0375.jpg

Well, I think it is possible, and I have been running my ceramic classes that way for the past couple of years.  It has evolved into the almost fully student-led class it is today, but there is always room for improvement.

As we know, TAB isn’t just about giving the students free reign over things. It’s about a way of thinking and about the process of going from conception through to end product and all the steps in between. So, since it isn’t about a product so to speak, that leaves room for lots of exploration, skill building, and concept growth.

DSC_0360.jpg

I have three levels of ceramics…beginning, intermediate, and advanced.  My program is small, so intermediate and advanced meet at the same time.  I think that is better anyway.  Our classes run for a full year.  I start off my beginners with a bunch of “have to” projects. Yes, I know, not very TAB, but I think this lays the ground work for moving to full student driven work.  We spend the first semester learning basic hand-building techniques: a slab box with rolled in texture, a carved pinchpot sphere, a carved tile, and a coil built vessel with some kind of additive texture.  We also spend some time on the wheel. The students do have some choice aesthetically, but in the end, I have picked the project for them and I know the outcome.

DSC_0372.jpg

Once we get passed that, we move to themes.  I came up with a bunch of themes and put them on the class’ website.  Under each theme, I asked some questions to help them begin thinking about how they could interpret the theme.  From there, they can pick a theme that speaks to them and begin the creative process.  They decide how to build.  They decide size.  They decide clay type (we have low-fire, mid-fire for the wheel, and porcelain).  They also decide their time schedule.  They work at their pace.  No longer is the class all together in the same place working on the same thing.  My intermediate and advanced classes work in the same way, but without the have-to projects at the beginning of the year.  We do start together with the same theme–just to get back into the flow and shake off the summer, but after that, they can move into their own groove.  If a student wants to repeat a theme, they can.  If a students doesn’t like any of the themes, they can come up with their own.  Once pieces are bisqued, they also get to choose surface treatments.  Not all students like to glaze, so I have tried to show and display many other non-glaze treatments.  This really gives a lot of variety to the pieces my students create.

DSC_0314.jpg

Another great thing about keeping the class student-led is that it really allows for mistakes and taking risks.  Students don’t have the looming deadline over them of a piece they may not even want to be doing.  If a piece blows up in the kiln because I rushed it or it falls apart because they didn’t score/slip properly, the kids have been okay with that. They move on to the next thing and figure out what went wrong so they don’t do it again.  If something they are building isn’t coming out right, they are more willing to fix it or take it apart and try again because they know their project isn’t being graded and that I am instead looking at their artistic process, habits, and growth.

As for assessment, I do follow the same thing I do for all of my classes.  Each student has a blog and has to write about artistic behaviors every other week to let me know what they are doing and how they are progressing and thinking like artists.  However, for the past 6 or so weeks, we have been playing with a combination blendspace and the blog.


As my class evolves, I am working on changing up the ceramic reader I have created to be more helpful to the students.  I am also going to implement what I plan on calling “Technique Tuesday”.  I have created a list of things I think the students should know how to do and what they are, such as press molds, sprigs, 2 part molds, different tools, glazing techniques, etc.

imag5890.jpg

I really enjoy running my ceramic classes under the TAB pedagogy.  My students have really began to flourish.  I can see them applying the techniques they have learned.  They are creating pieces that are important to them.  It allows them to be always working and not waiting on classmates to finish in order to move on.  It allows them to stop a project for a while and come back to it later.  One of my intermediate students, Julia, is working on a willow tree.  She has been all year.  But, she also has worked on other pieces when she tires of it.  She comes back to it with more interest each time.  It is a fabulous piece. Another student, Frank, has been able to work in a more “make it up as I go” type fashion…which is where his work flourishes and becomes fabulous.  Having “projects” wouldn’t work for him.  A beginning student, Braeden, has completely blown me away this year because the TAB atmosphere has allowed him to follow his path.  He has learned how to make his own clay, how to create his own wood ash glaze, and he is close to surpassing me on the wheel.  If I made him to projects, he wouldn’t have realized that working in ceramics is what he wants to do with his life after high school.DSC_0383.jpg

I am writing about my experience, but I think this can be done in any single-medium class. It’s all about giving them the reins to drive what interests them.  They will learn the process as they go along.  It’s about learning through exploration.  Because it is single-media, they really get to know the ins and outs; therefore, since so much time isn’t spent learning multiple mediums, they can really focus more on message, process, and content. Which, in my opinion, leads to higher quality work.

Tired of Traditional Wedging?

Standard

I hate wedging.  There I said it.  My name is Jean, and I hate wedging.  I have no upper body strength.  I don’t have a wedging table that is the correct height for me.  And I don’t like spending my spare time wedging.  Earlier this year one of my ceramic students came upon this video that showed him how to “Slam and Stack Wire Wedge”.  He said it would be easier for me, but of course, I didn’t believe him.  And, well, it seemed like a lot of work…I would have to have him teach me and set up a make shift wire cutting station.  I was very busy. (Yeah, I wasn’t busy, I was just lazy and wanted him to do all the grunt work for me.)

I finally told him that if he would make a tutorial video for me, I would watch it over the summer and use it next year.  He said okay.  Then, about a week ago, a video appeared on a Facebook group, Clay Buddies, showing exactly what my student had been talking about. The method looked easy enough, so I thought I would try it out.

So, I had my student take some our reclaim and spread it out onto our plaster wedging table to dry out some.  We left it overnight, and the next morning, he set up the make-shift wire cutting station for me.

Game on.  We cut the clay into 4 “smaller” sections, so it was easier to work with.  I took 2 pieces and slammed them together 4 times, flipping over each time.  Next I cut the “new” piece in half with the wire cutter.  Then I put the 2 pieces on top of each other and slammed again 4 times, flipping over each time.  Wash, rinse, repeat for 30 times.

The result?  My clay is wedged.  My students can get back to hand-building.  My arms aren’t so tired.  I am a little sweaty, but I did get a lot of frustration out with all that clay slamming.  And, it saved me so much time.  I call this a win.

imag5985.jpg

The clay after 30 stacks and slams. You can see it is uniform and ready to be used.

Does this mean I don’t have to wedge traditionally anymore?  Yes.  Of course I will wedge my clay before I throw, and of course my students will wedge before they throw.  But, that will be smaller quantities. This is good for all that clay I have in my reclaim buckets.  Now I have 2 methods to help me with all that “old” and reclaimed clay I have just cluttering up my classroom and kiln room.  (Other method for larger blocks of clay.)

Here is the “Stack and Slam Wire Wedging with Michael Wendt” video:  

NAEA 2016: Chi-Town (part 2: the sessions)

Standard

imag5687_1.jpgWhat is the most important part of going to a National Art Ed Conference? If judging by my first post, Chi-Town (part 1: the intro), you would think it was hanging out with friends.  And you would be right.  But, just a small percentage point behind that is the sessions.  I mean, I did pay to go to some relevant professional development so I can become an even better, more awesome teacher. I don’t want to go too awesome though, I don’t think my students could handle that.  😉

imag5601.jpg
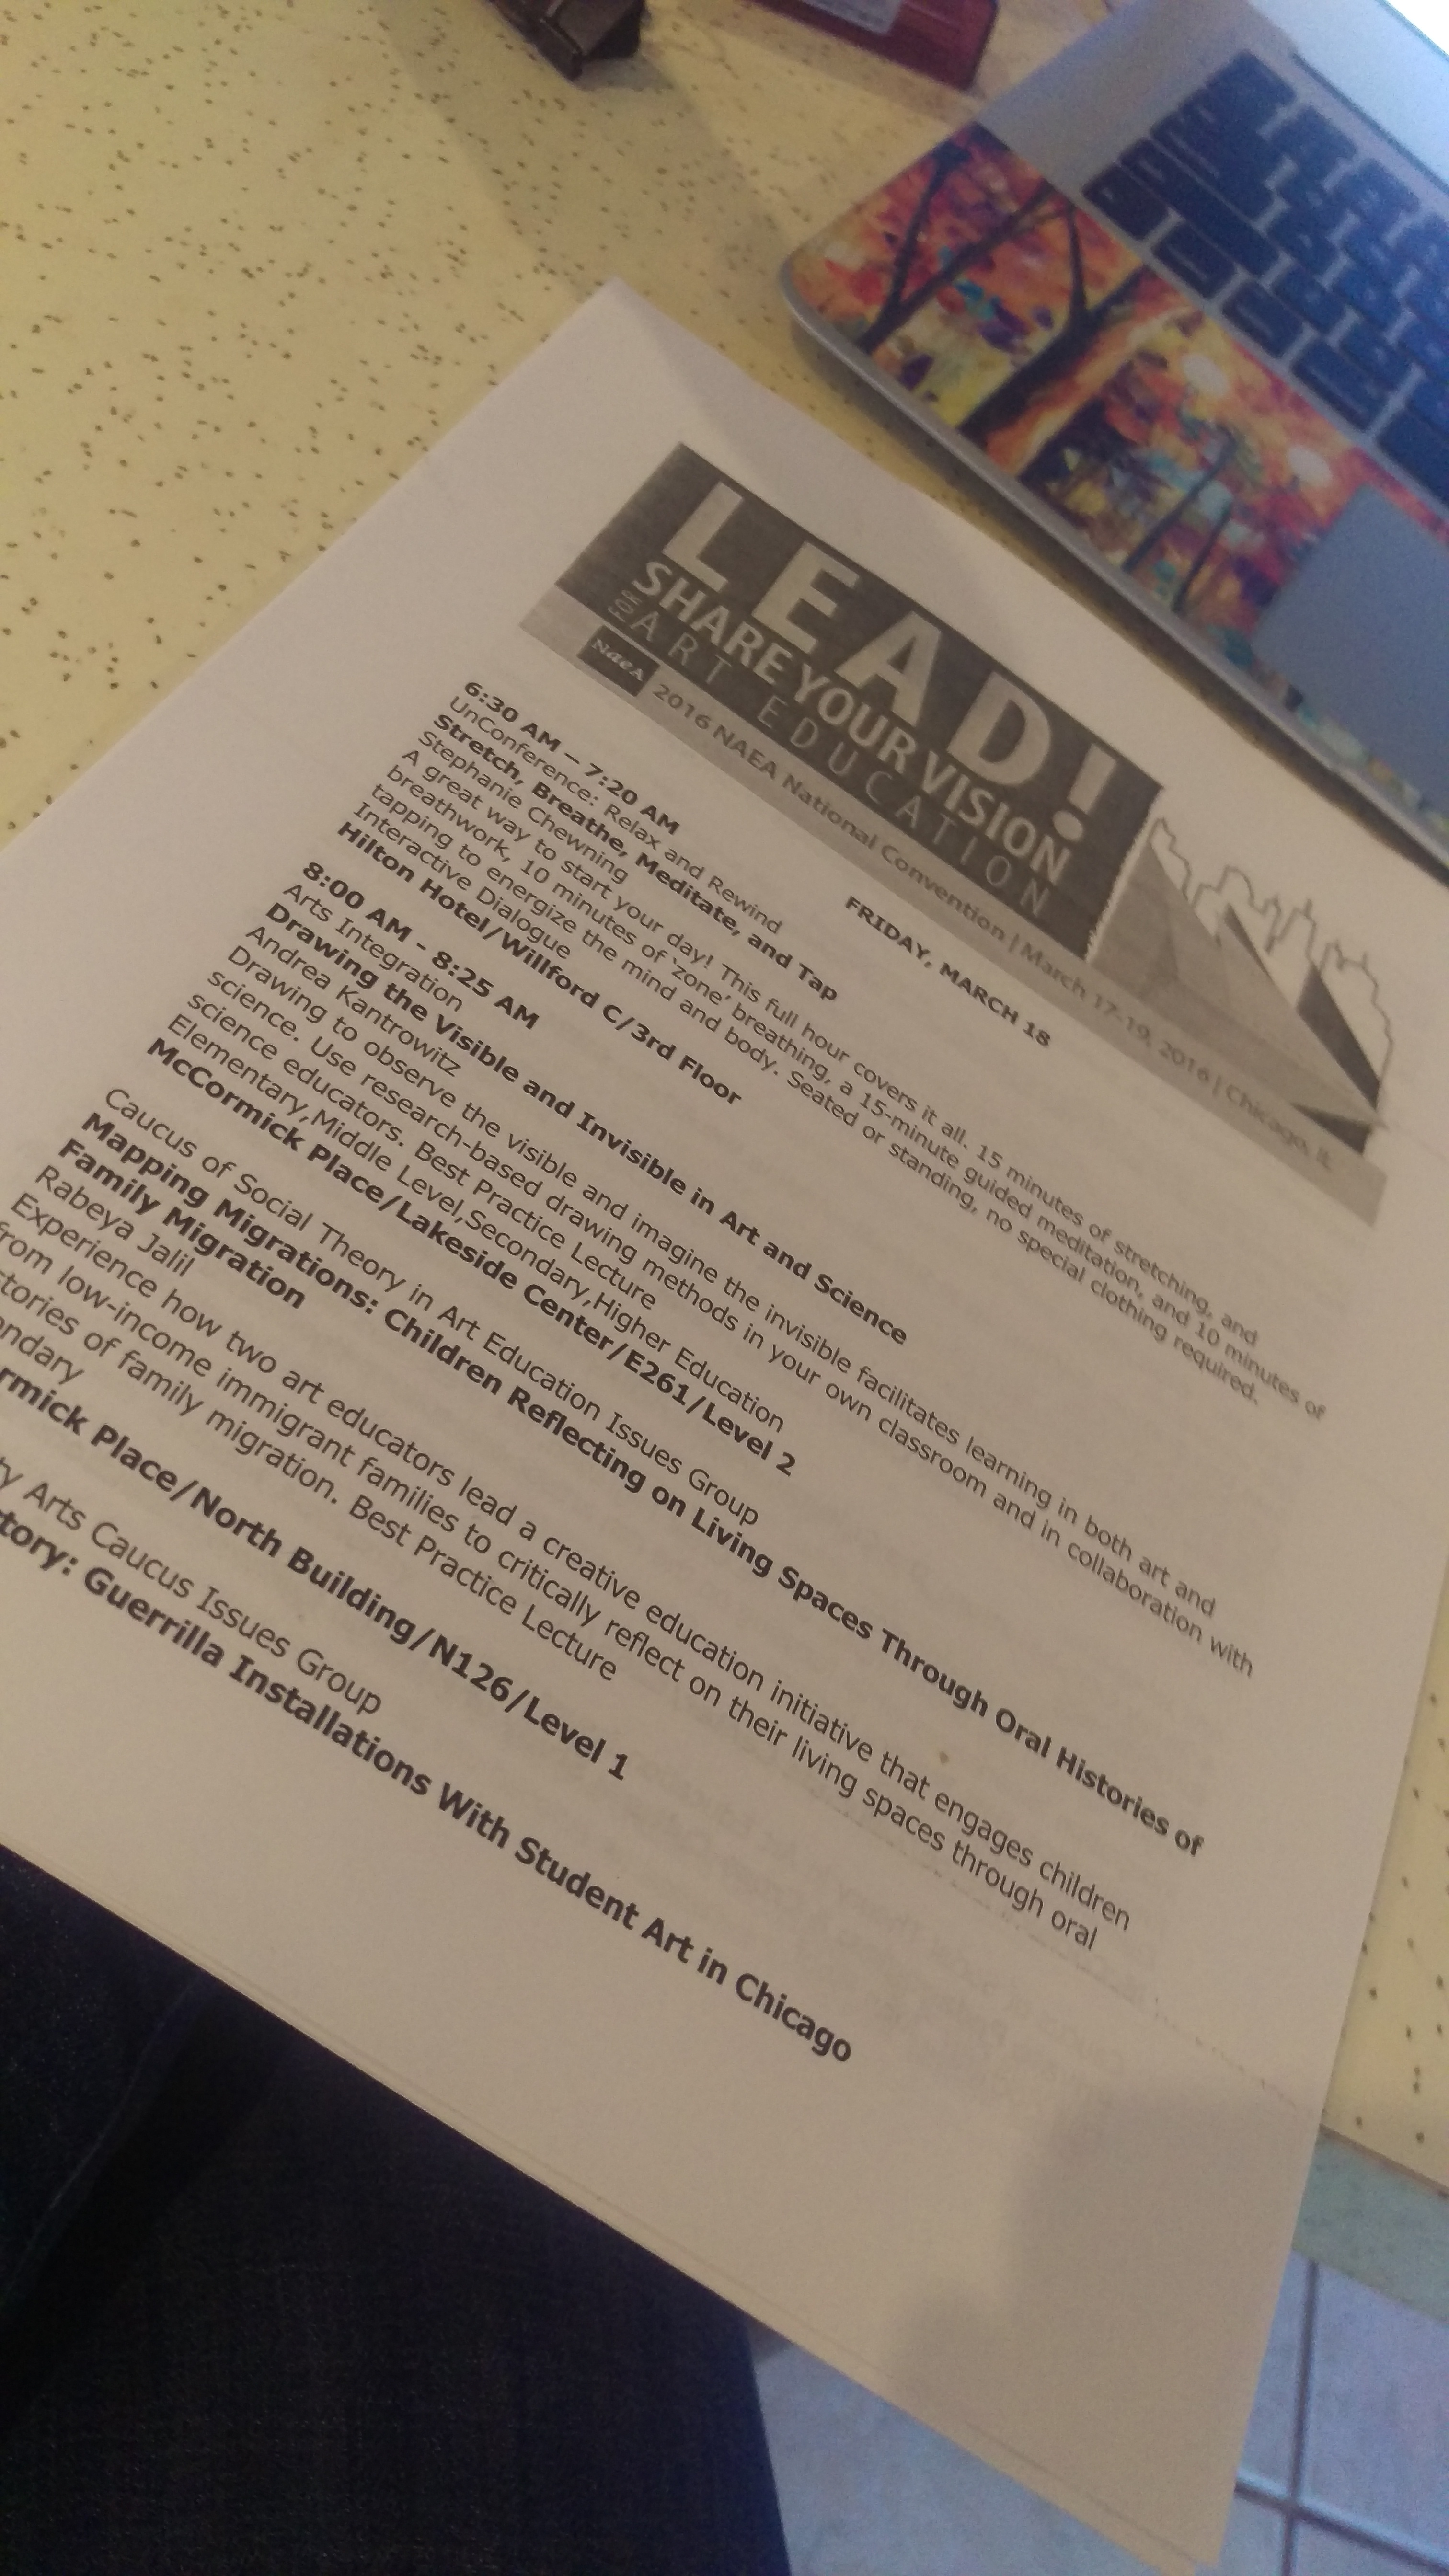
Since I am somewhat old school, I wasted a whole bunch of trees and printed out a copy of the sessions.  Yes, I know that I would get a program once in Chicago, but that’s not very helpful to a planner like me.  (Don’t be too mad, I did print them double-sided.)  I sat down in my kitchen with my coffee, my stack of papers, my yellow marker, and my phone.  As I read thru the sessions, I circled the ones that were interesting to me.  Then I would fire up the conference app on my phone and add them to my agenda.  Is this a little more work, maybe, but who wants to carry a quarter ream of paper around the McCormick? Not me.

It wasn’t an easy thing to do.  In case you didn’t know, I teach all TABbish and my interest is finding better ways to run my TAB classroom so it is more meaningful for my students. However, there are a couple of problems that I come across at art ed conferences.  I teach high school, and it seems the majority of sessions (especially TAB/choice) are aimed at elementary. Also, out of the TAB/Choice sessions, many are geared towards getting people interested in TAB/Choice.  I am already interested, I don’t need to go to those.  So, while I did attend one or two of those sessions (my fav being “Lead, Follow, or Get out of the Way”, presented by Julie Toole, Nan Hathaway, and Ian Sands),imag5836_1.jpg
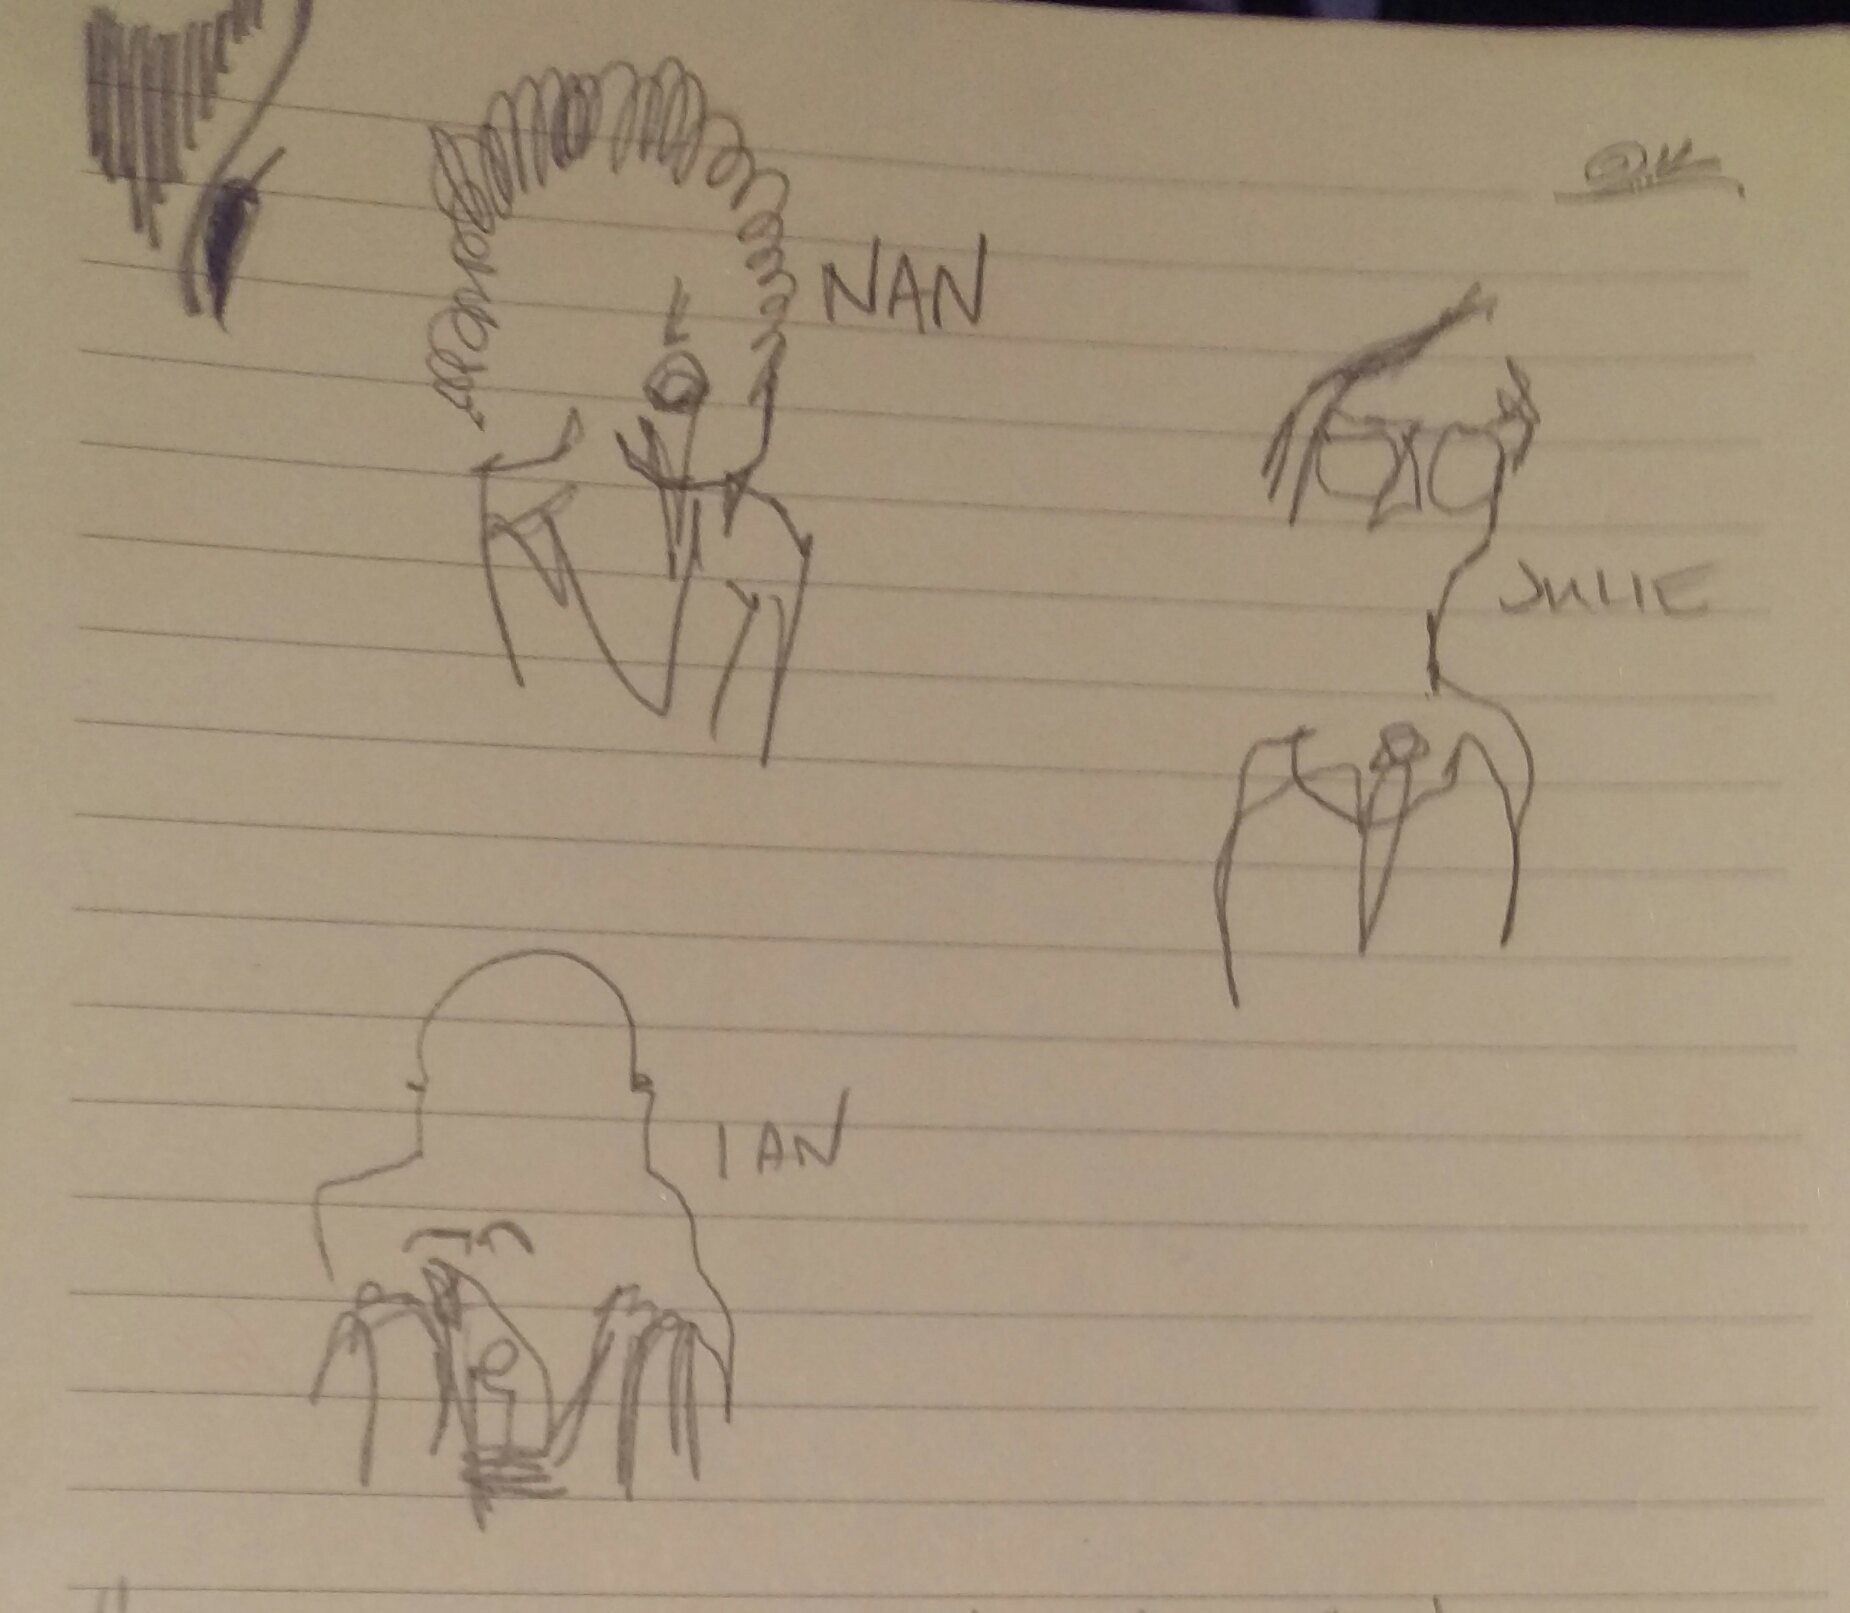
I opted against most because I would rather give up my seat to someone who needs to learn about TAB/choice and their awesomeness.  And, I am glad I did because those sessions were packed.  I mean, standing room only, out the door packed.  This makes my heart happy, by the way.  IMAG3327_1

So, powers that be at NAEA who deal with choosing sessions for NYC, we need more sessions on TAB…at all levels and areas of interest (getting to know vs. already am in love with) of TAB.  Obviously it is a hot topic and people want to know.  I, personally, am willing to present a session or two or three about TAB at the secondary level.  I know some others too who would be as well.  Hell, we would even do some joint presenting.  Just sayin’….

Over the course of the 3 days, I attended 15 sessions.  One was not all that, and only 1 did I walked out.  I lucked out and found 13 good/great sessions.  Don’t worry, I won’t go over each session, but I will give you some highlights.

10612715_10107362239544810_1343979125320880173_nI started off the conference with a great session called “Break theimag5692_1.jpg
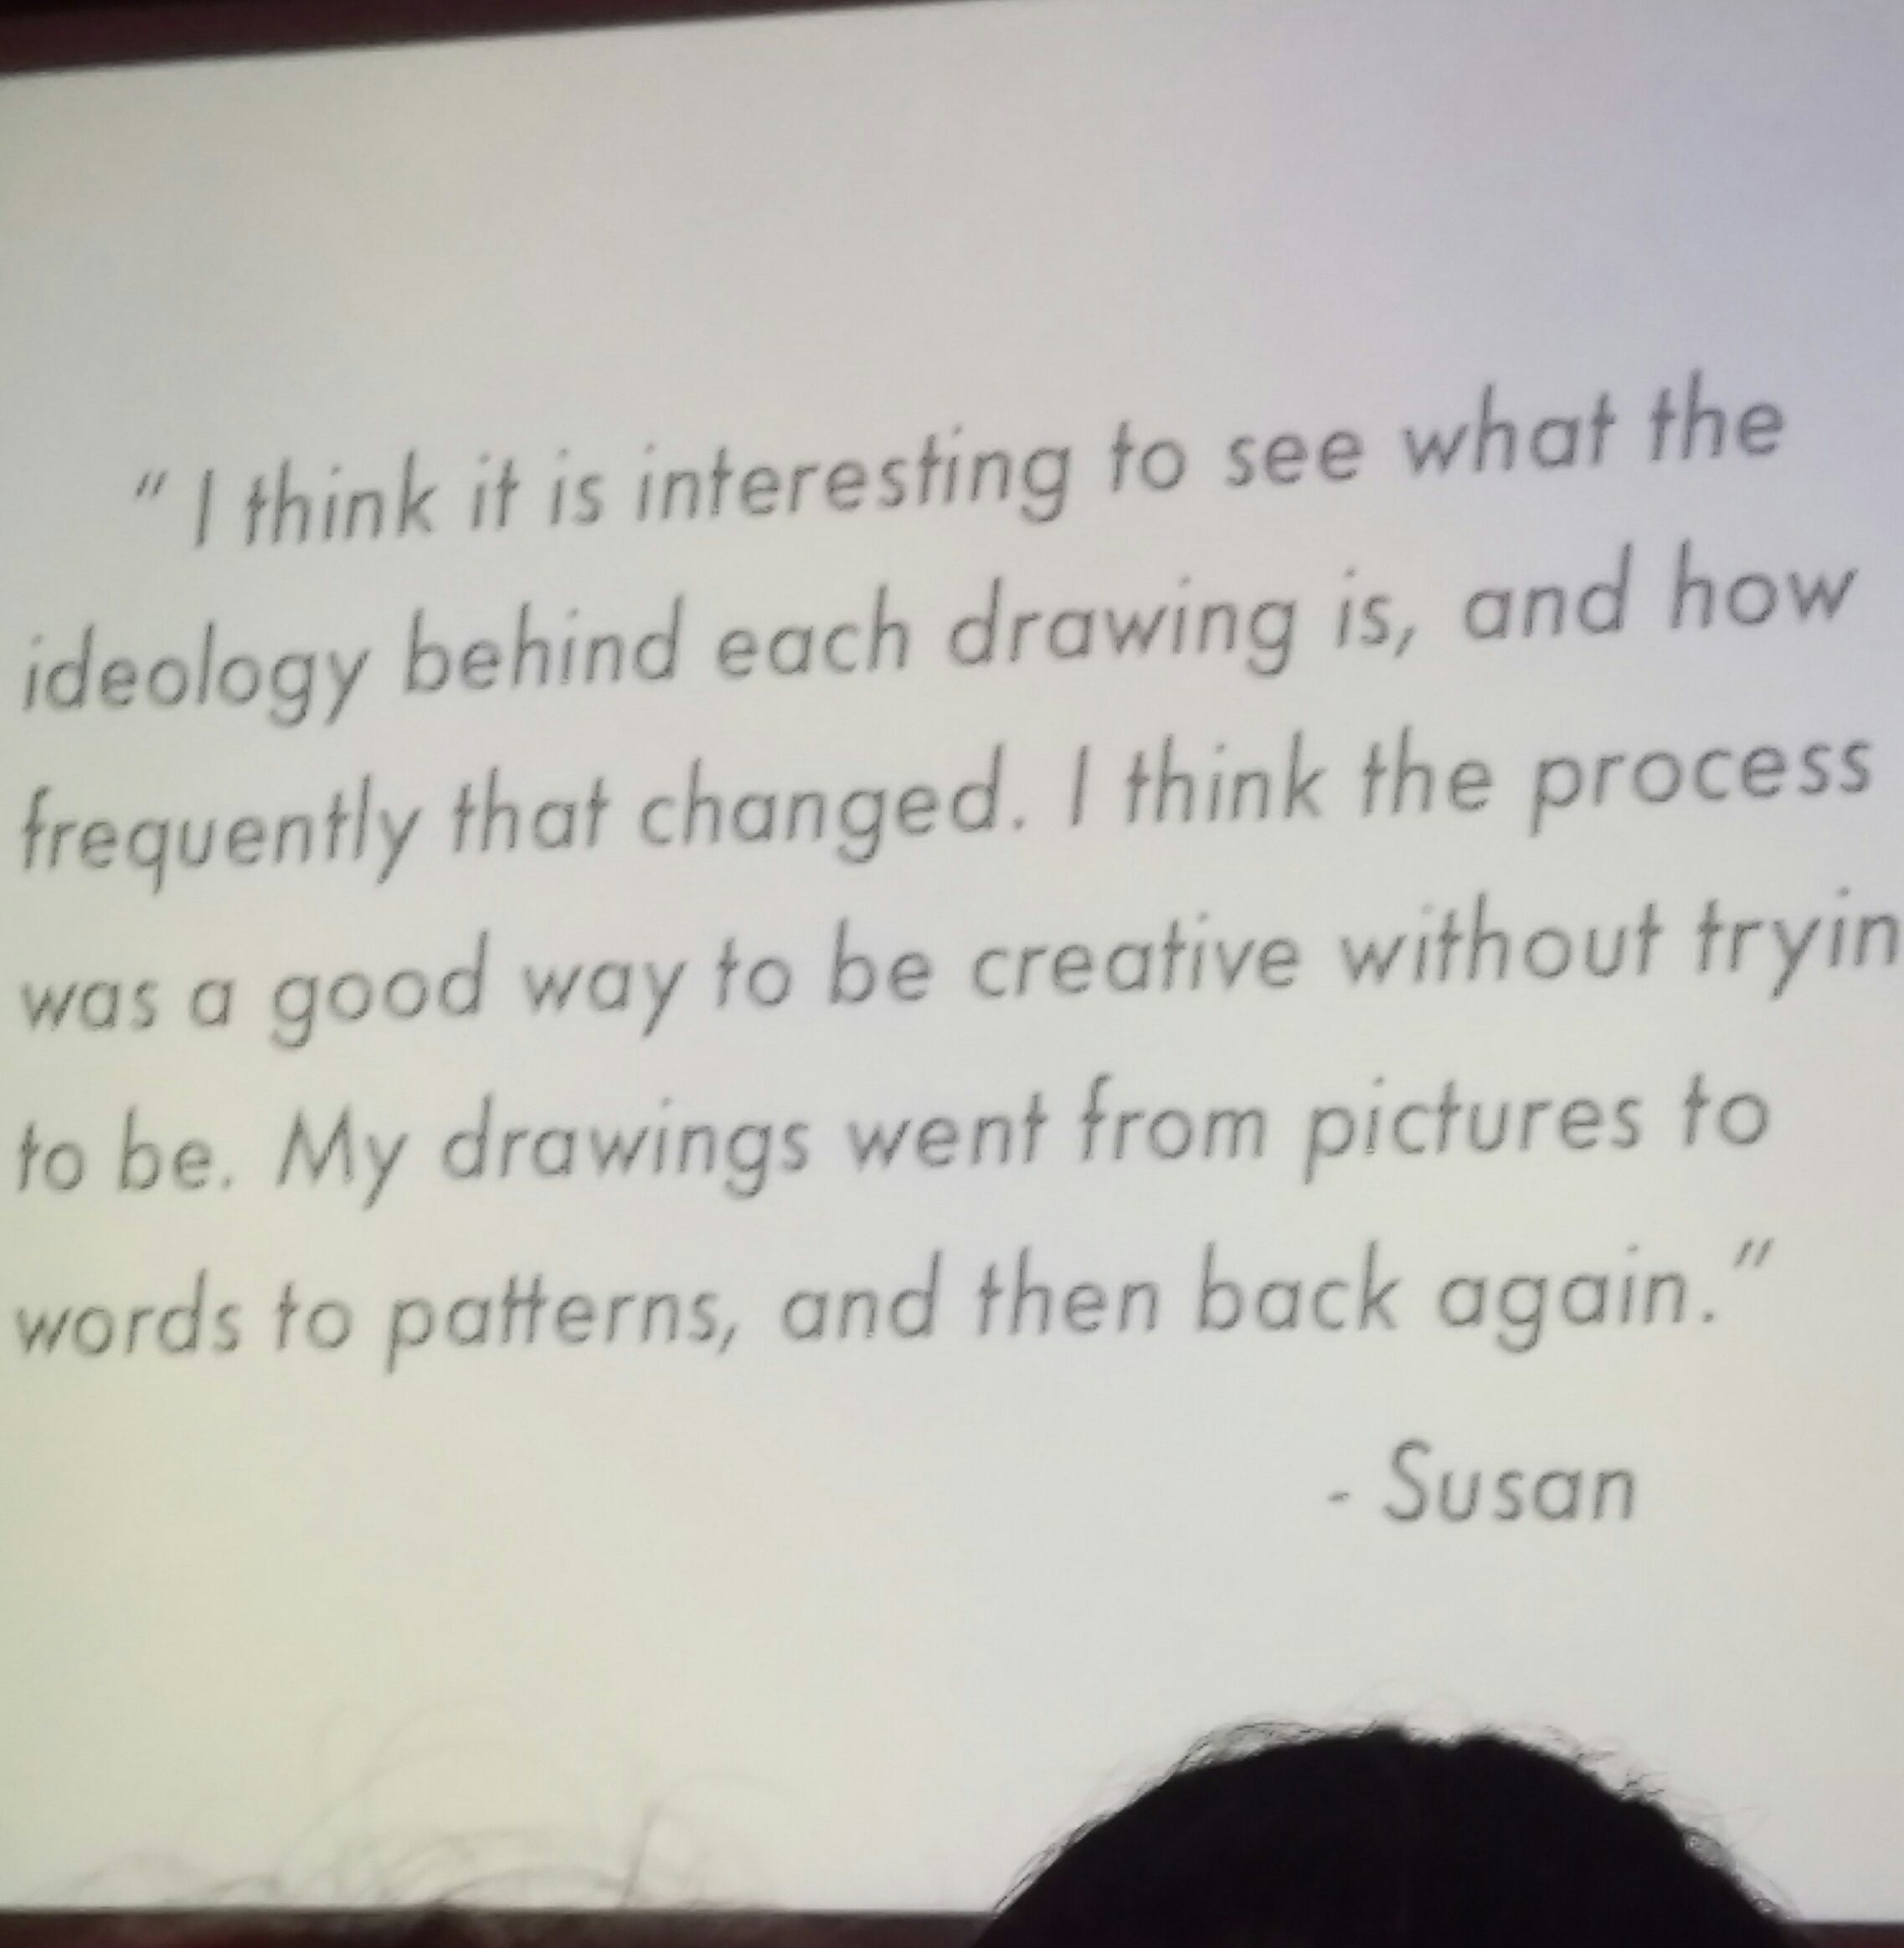
Wheel”, presented by Chris Wills.  His session was about brainstorming and ways to help students get over the creative block.  It really got me fired up to go.  He had us do a small version of his activity called “60“.  I really enjoyed the activity.
I enjoyed it so much that I brought it back to my classroom and used it already.  At first my kids were all, “what the…”, but after completing the activity, which we only did for 20 minutes, they were glad we did and I think they have some ideas to work from for the next artworks.
After that I was pumped and went to a couple of more sessions that day.  One was a look at the way the AP portfolio was “graded”.  While I don’t teach AP, I was able to take some things away from this.  The presenter talked about looking into the creative process and being able to imag5699_1.jpg
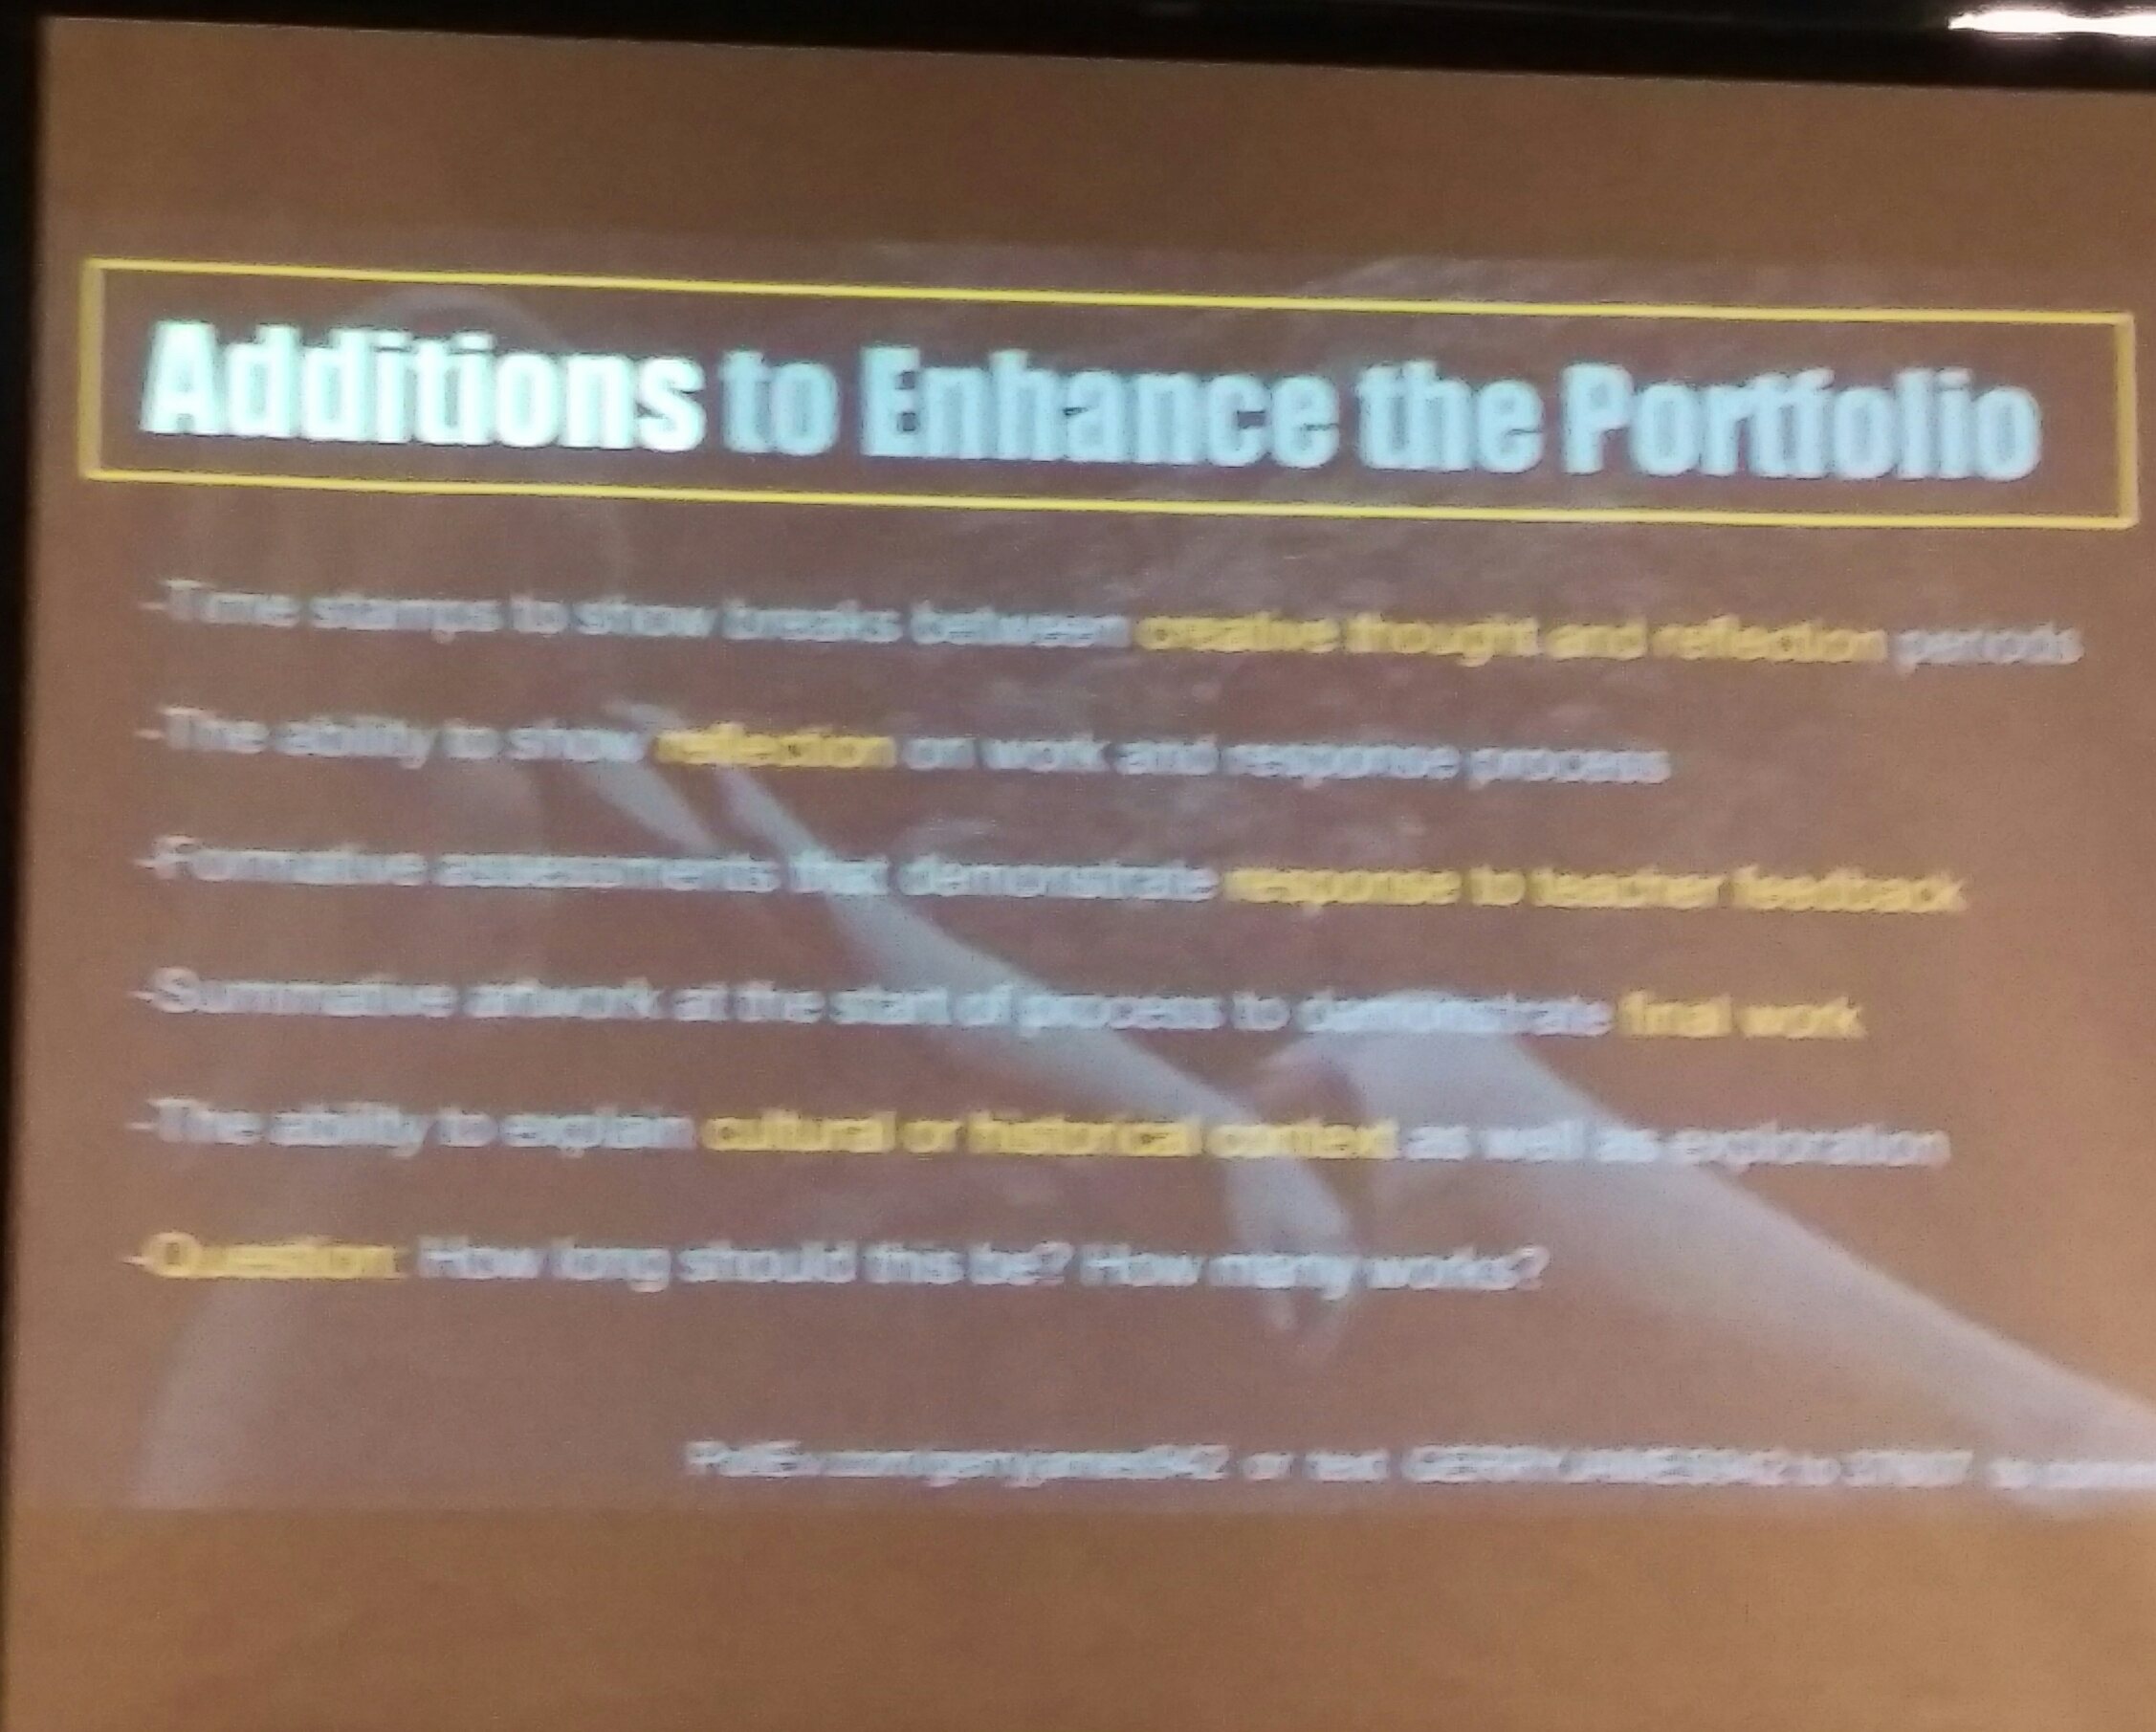
capture the day to day…which is something I am working on in my classroom.  There is so much more to artwork than just the final product, and wouldn’t it be great to allow our students to showcase the process instead of just the end of it?

Rounding out the day was a presentation by Jeff Pridie that made me think about what my program goals were and why my program should be there.  And a session by the Journal Fodder Junkies.  I had seen them before in NOLA and was excited to see them again.  Every year they encourage me to have my students develop visual journals.  Maybe next year will be the year I incorporate them.

Friday started off big as well.  “Art Without Authority” was standing room only.  Presenter Justin Crumpner is an art teacher from Dallas, and he feels the same way about our state VASE competition as I do…so right then I knew I liked this guy.  The more he talked, the more I realized that he believed in the TAB philosophy, but just didn’t know there were others out there like him.  In the middle of the session I texted Liz asking why he was not part of our tribe.  He talked about his realization of moving to student-centeredness when he had an AP student that wouldn’t finish her work.  But, when he saw her sketchbook that was filled with fabulousness and asked her why she wasn’t doing that in class, she replied, “I didn’t think I could do this.  I didn’t think this was “school art”.”  WOW!   Seriously, talk about a way to start reflecting on your teaching practice.  Anyway, he said some things during his presentation that were right on:  “Your (students) work is VALID”; “their voice (student) = your voice (teacher)”; and “create a climate; don’t create winners and losers”. Of course I paraphrased that last one, but still… If you missed his presentation, you can still see it.  He posted it on his blog.  As a final note, we (Liz, Hillary and I) did run into him later on in the conference, we talked over a beer, and he ended up coming to our TAB meet-up.  He has since joined our tribe on the Midwest TAB teachers page.  I look forward to meeting up with him again next year in Fort Worth/Dallas at the TAEA 2016 conference.

I know I am getting long winded and I still have more to say, so bear with me.  I attended Joy Schultz‘ presentation where she talked about choice and her students use of Blendspace.  She had the presenter’s nightmare where the technology was non-existent. But, being the rockstar she is, went on like it was no big deal.  Again, standing room only.

I attended a session on authentic assessment in a choice classroom presented by 2 elementary teachers.  While it was interesting, and it gave rise to a sudden interest in a badge system, it wasn’t anything really new to me.  I am not sure I will use a badge system, but it is something worth looking at–extrinsic versus intrinsic rewards.

Ian dragged us to a session called “New Weird Ideas”.  There were four presenters and they each talked about how they set the tone for the beginning of the year.  And of course, they said the same thing that I kept hearing over and over through out the conference…”Focus on the process and how to make the process meaningful.”  It is at this point I should mention that they presenters were giving away free e-zines and Ian drafted Andy to go get us some…you would think that a 6′-4″, lean guy would be able to leap his way up to the front and procure some, but noooooooo….smh.  No e-zines for us.

Saturday was the last day of sessions.  We got there in time to see “Lead, Follow, or Get Out of the Way” where Nan dropped this gem, “If there were no grades in art, how would that affect your work?”  Just let that sink in.  Yeah.  Exactly.

I didn’t really have any sessions lined up for the day, so luckily, I was with Ian who did. We went to a session about Shepard Fairey.  There is a lot more to him than I thought there was.  I left with the idea of “post-museum art“, which is art of the people; it’s an interesting concept.  Ian and I also went to a session on maker spaces.  I am now considering trying to get a 3-D printer, some paper circuits, and conductive ink.  For more info on maker spaces, check out the Makelab.

Our final stop of the day was one that Ian and I are very interested in.  It was titled “Stop Grading Art!”  It started off great with ideas like we should moved from being art focused (fixed mindset) to learning focused (growth mindset), and questions like what is the purpose of grading, what are my standards, and what are my learning objectives/goals? Next he talked about looking for evidence of learning.  It was here that it became frustrating and where I wanted to just start arguing with the presenter. He wasn’t talking about getting rid of grading (which is what we had hoped the session was about), and he was basically using assessment and grading as interchangeable terms, which of course they are not.  There was nothing new learned from this, and it seemed that he was pushing grading in art as we know it now, but with a different language.  His example was very simple, and didn’t really seem to assess any learning.  He said the learning objective (from either the state or national standards) was to provide multiple solutions to a problem.  And the evidence of learning was based on how many thumbnails a student created.  There was a cute rubric that went with it too.  How is that really assessing the learning?  That is just grading on how well a student jumped through a hoop.   And, that is what I am trying to get away from.  I walked out of the session frustrated, but with lots to think about; so #winning?  I got stuck on what my learning objectives really are and how to see the evidence of that learning.  So, while I walked out with a new conversation in my head, I’m not sure I needed a session to get me there…I have already been on that path.  Maybe I will figure something out and present on this topic next year in NYC.

imag5798_1.jpg

This post shows just a snippet into some of the notes I took.  If you could see my imag5715_1.jpgnotebook, your head would be swimming too.  I took a lot away from this conference–things I want to bring to my program, things to stay away from, ways to enhance the process more and to bring the kids to “buy in” sooner.  Overall, the sessions I went to and the buzz I heard about other “popular” sessions made me realize that I am on the right path in my teaching philosophy.  I look forward to hopefully presenting next year at both the TAEA [Texas] conference and the NAEA17 conference.  ::hint, hint::  I promise my sessions won’t disappoint.

A New Exploration Activity

Standard
A New Exploration Activity

I know it has been over a month and a half since I last wrote, but it’s kind of been the same old, same old in my classroom.  But, as the new year and the new semester began, I have many new ideas and things I am trying out with my students.  And, I am going to start with a new to me way of exploring.  I did an activity similar to what fellow TAB teacher Cynthia Gaub does called Around the Room.  I changed it to Exploration around the room: collage and mixed media.

Art 1 jumped right back in when returning from our winter break.  They had new media and techniques to explore and I wanted them to have a new way to explore them.

So, I lined the counters with some large sheets of paper and place a ton of items out for them to explore with: plexi, excess pieces of laminate, and plastic bags for monoprints, cardboard and styrofoam for printmaking, bubble wrap, flowers, feathers, spools, and a plethora of other items for stamping.

I gave a brief introduction outlining part 1 of our exploration activity and then let them go on their way to create some new textures and backgrounds.  At first some were hesitant, but by day 2, they were comfortable and trying new ways of printing with the different methods and objects.


Once we were done exploring stamping and printmaking, we learned about collage and mixed media.  Students were then challenged to take what they had made during their exploration and to use them in someway…either as the ground for a new artwork to be placed on top or as paper to be cut up and used in a collage.

Once the students finished with their exploration artwork, the students reflected on what they learned through a technique exploration blog post.

​Here are some of the fabulous practice works the students created.

This slideshow requires JavaScript.

I have a few tweaks to make, but I like this way of exploration.  I want to combine it with the other methods I use.  Not sure how I am going to do that yet, but it will come to me.


A Great TASK to Help Start the New Year

Standard
A Great TASK to Help Start the New Year

Today was the start of a new semester at school.  I thought we needed to start off with a great activity–one that would shake off the slumber of winter break and ring in creativity and imagination for a new year.  And what better way to do so than have a day-long TASK party.

What is a TASK party you ask?

You can also find a previous post on TASK here.

I pulled out a bunch of supplies I had in my storage room:  yarn, egg cartons, craft items, fabric, 12″ dowels, wooden hearts and starts, buttons.  I plugged in all the hot glue guns we had.  I grabbed the large rolls of colored paper from the faculty lounge.  And, I started with a container full of tasks.

This party was to last all day.  I have 7 classes.  Once I started the party, I only broke for lunch, which consisted of writing more tasks.  This was the only place the students faltered…well, and when it came to blindly picking a task.  (Many wanted to pick and choose their task.  It was hard to stop them.)

It really was a fun day.  A few kids fought it at first, but ended up having a good time.  I think they need that time to play.  High school kids don’t often get that anymore.  And bonus, no one was on their computer today.  I wish I knew how many tasks were completed today…or at least attempted.   It would be fun to figure it out.  Perhaps next time.

By the end of the day, my feet were killing me and I was tired as all hell.  But, I had a counter full of artifacts.  I had a hopscotch board on my floor, and I had 2 body outlines–one in dry erase marker and one in tape.  (Just an FYI–certain dry erase markers don’t come off the floor so easily.)  I had a roll full of photos of the students making and laughing and creating and smiling.  I had a heart full of memories. And, I think it set the tone that creativity is welcome here–and encouraged.

This slideshow requires JavaScript.

Clay Slab Tiles

Standard

Beginning ceramic students learned all about rolling out slabs when making their clay boxes.  So, I thought I would use the slab to let them experiment carving.  They all rolled out and cut 6″X6″ tiles.  From there they were given the “rules”.  They needed to have a minimum of 4 levels.  How that was achieved was up to them.  They were shown this Pinterest board for some examples.  They had to have a frame…again, they decided what constituted a frame.  And, one element had to break said frame.

And go.  As usual, I have a few kids that can just jump in and go for it…and get great results.  Others carefully planned and revised their designs.  I had one student wind up at our alternative center and had to work on her tile without help from me or others…she did a fabulous job.

Once they were finished, I had decided this was a great project to show them a non-glaze surface technique.  I had seen pieces done on my Facebook Art Teachers group and thought the oil pastel tempera resist would be perfect for them.  First they color the tiles with oil pastels.  I tell them to color darkly, but not to color fully.  Where ever there were holidays, the tempera would soak into the ceramic. Next they covered the entire piece with tempera.  On my example I had watered it down.  I didn’t have them do that, and they turned out just fine.  After that they held the tiles under a running stream from the faucet.  I reminded them just to let the water wash over it and not to scrub.  The water would rinse away all the tempera where they had colored with the oil pastels.  Many were nervous and seemed as if they didn’t believe me.  I love their faces when they finally saw the amazing result.  As a last step, I had them spray with a spray gloss to seal the piece.

They were super happy with their tiles.  I don’t think they ever would have though to do anything like this.  A few of them are in painting and drawing with the other art teacher and the connected what we did with the resist to a similar project they did on paper with tempera and ink.  Love when they can do that.

P1040693 P1040873 P1040875 P1040919 P1040927 P1040928 P1050268 P1040930 P1040933 P1040941 P1040942 P1040944 P1050055 P1050199 P1050200 P1050202