Tag Archives: student work

Ceramic Spheres

Standard

My beginning ceramics students are slowly learning the basics of hand-building in hopes that soon I can let them enter a more choice-based atmosphere.  One of the basics we learned was the pinchpot.  In Art 1, my students create pinchpot monsters.  I wanted to do more than that in beginning ceramics class.  I also wanted them to continue to practice carving, which we had done in the previous unit, carved slabs.

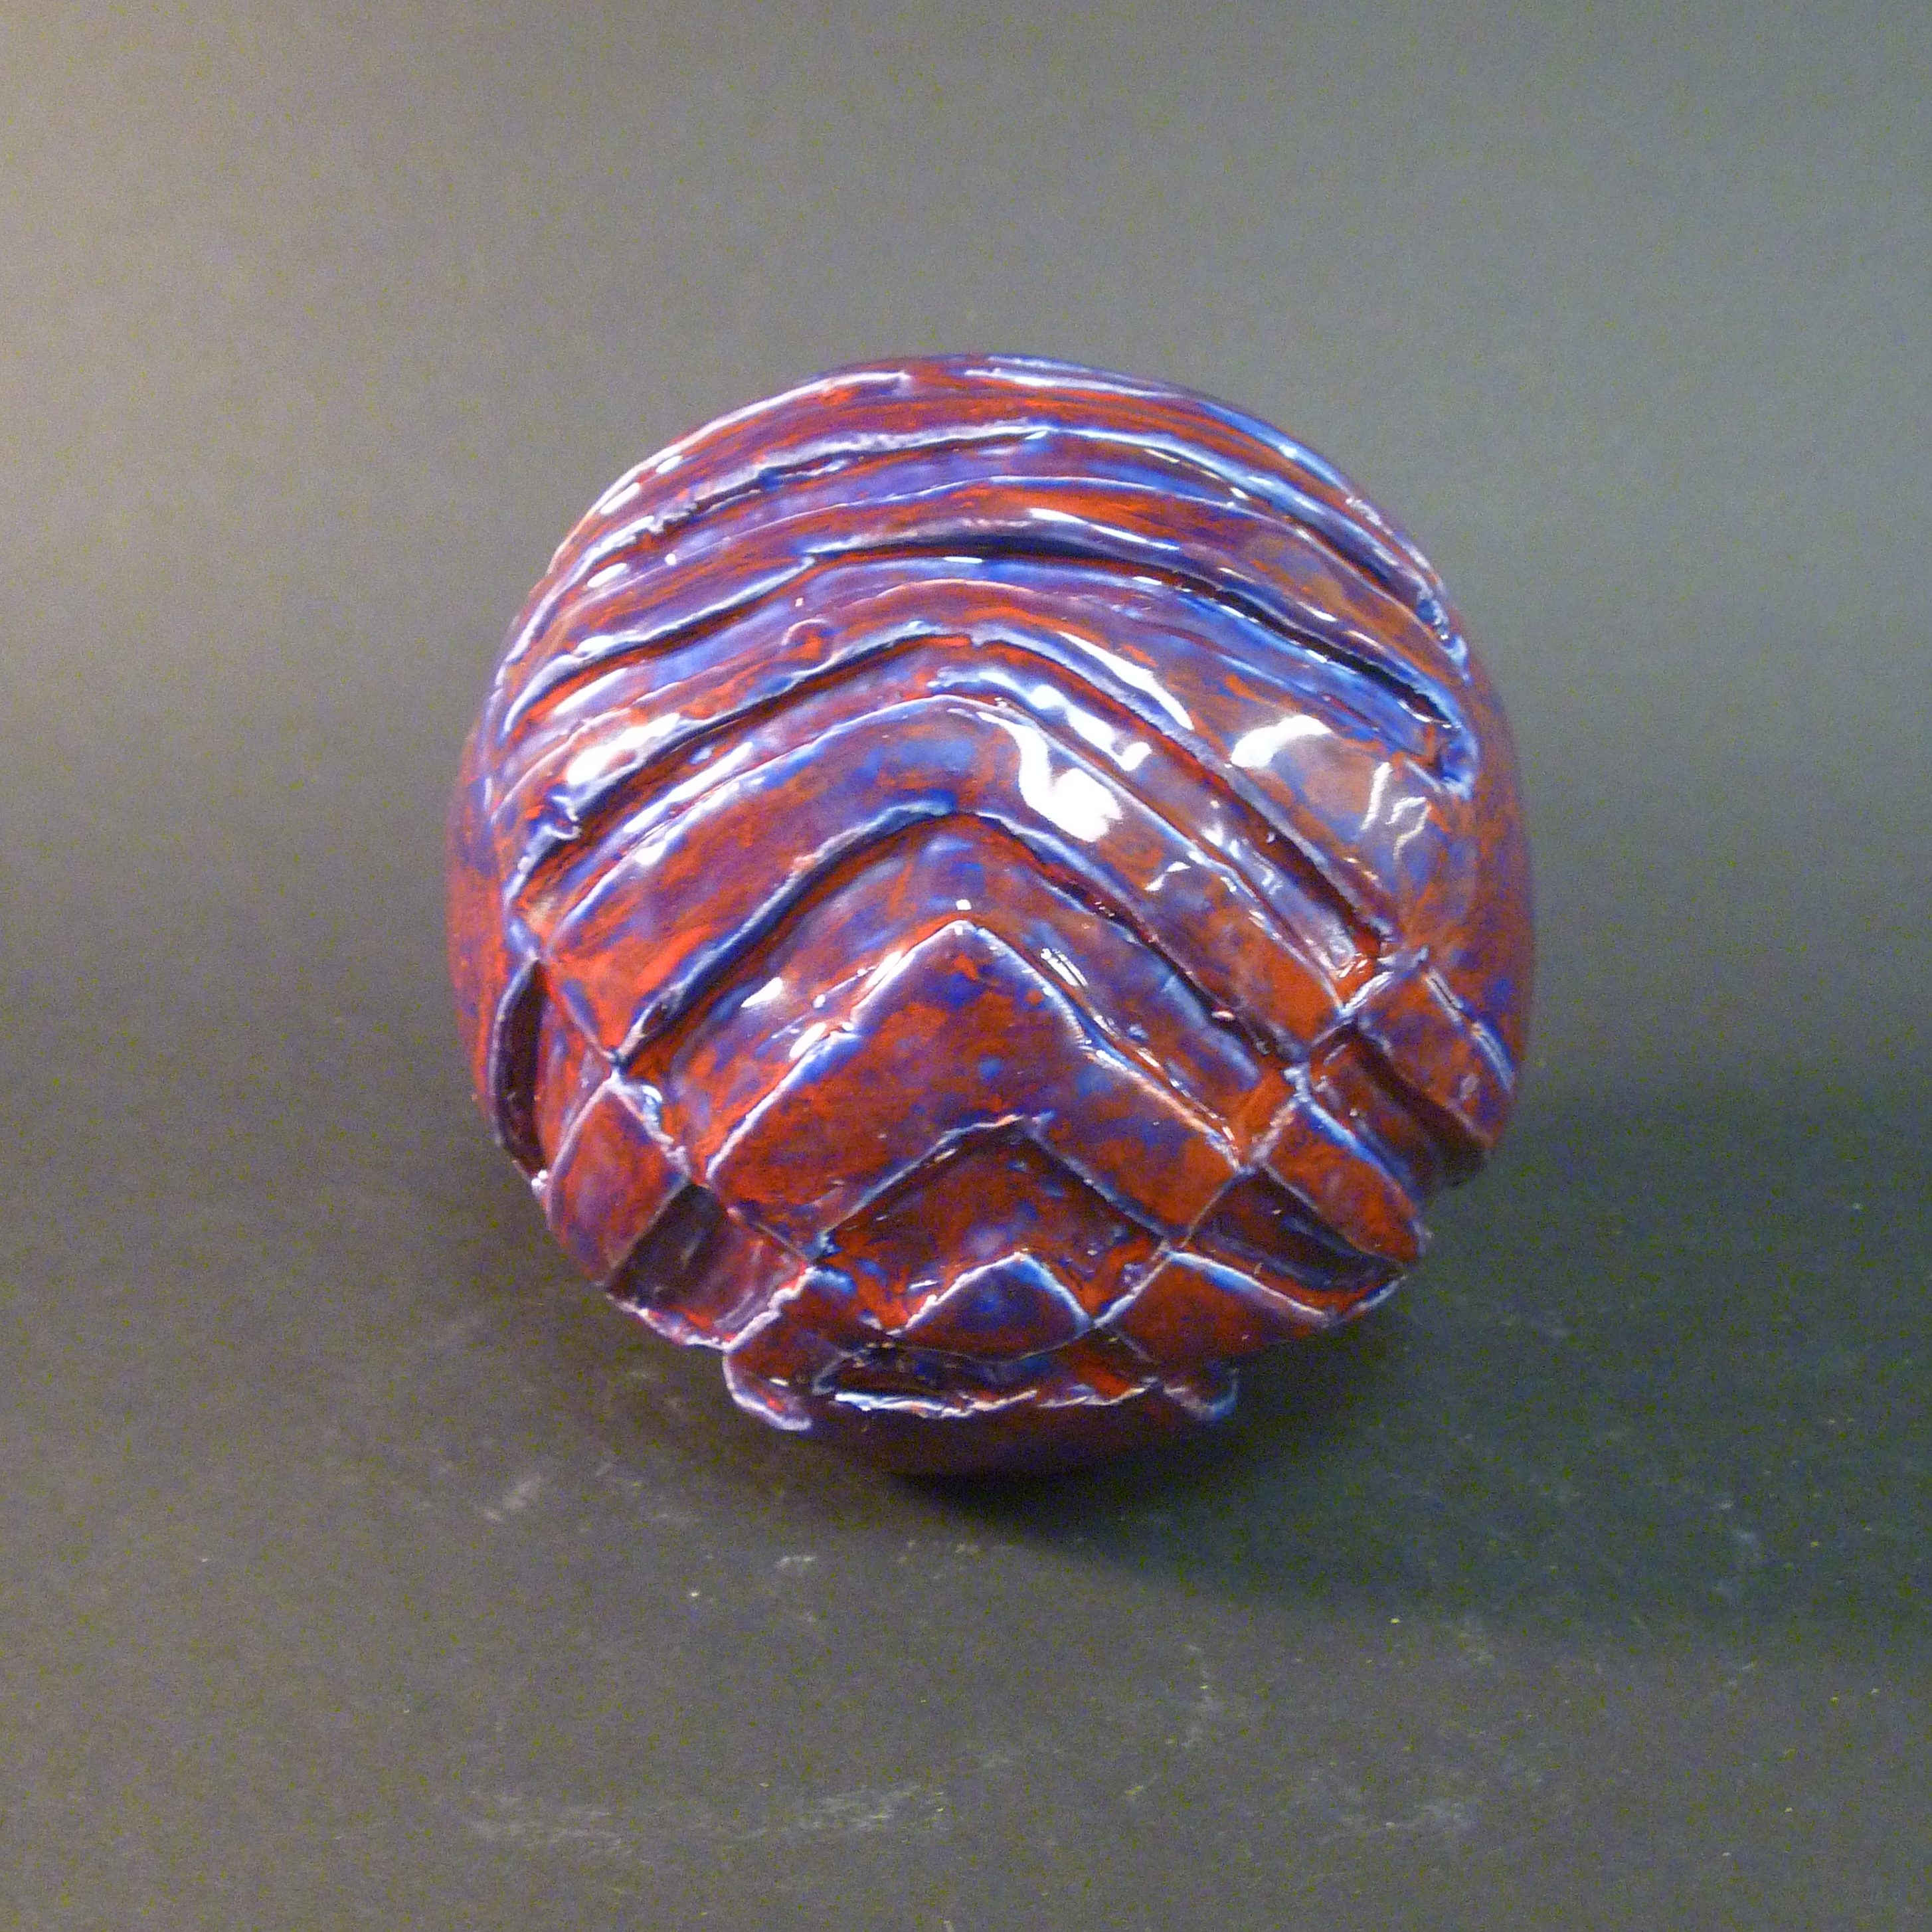
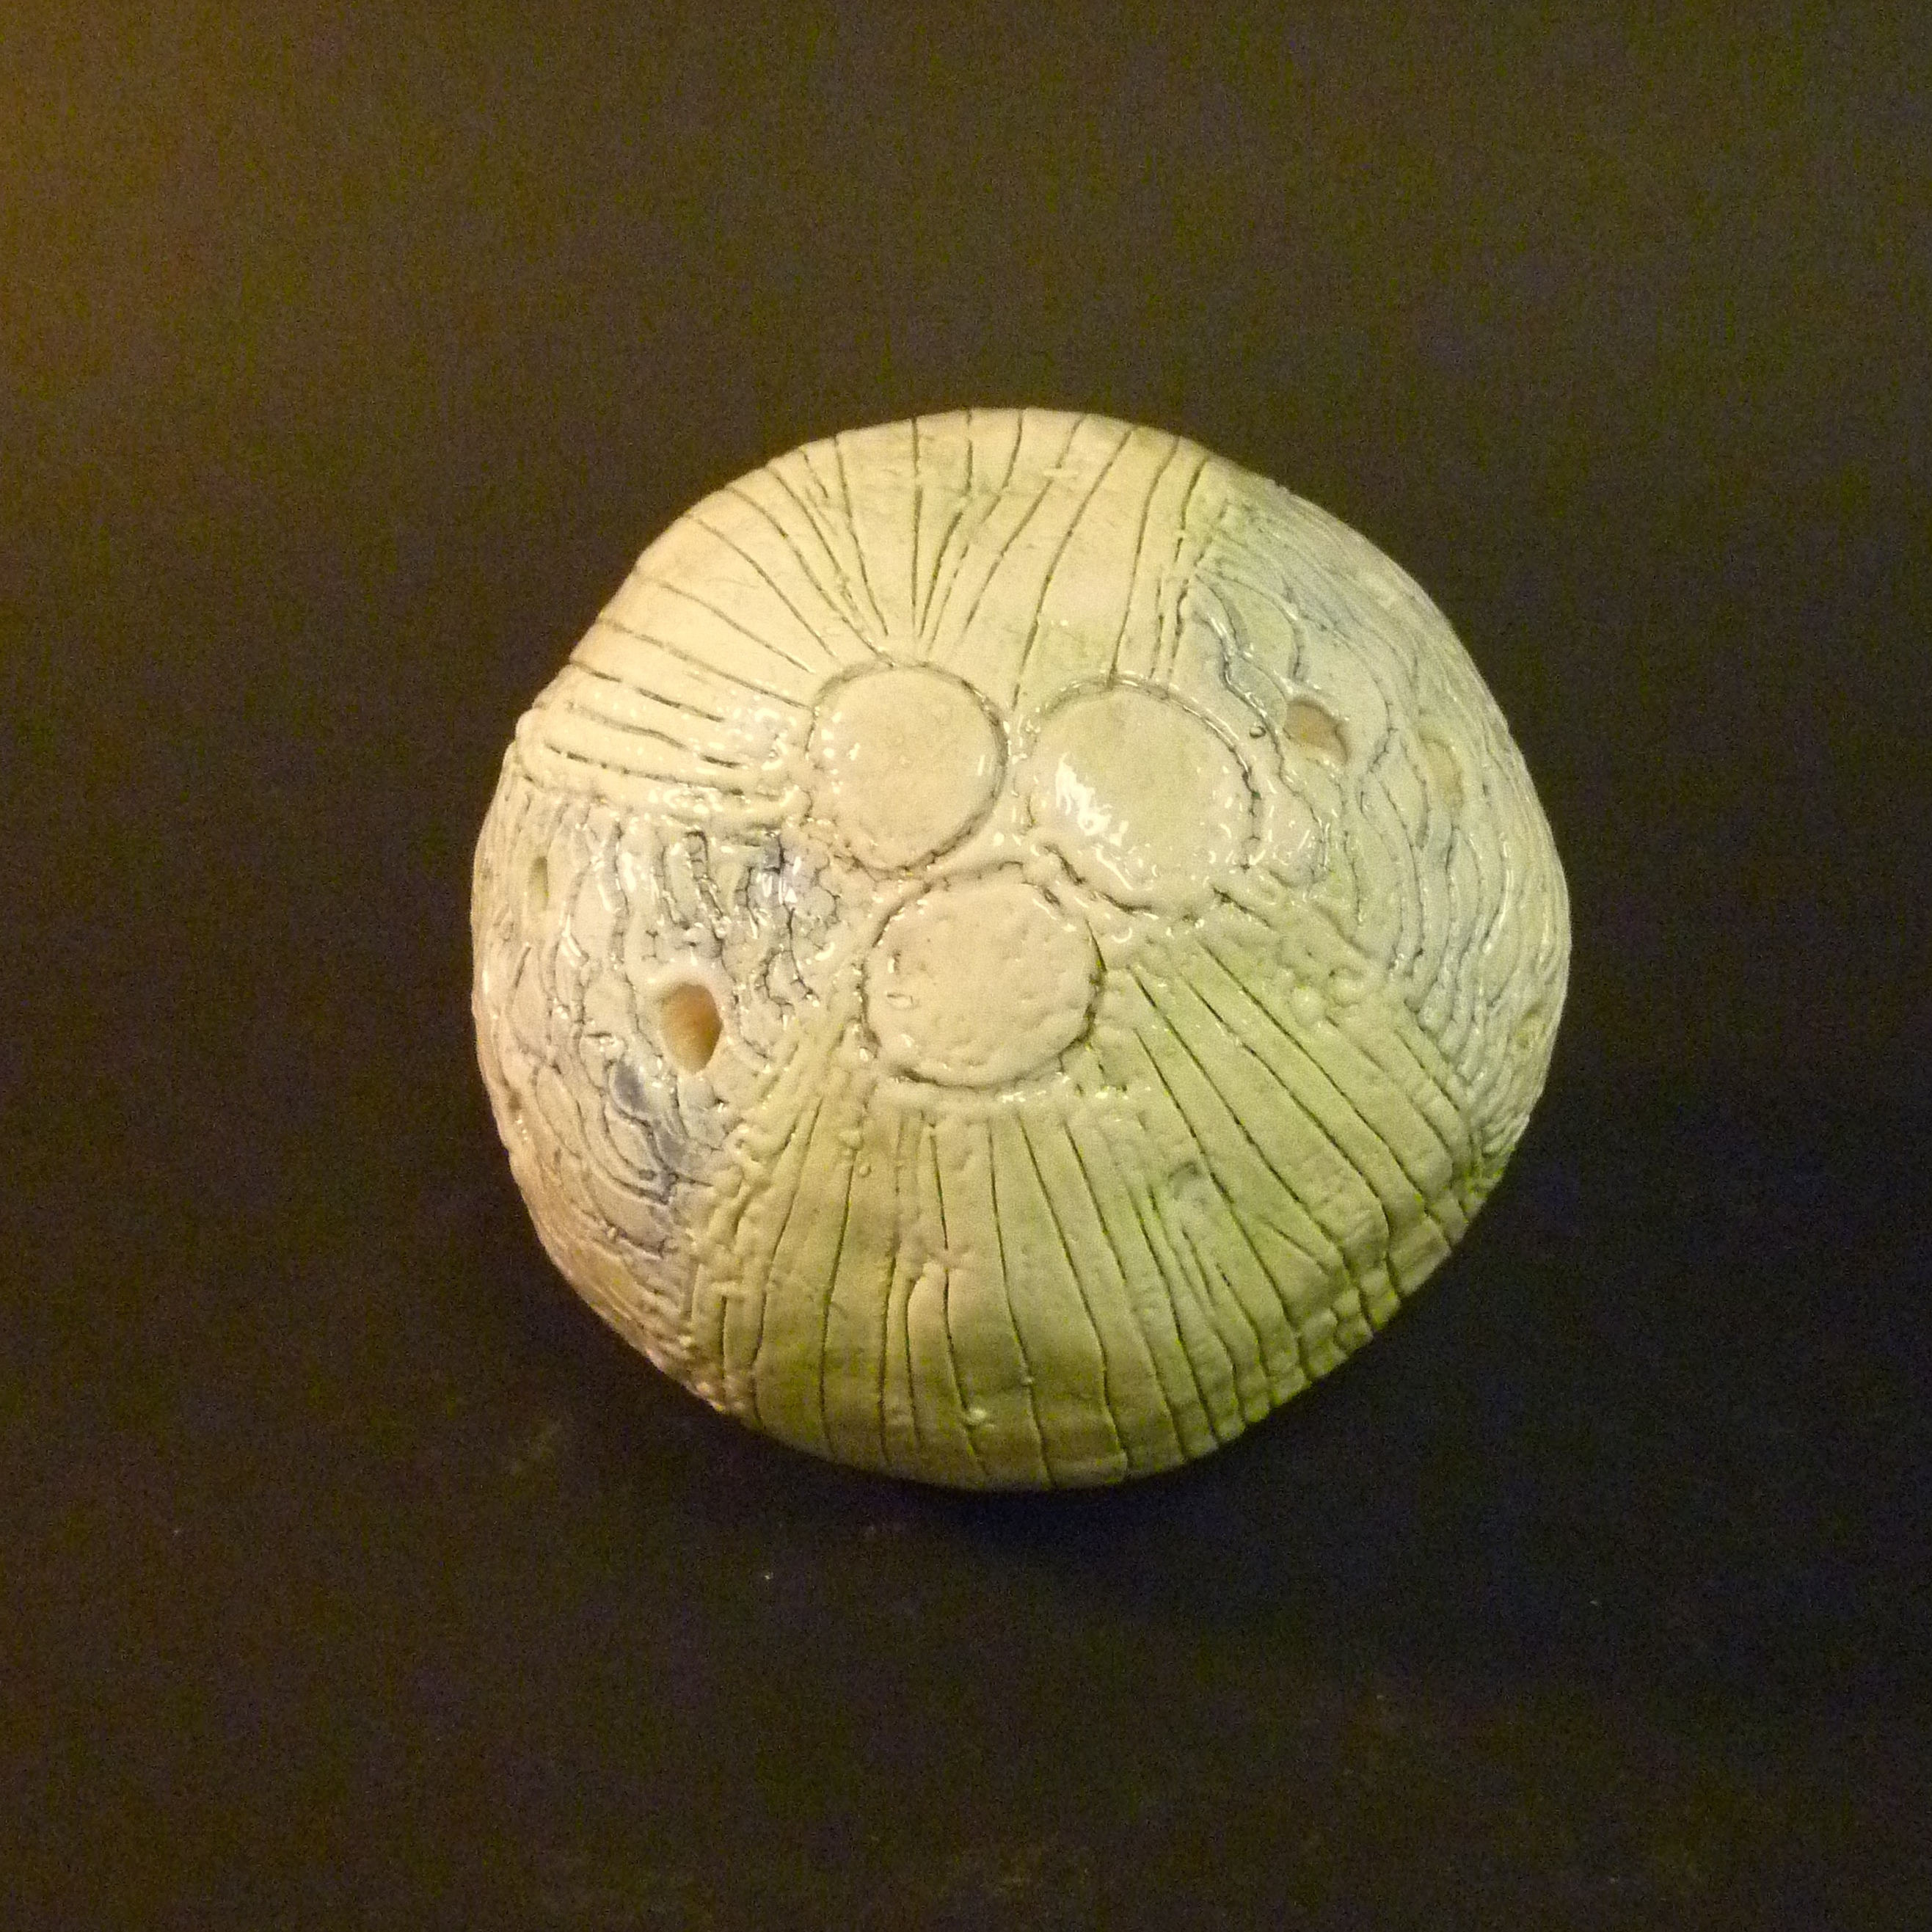
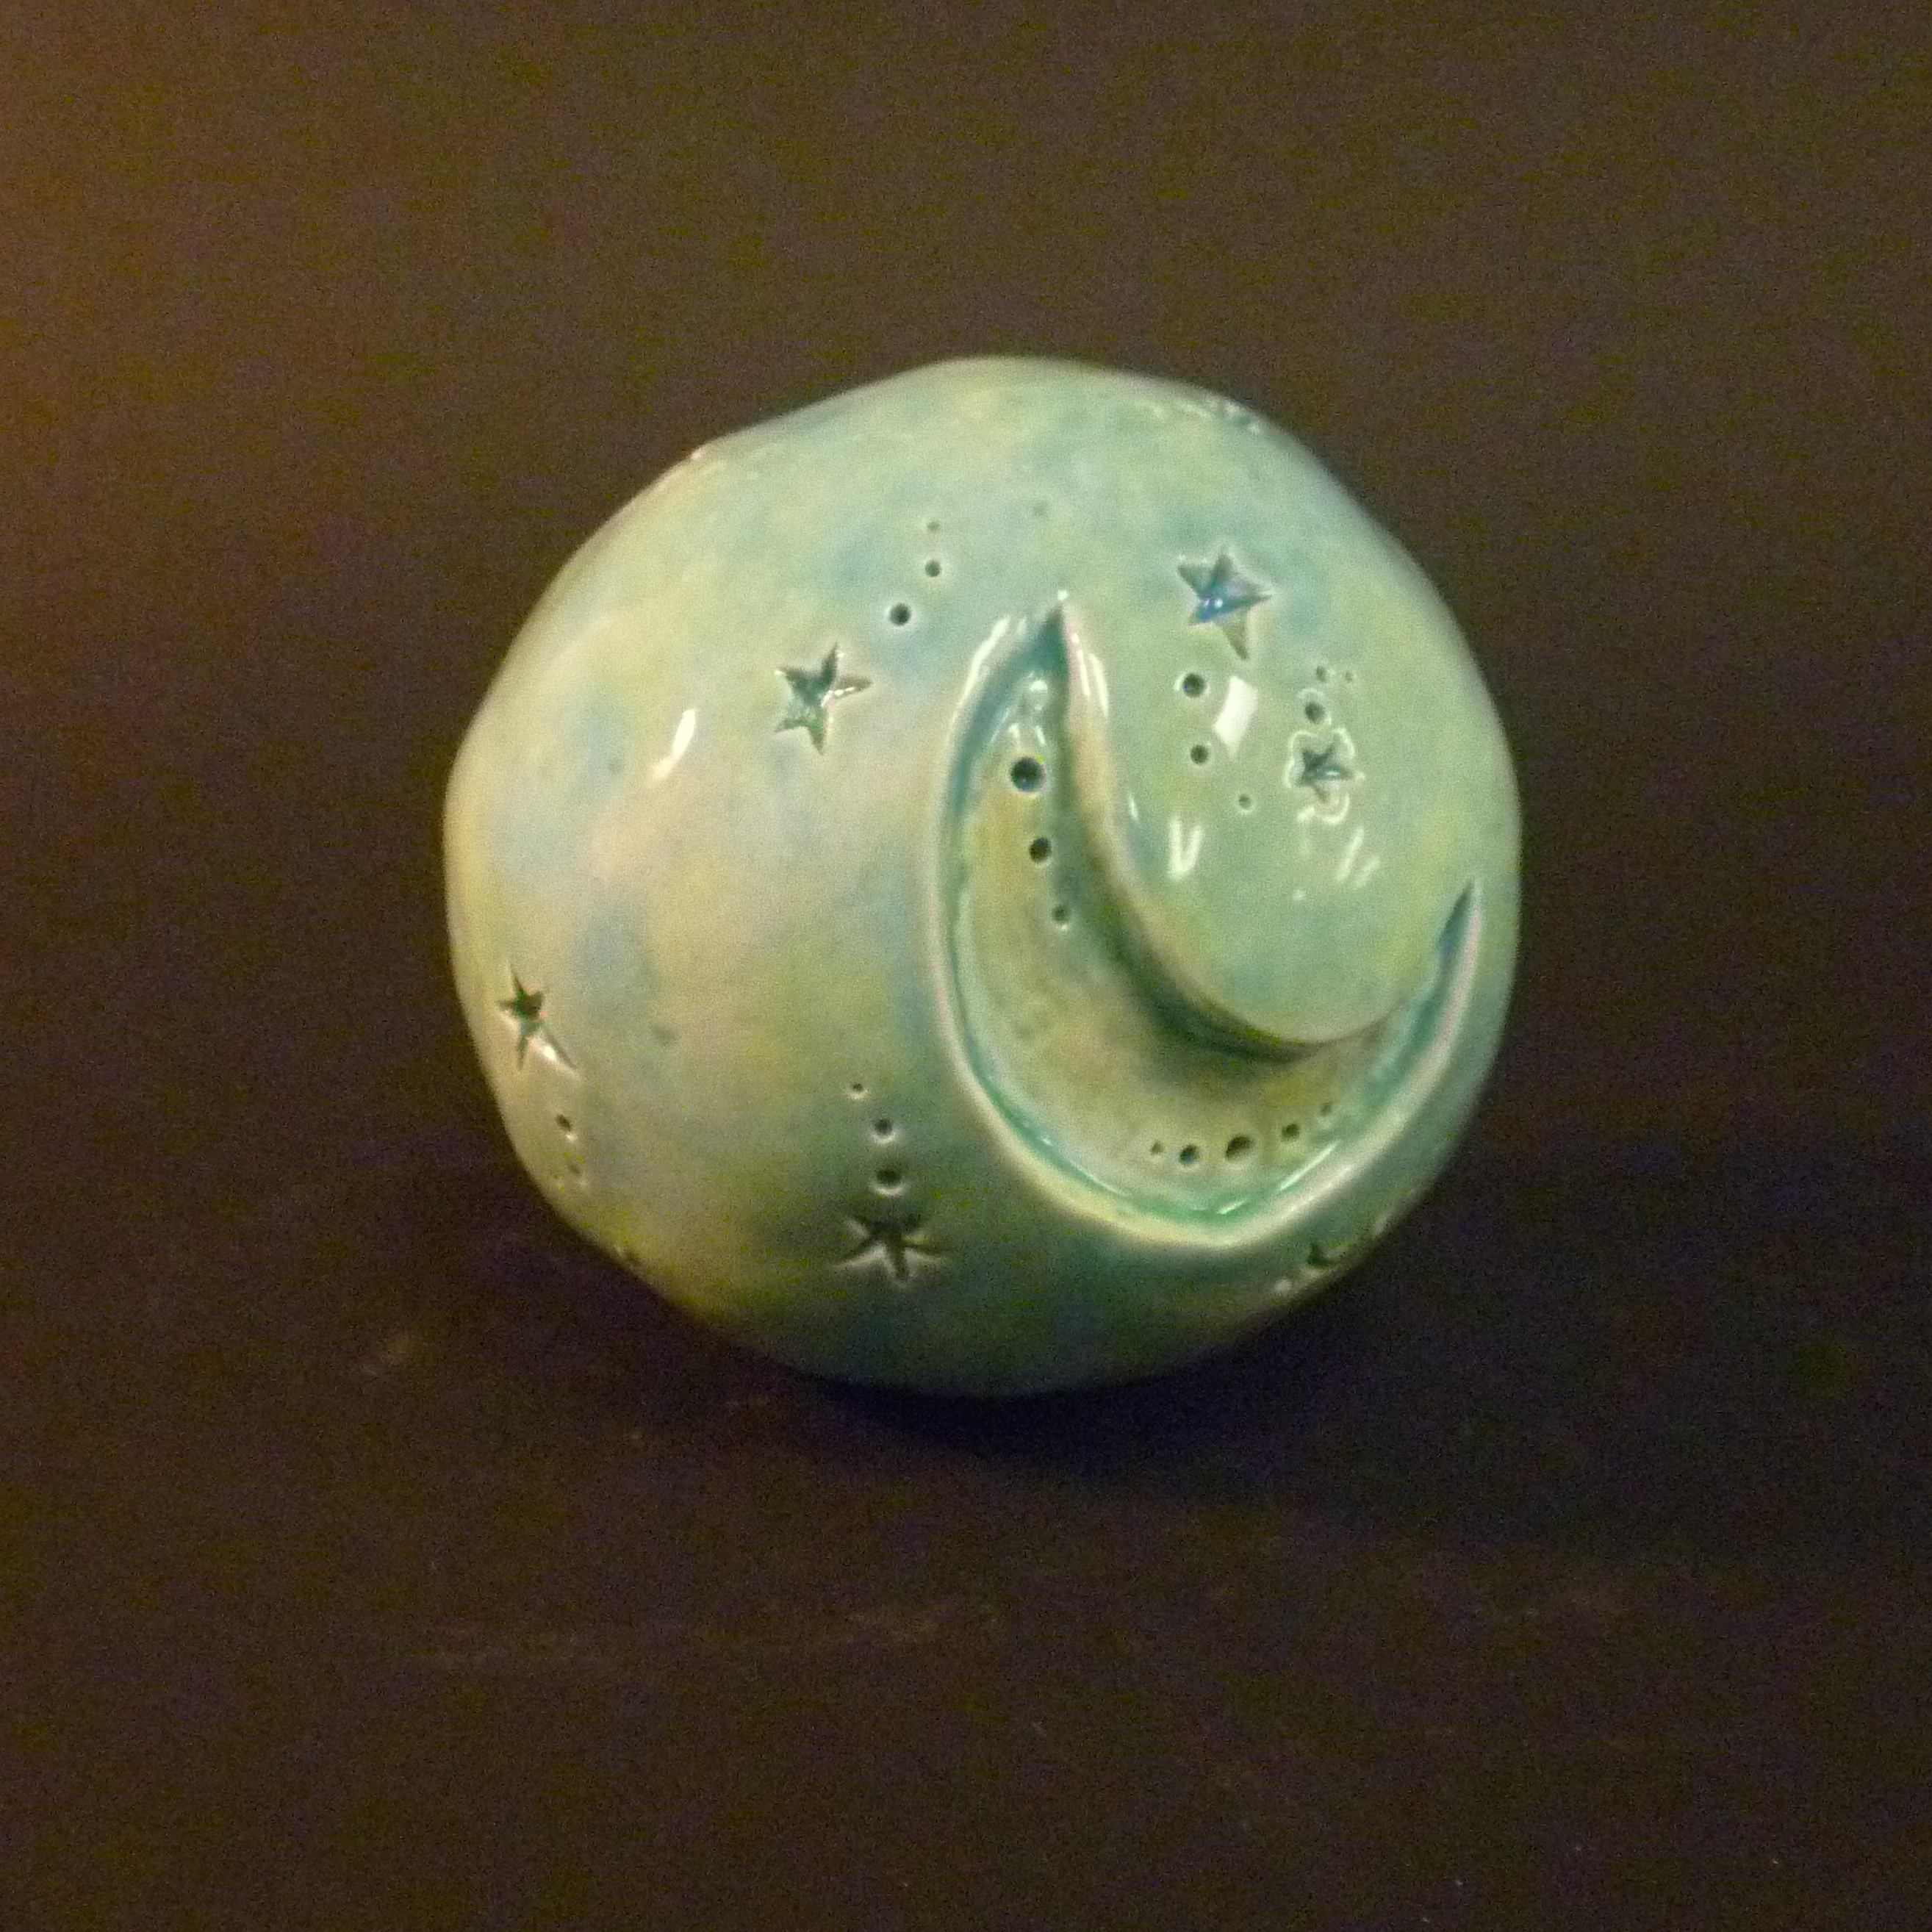
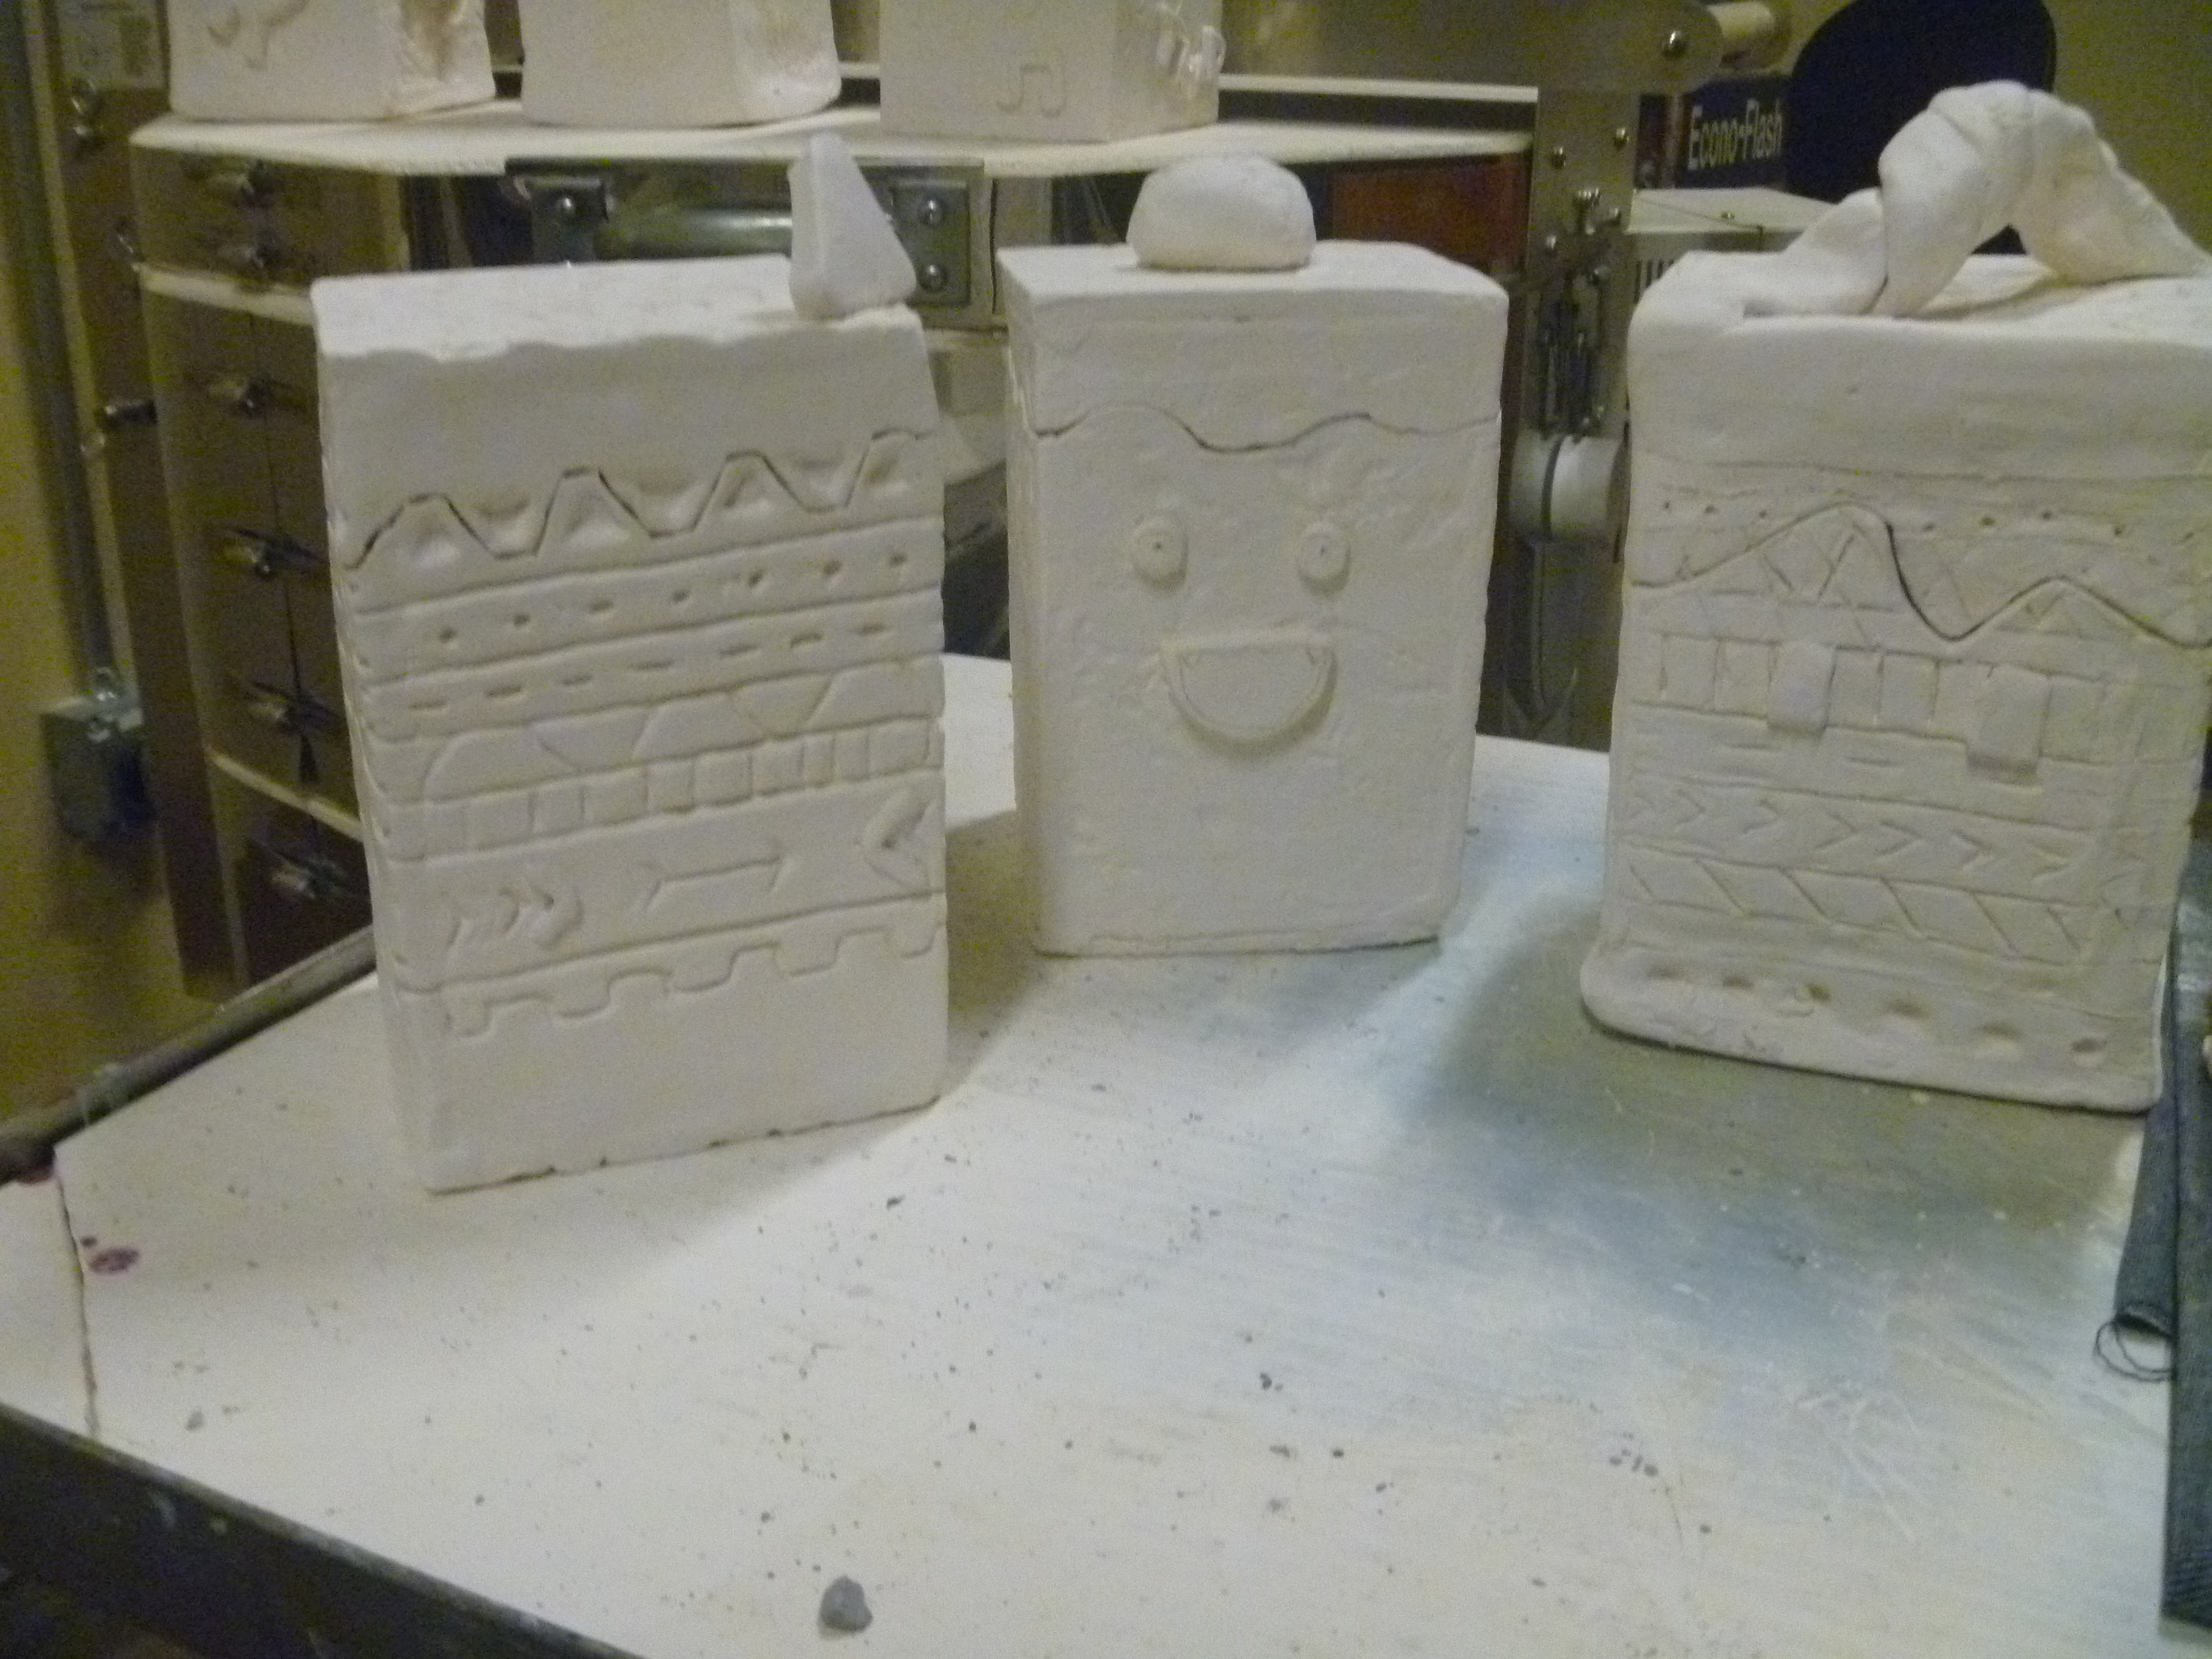
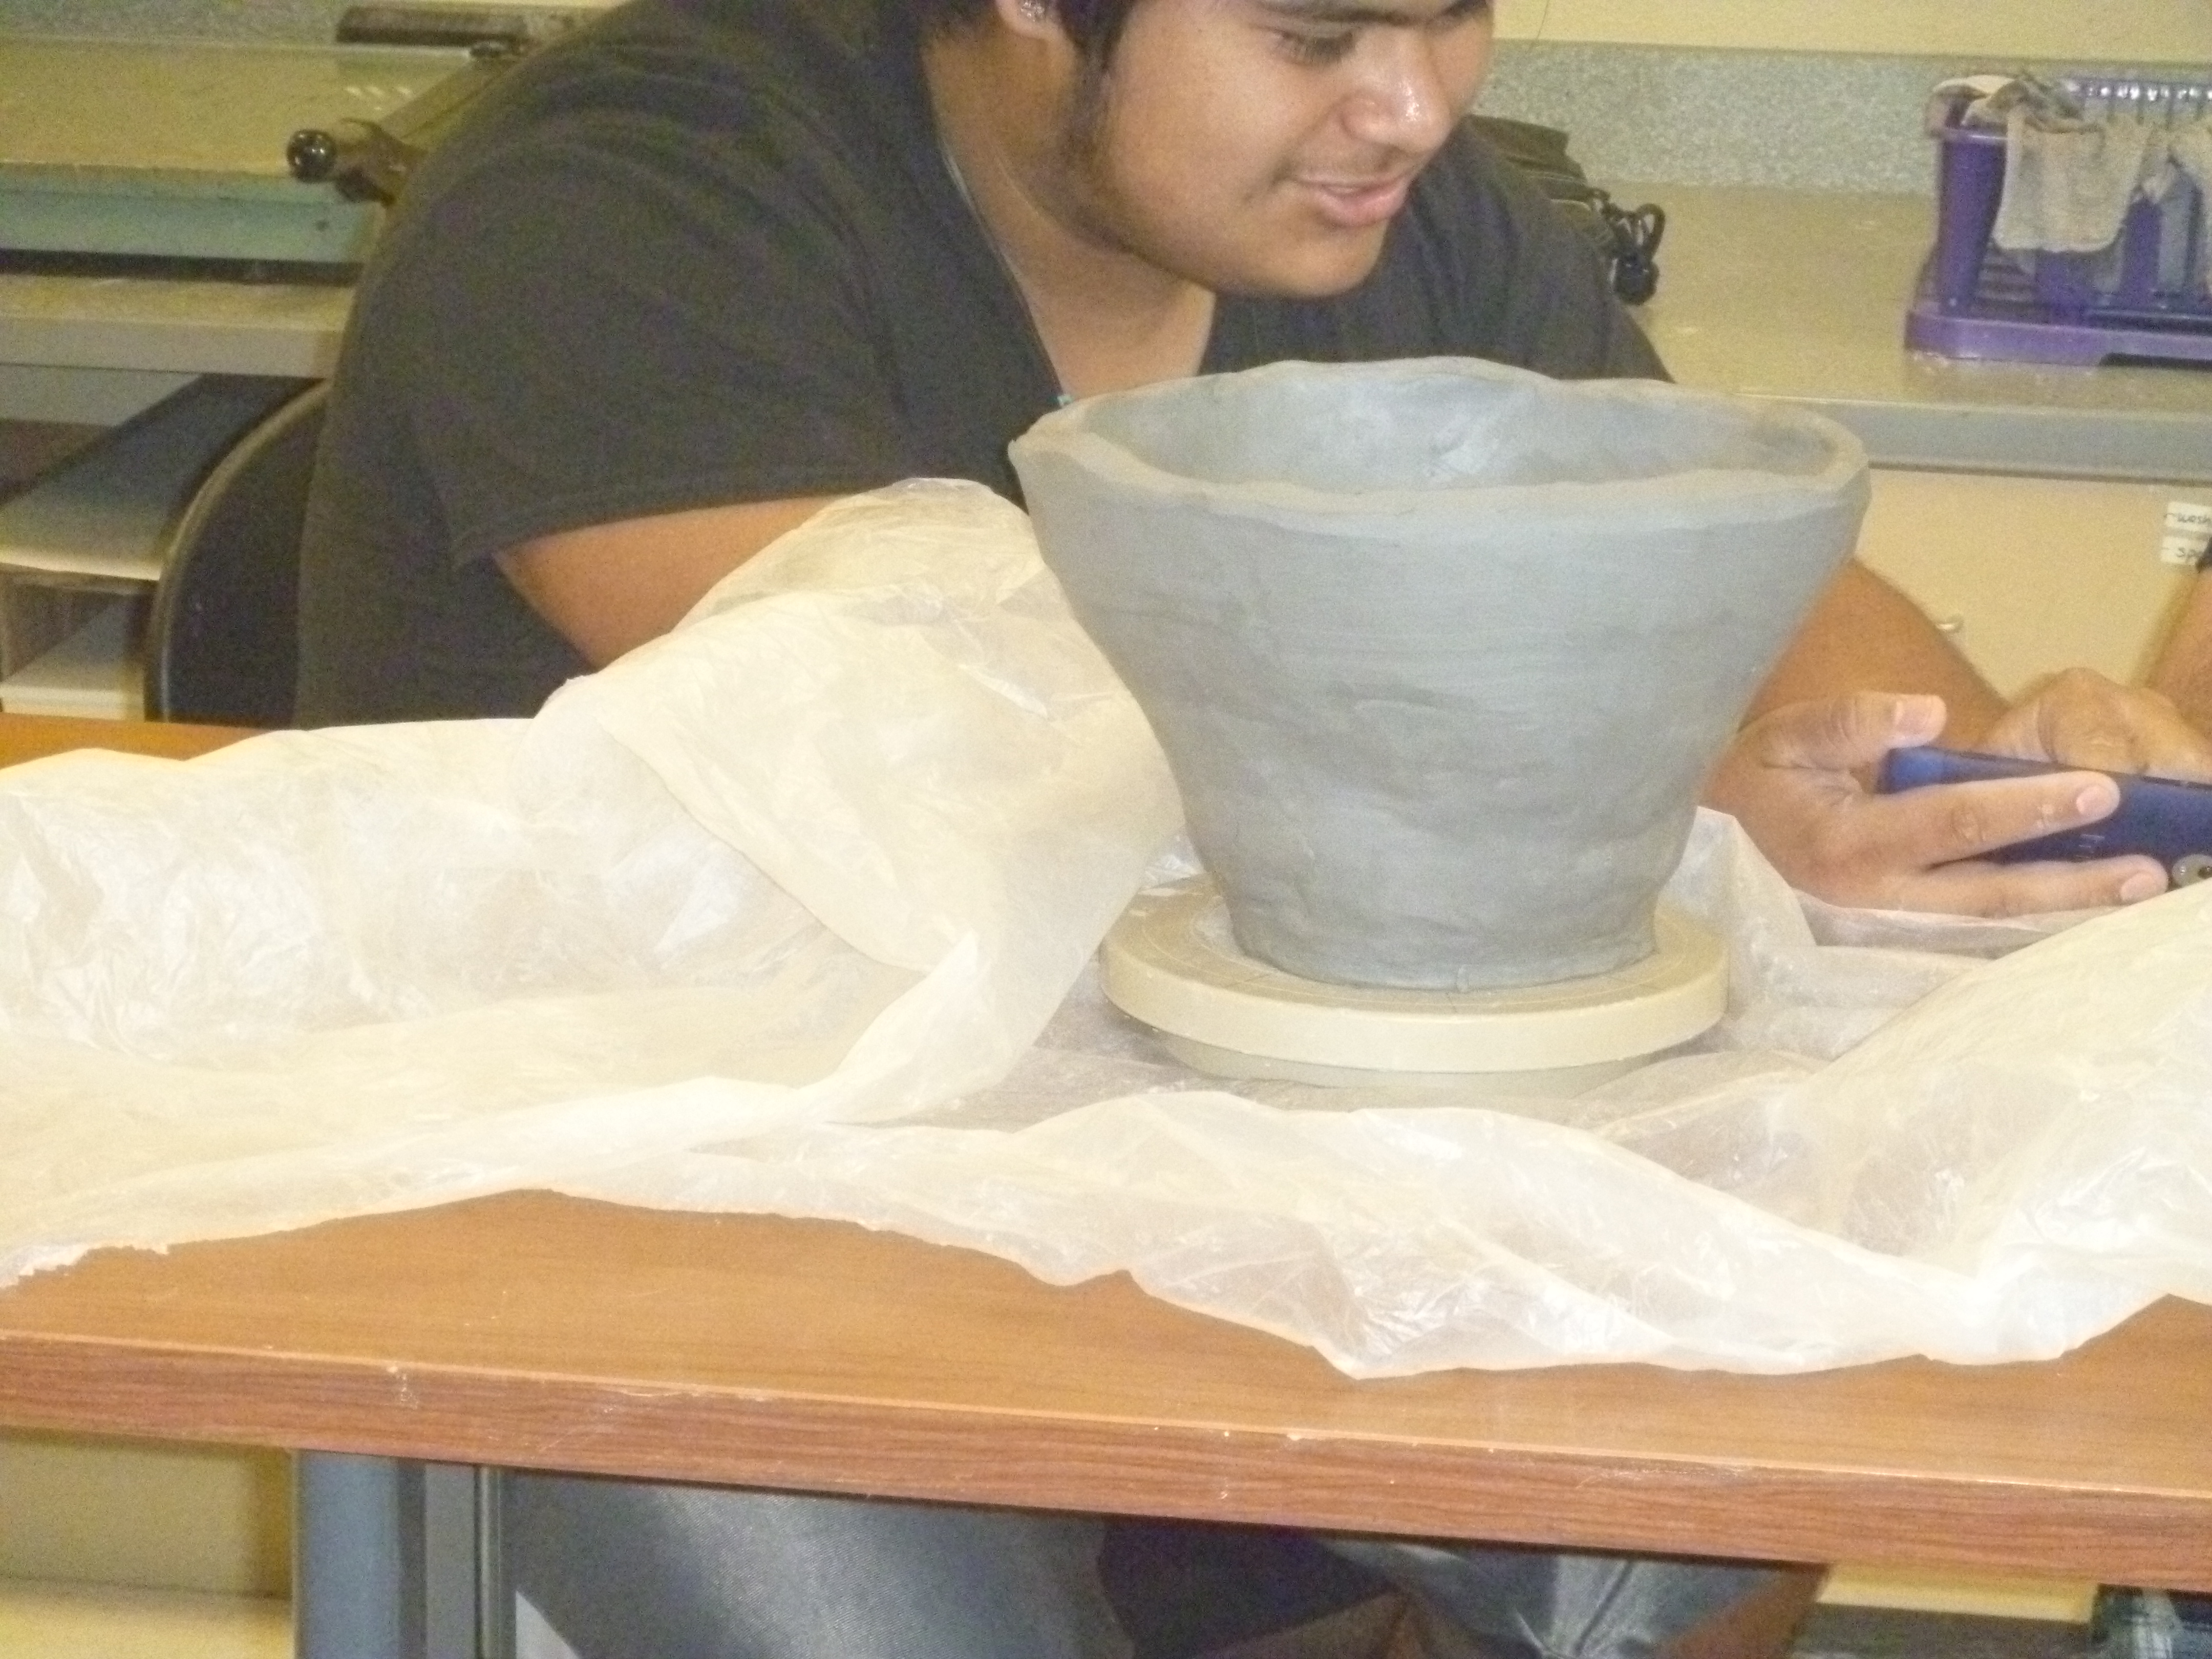
Students created 2 pinchpots and scored/slipped them together to form a sphere-like shape.  After letting it firm up some, they were to carve, incise, and/or cut into their sphere.

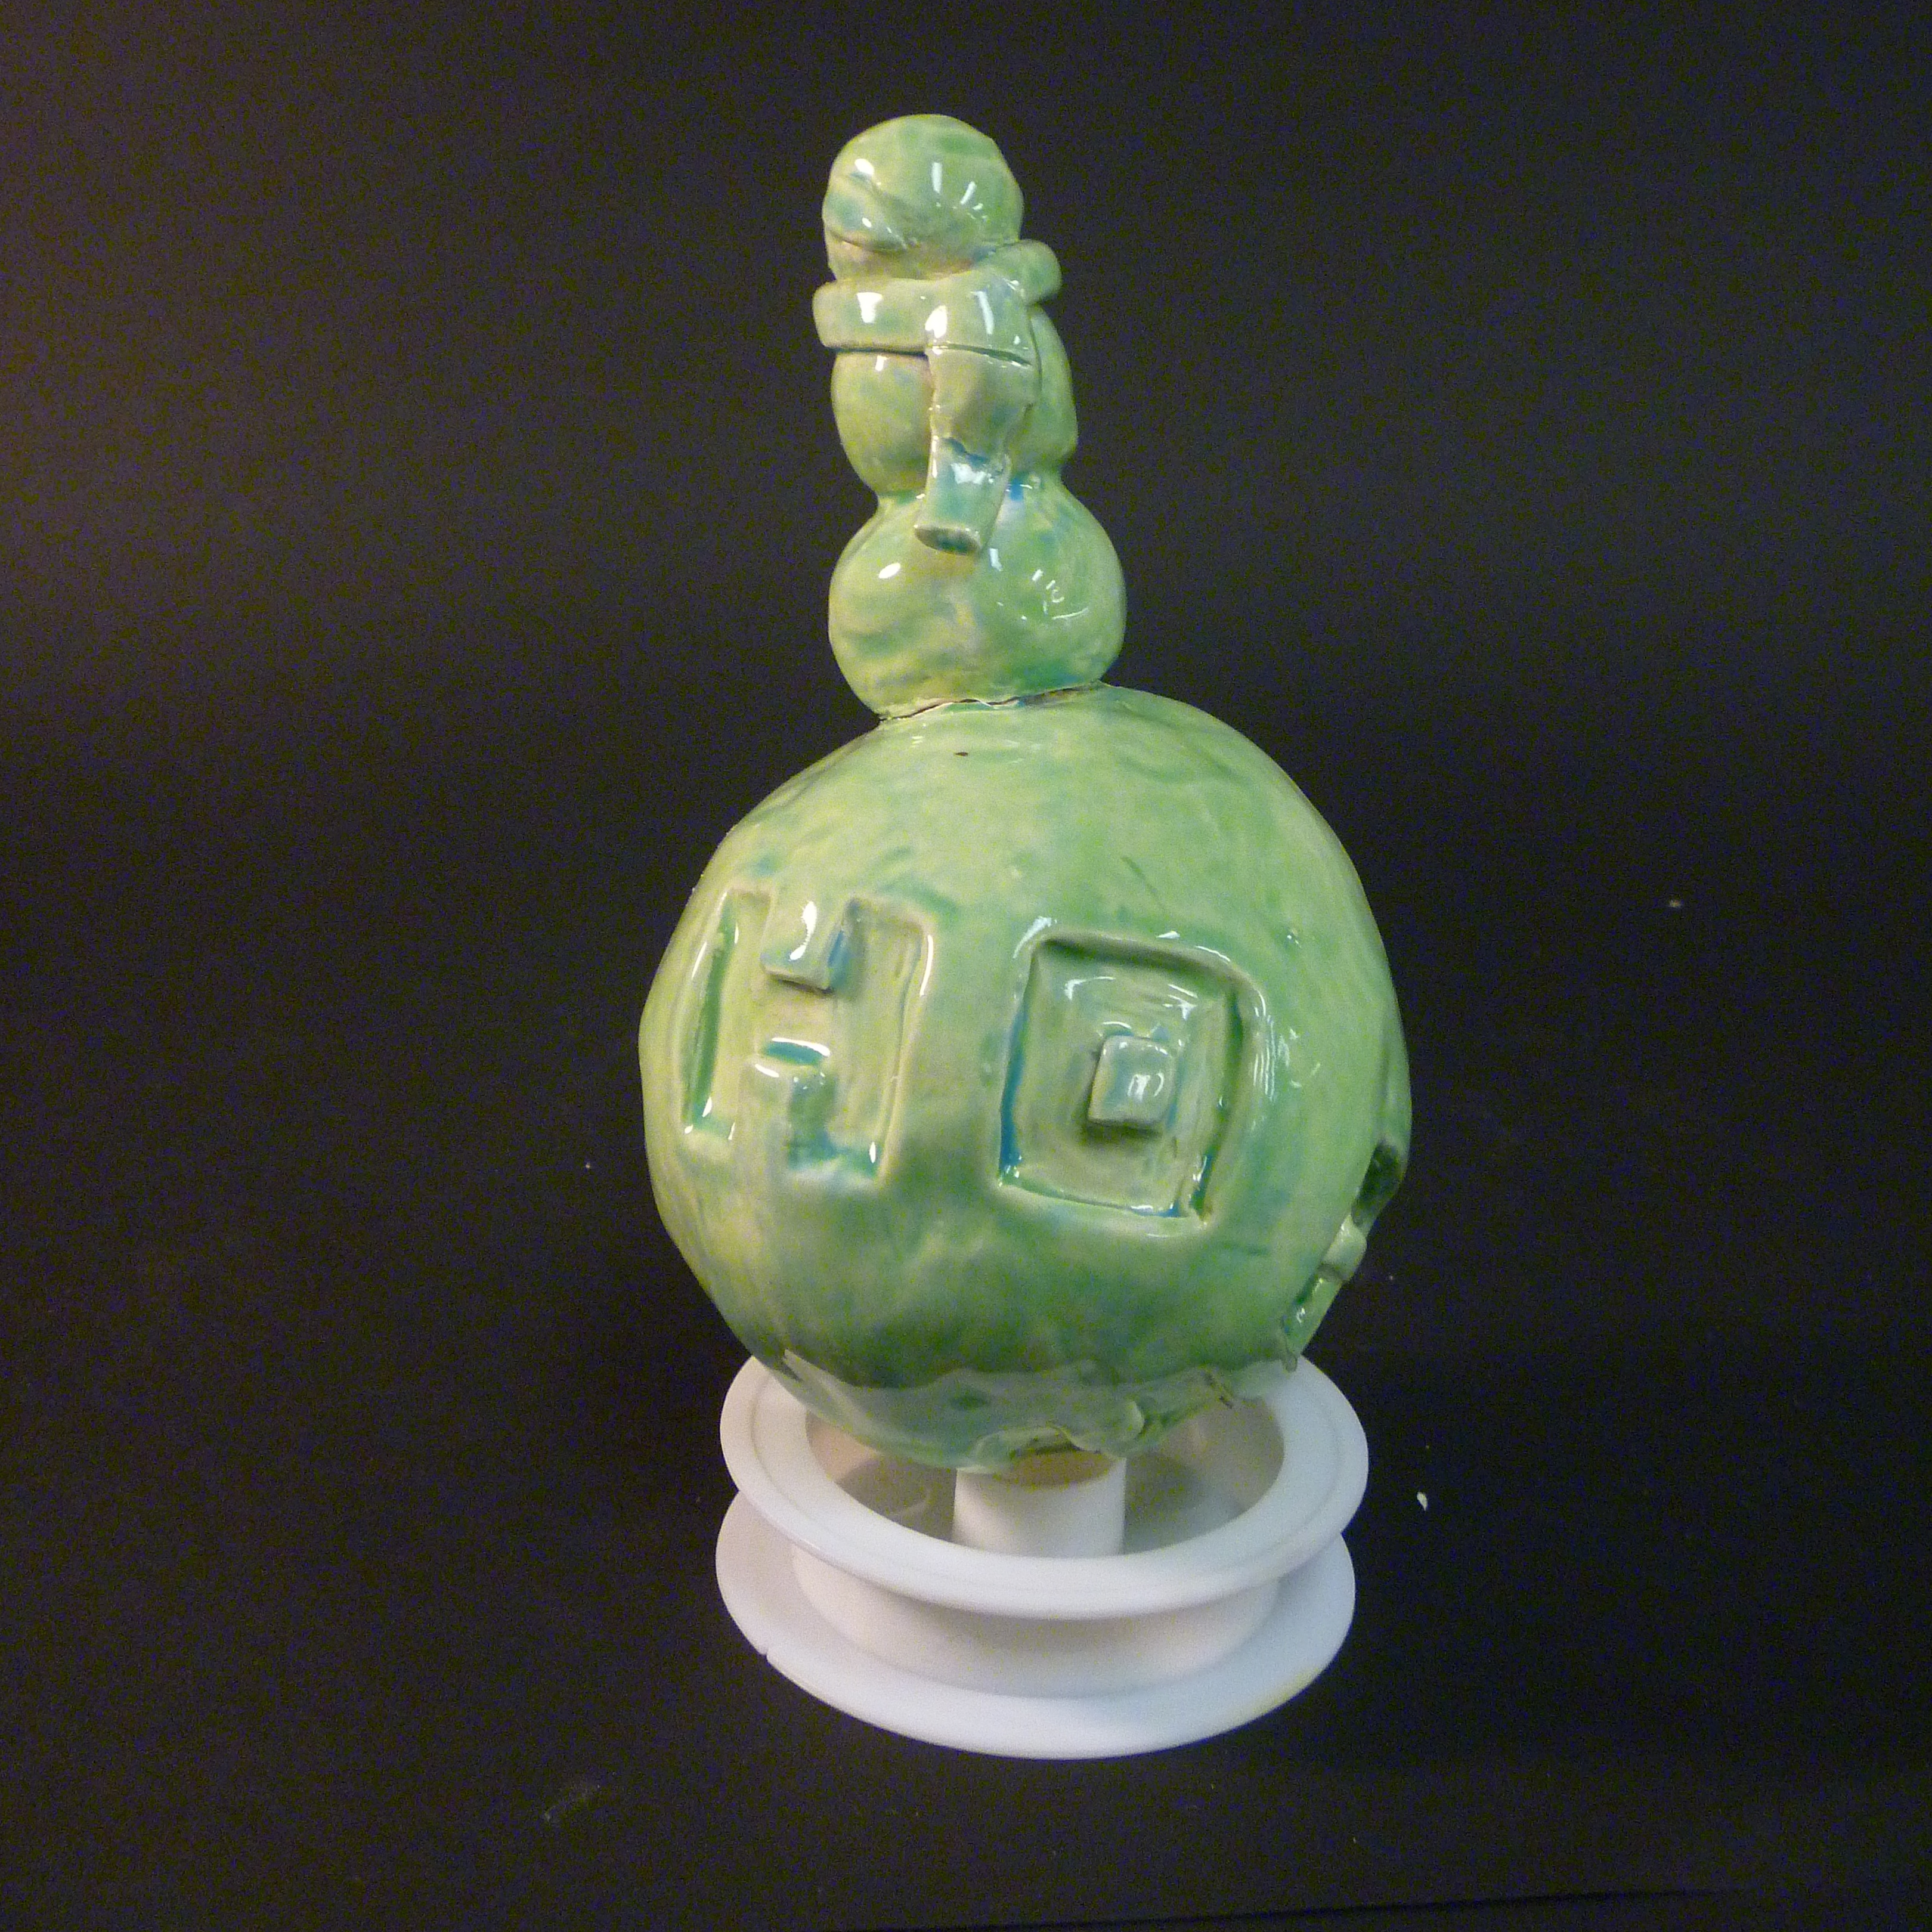
Some kids spent a lot of time figuring out their designs.  Other just went for it.  Two kids added to their sphere.  But, they all learned a lot about thinking in the round and time spent in the air.  A couple commented that their carving got better, even though it was much harder to carve a round surface than it was the flat surface.

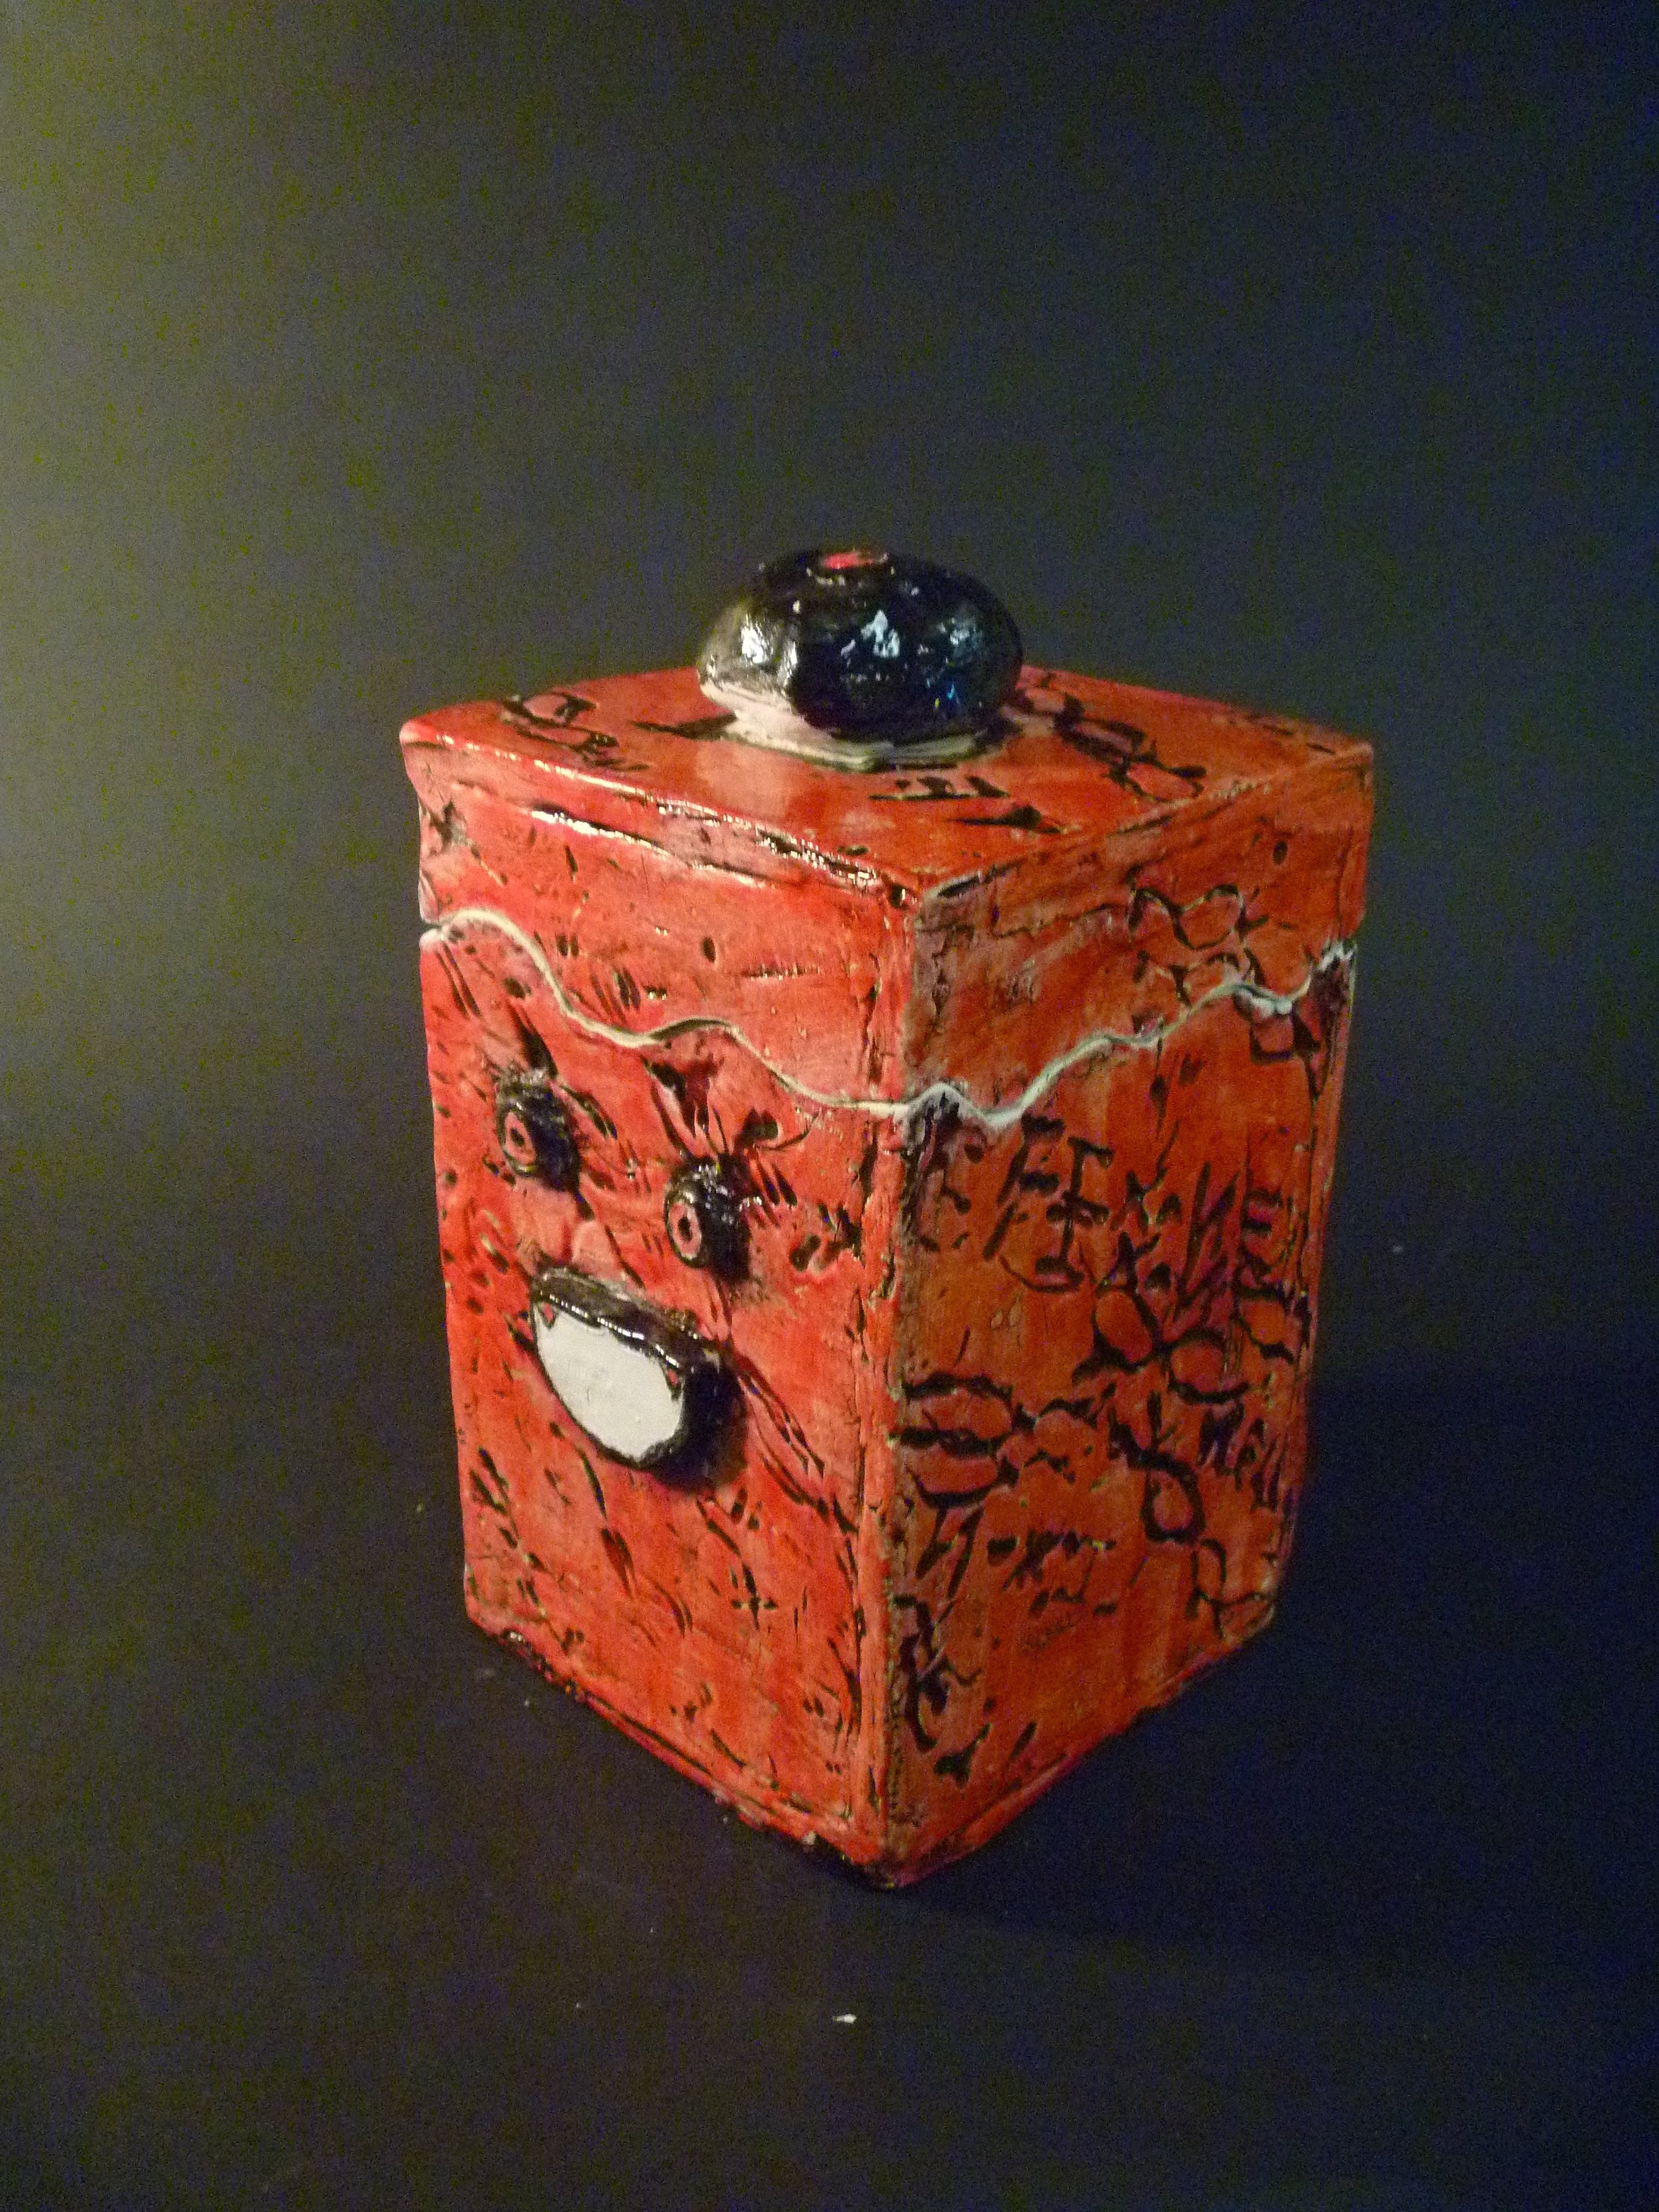
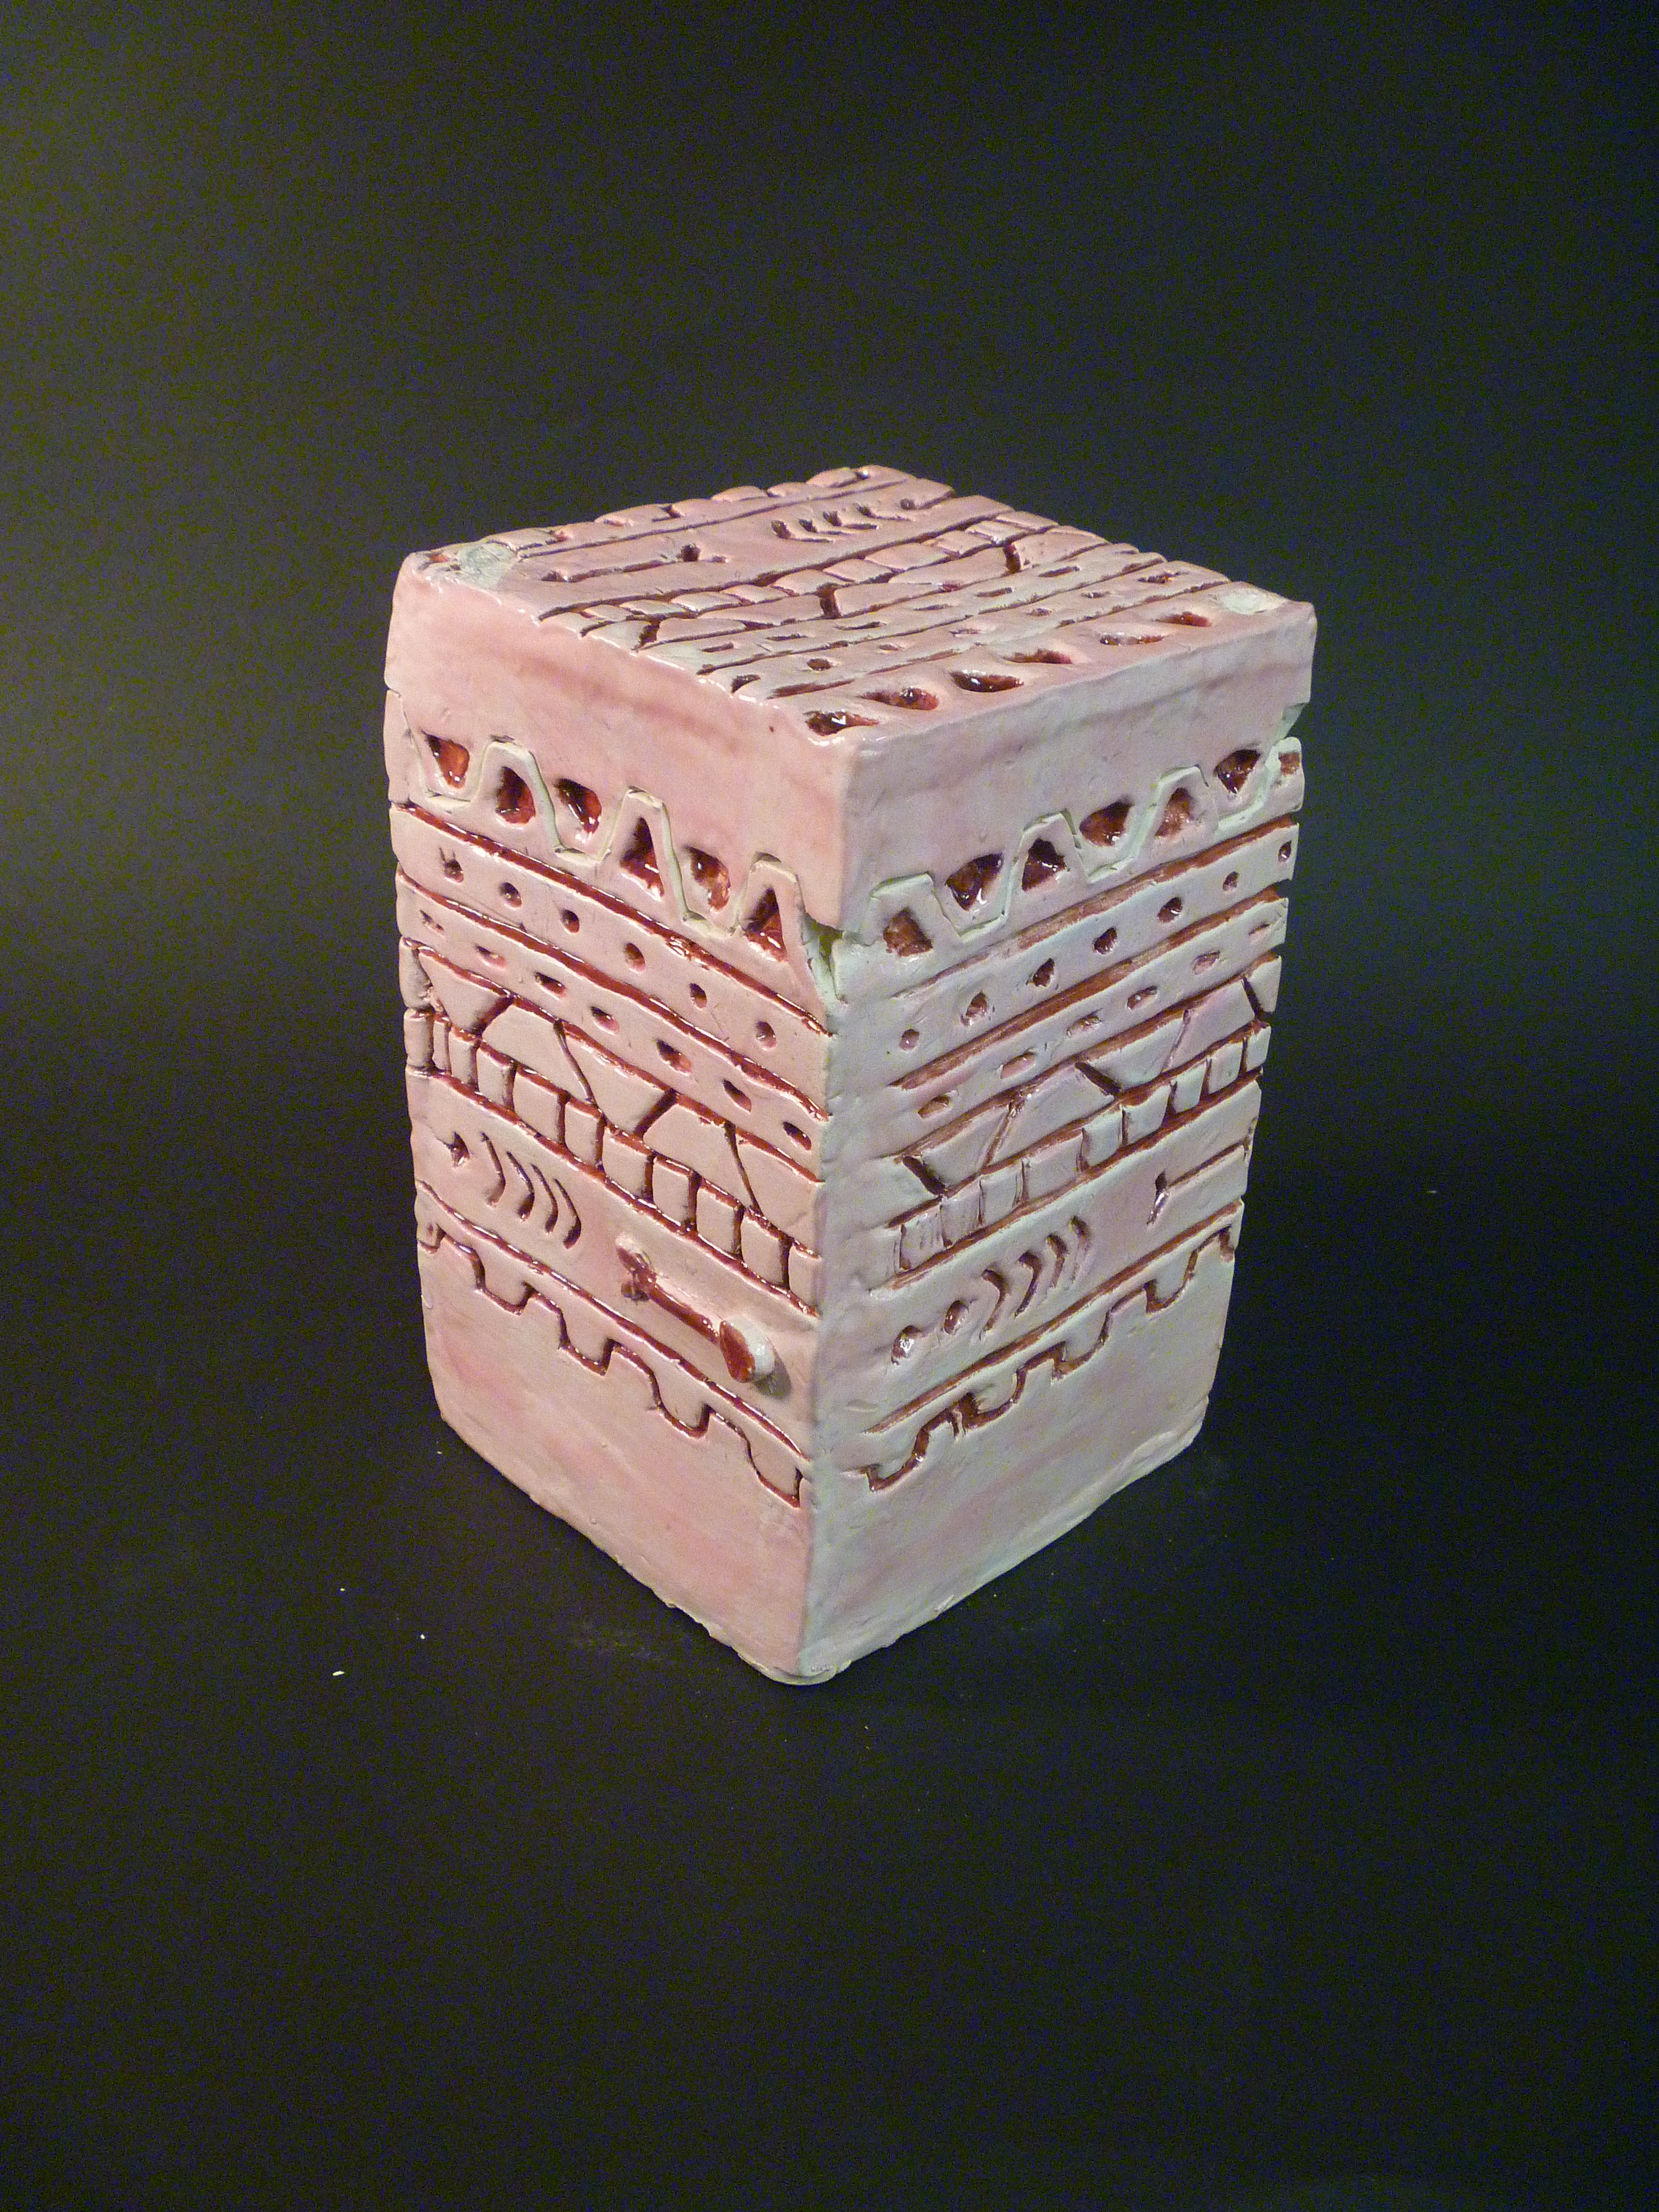
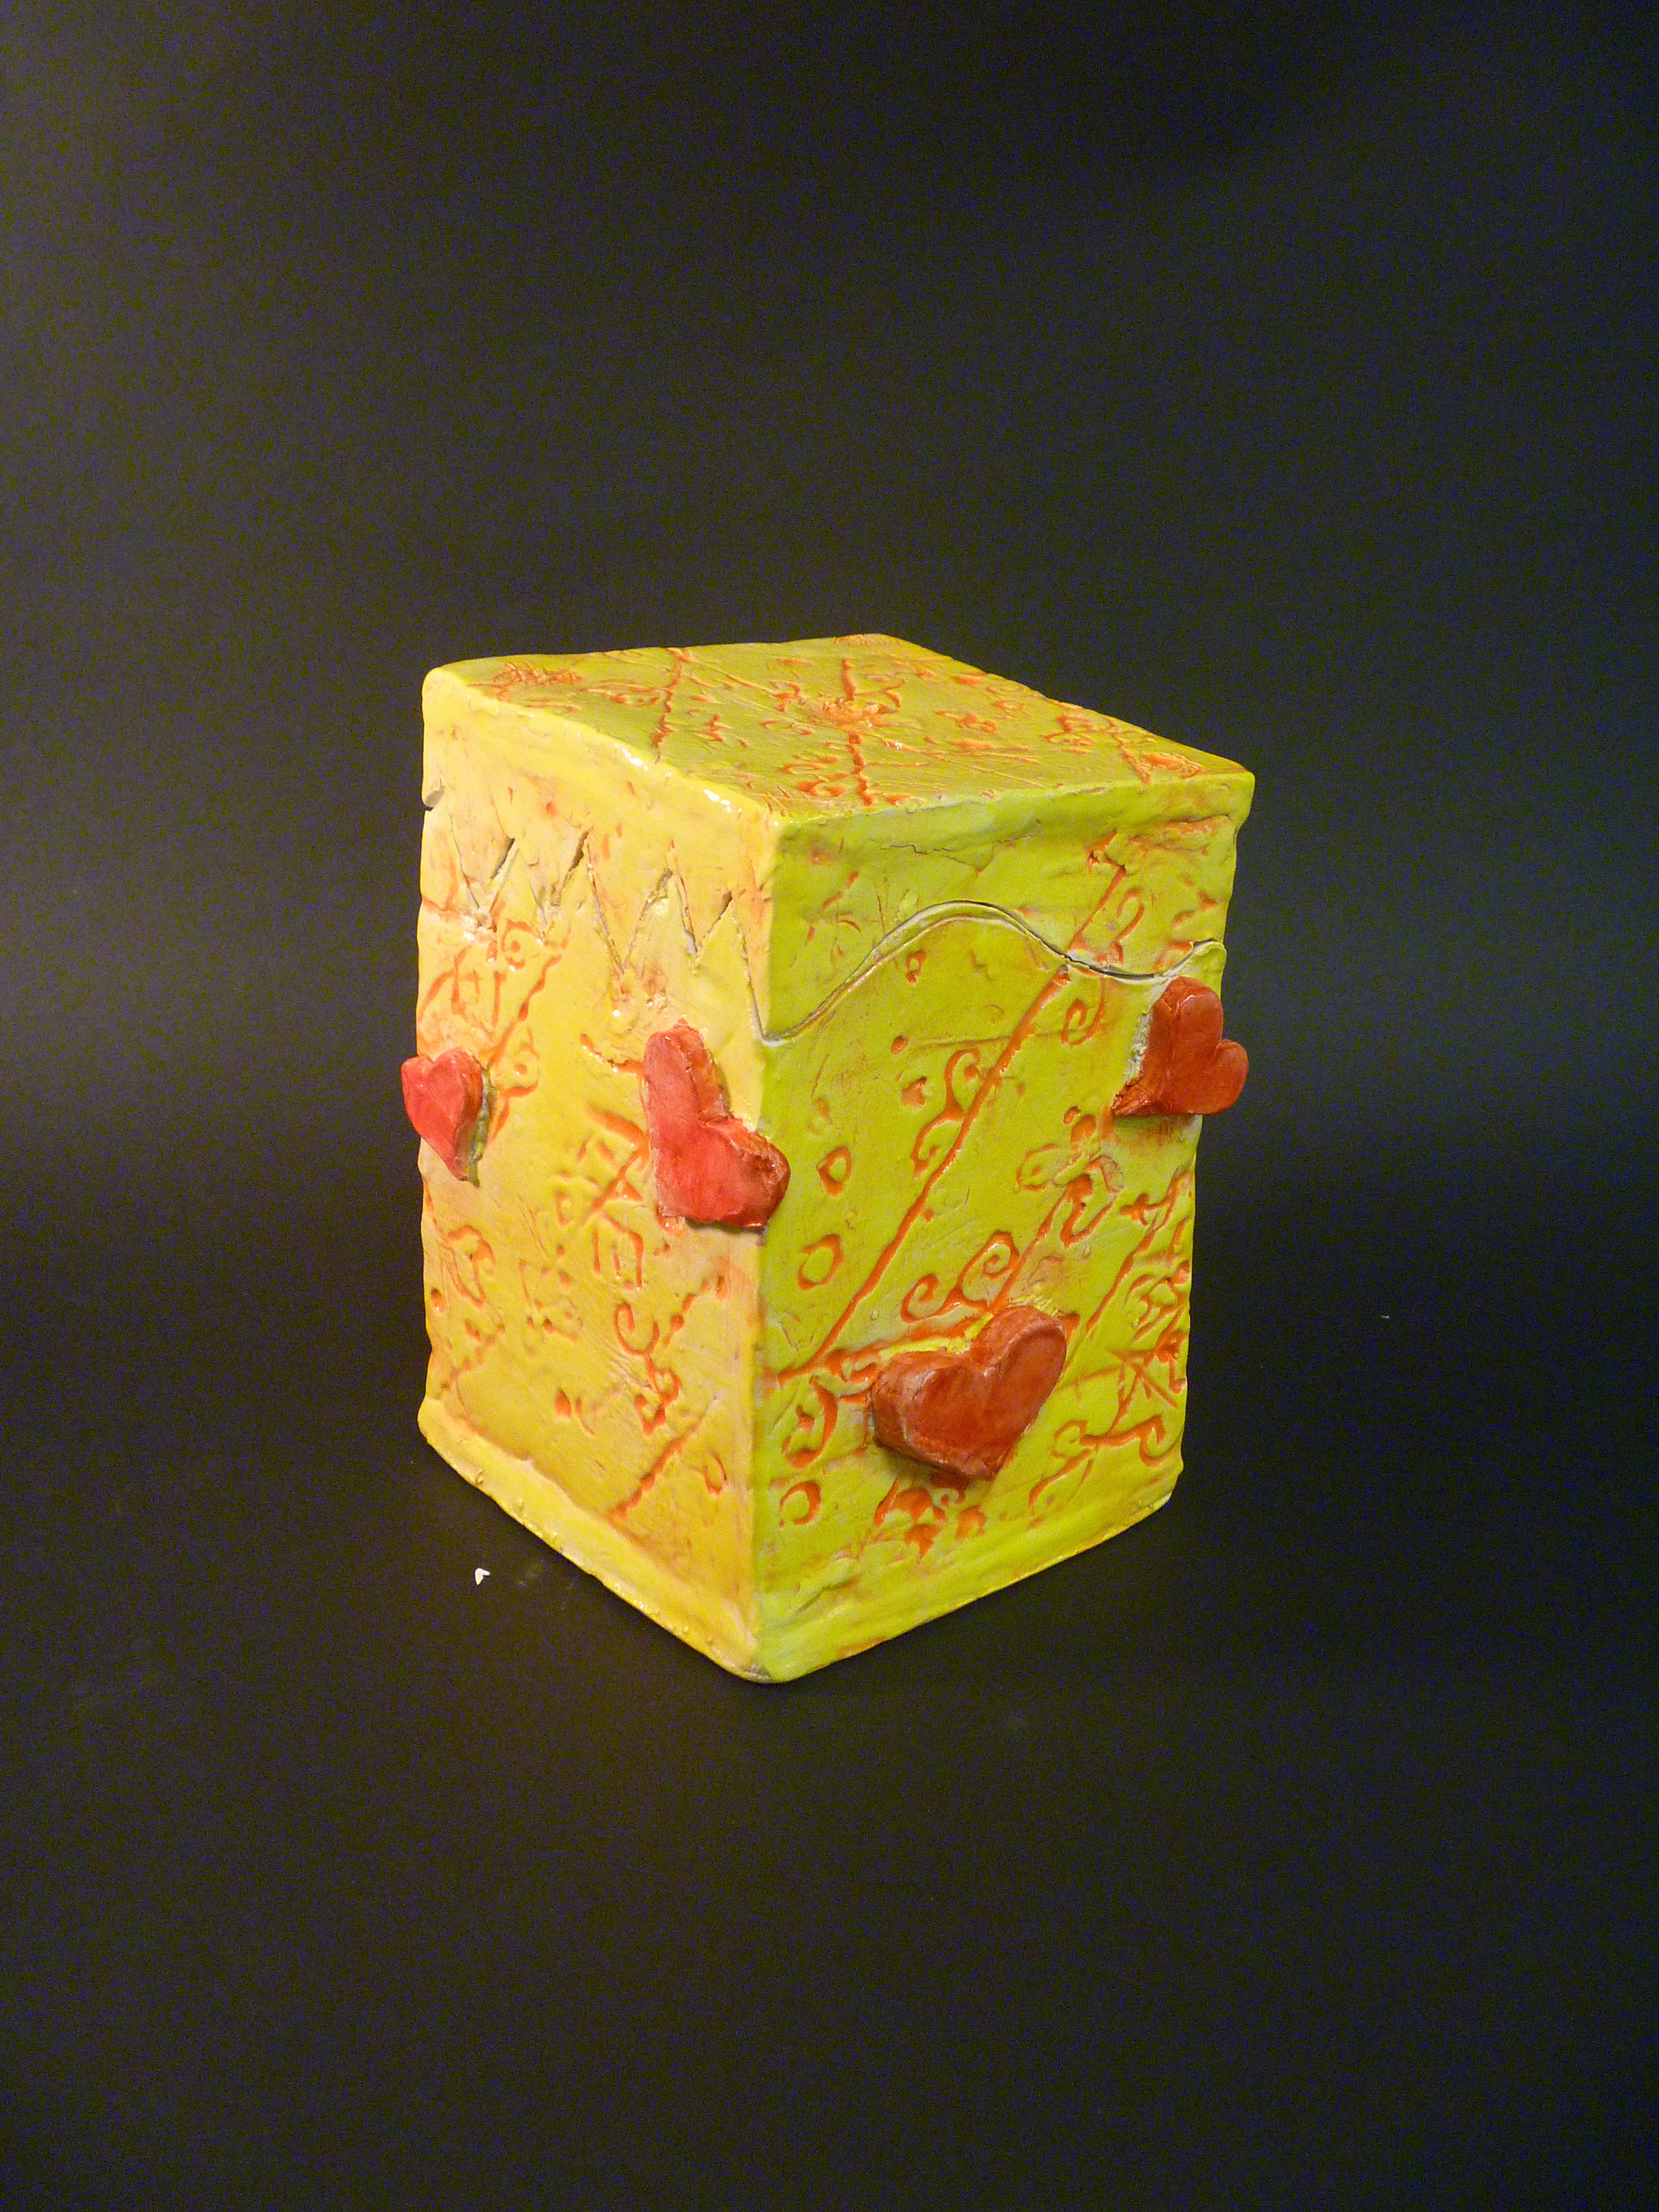
The last thing we did was glaze them.  For this I had them choose from the test tiles they had created.  They could choose from their samples or from any sample from the other students.  Luckily they all took good notes.

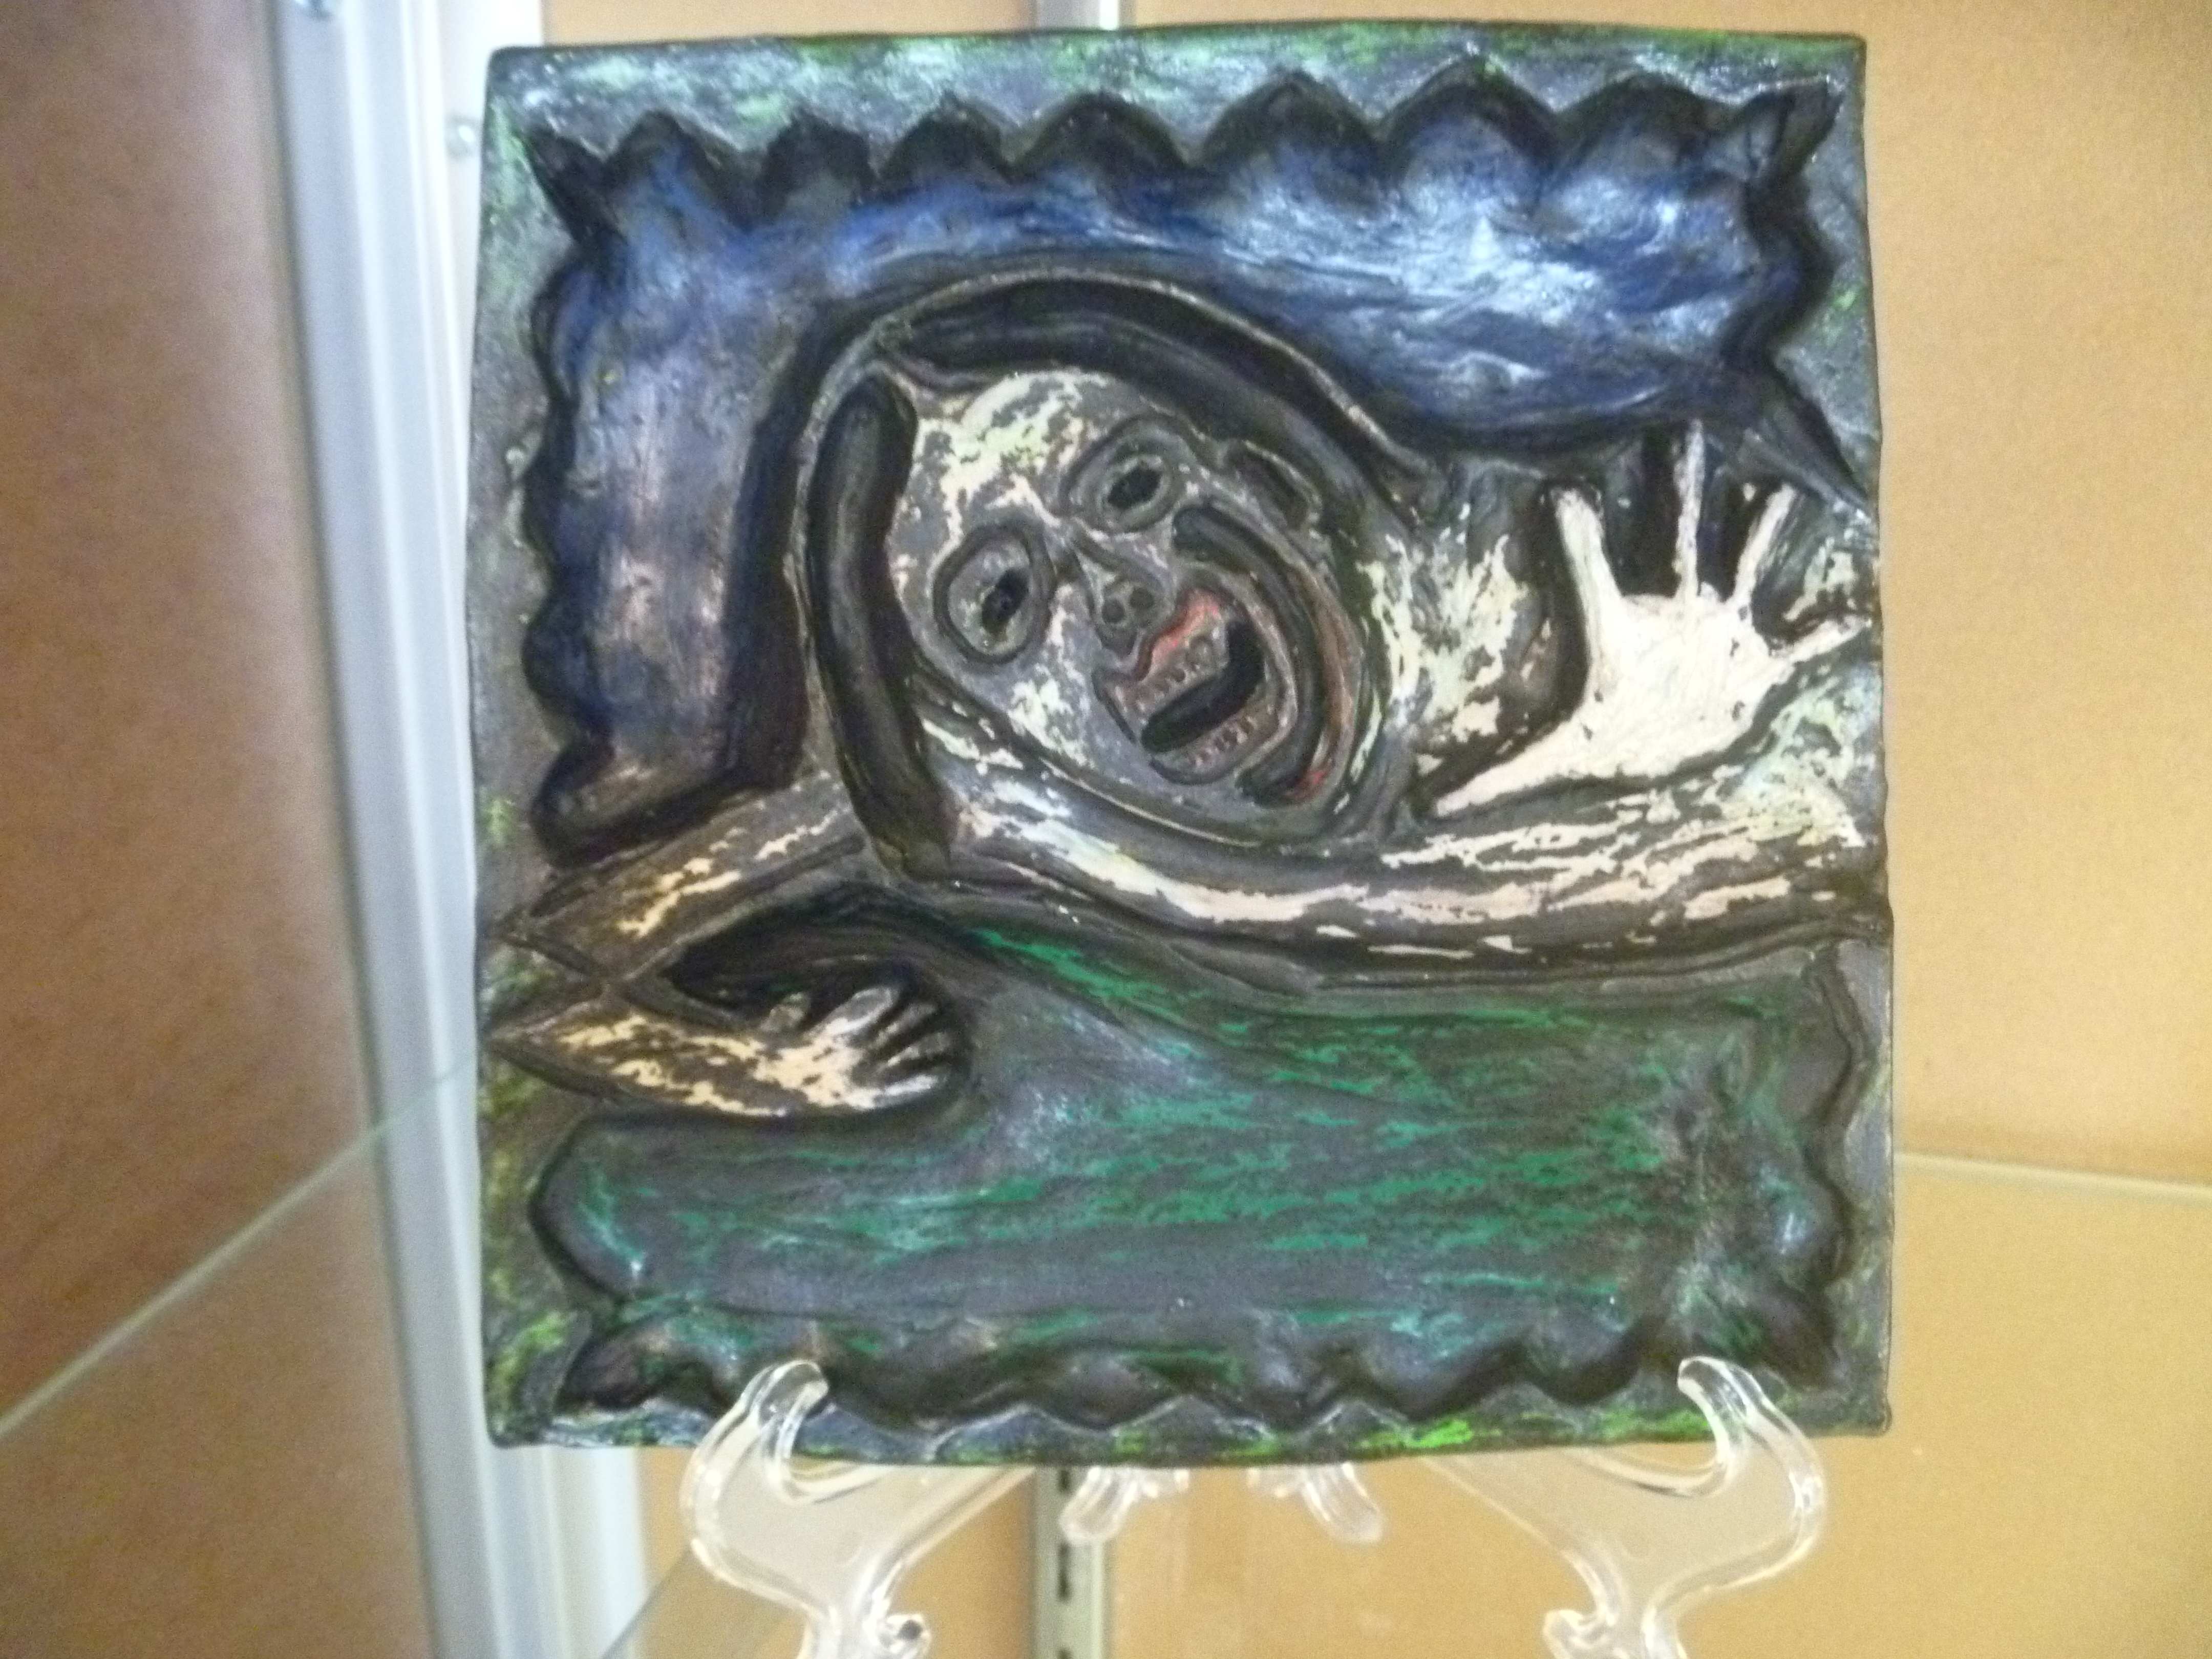
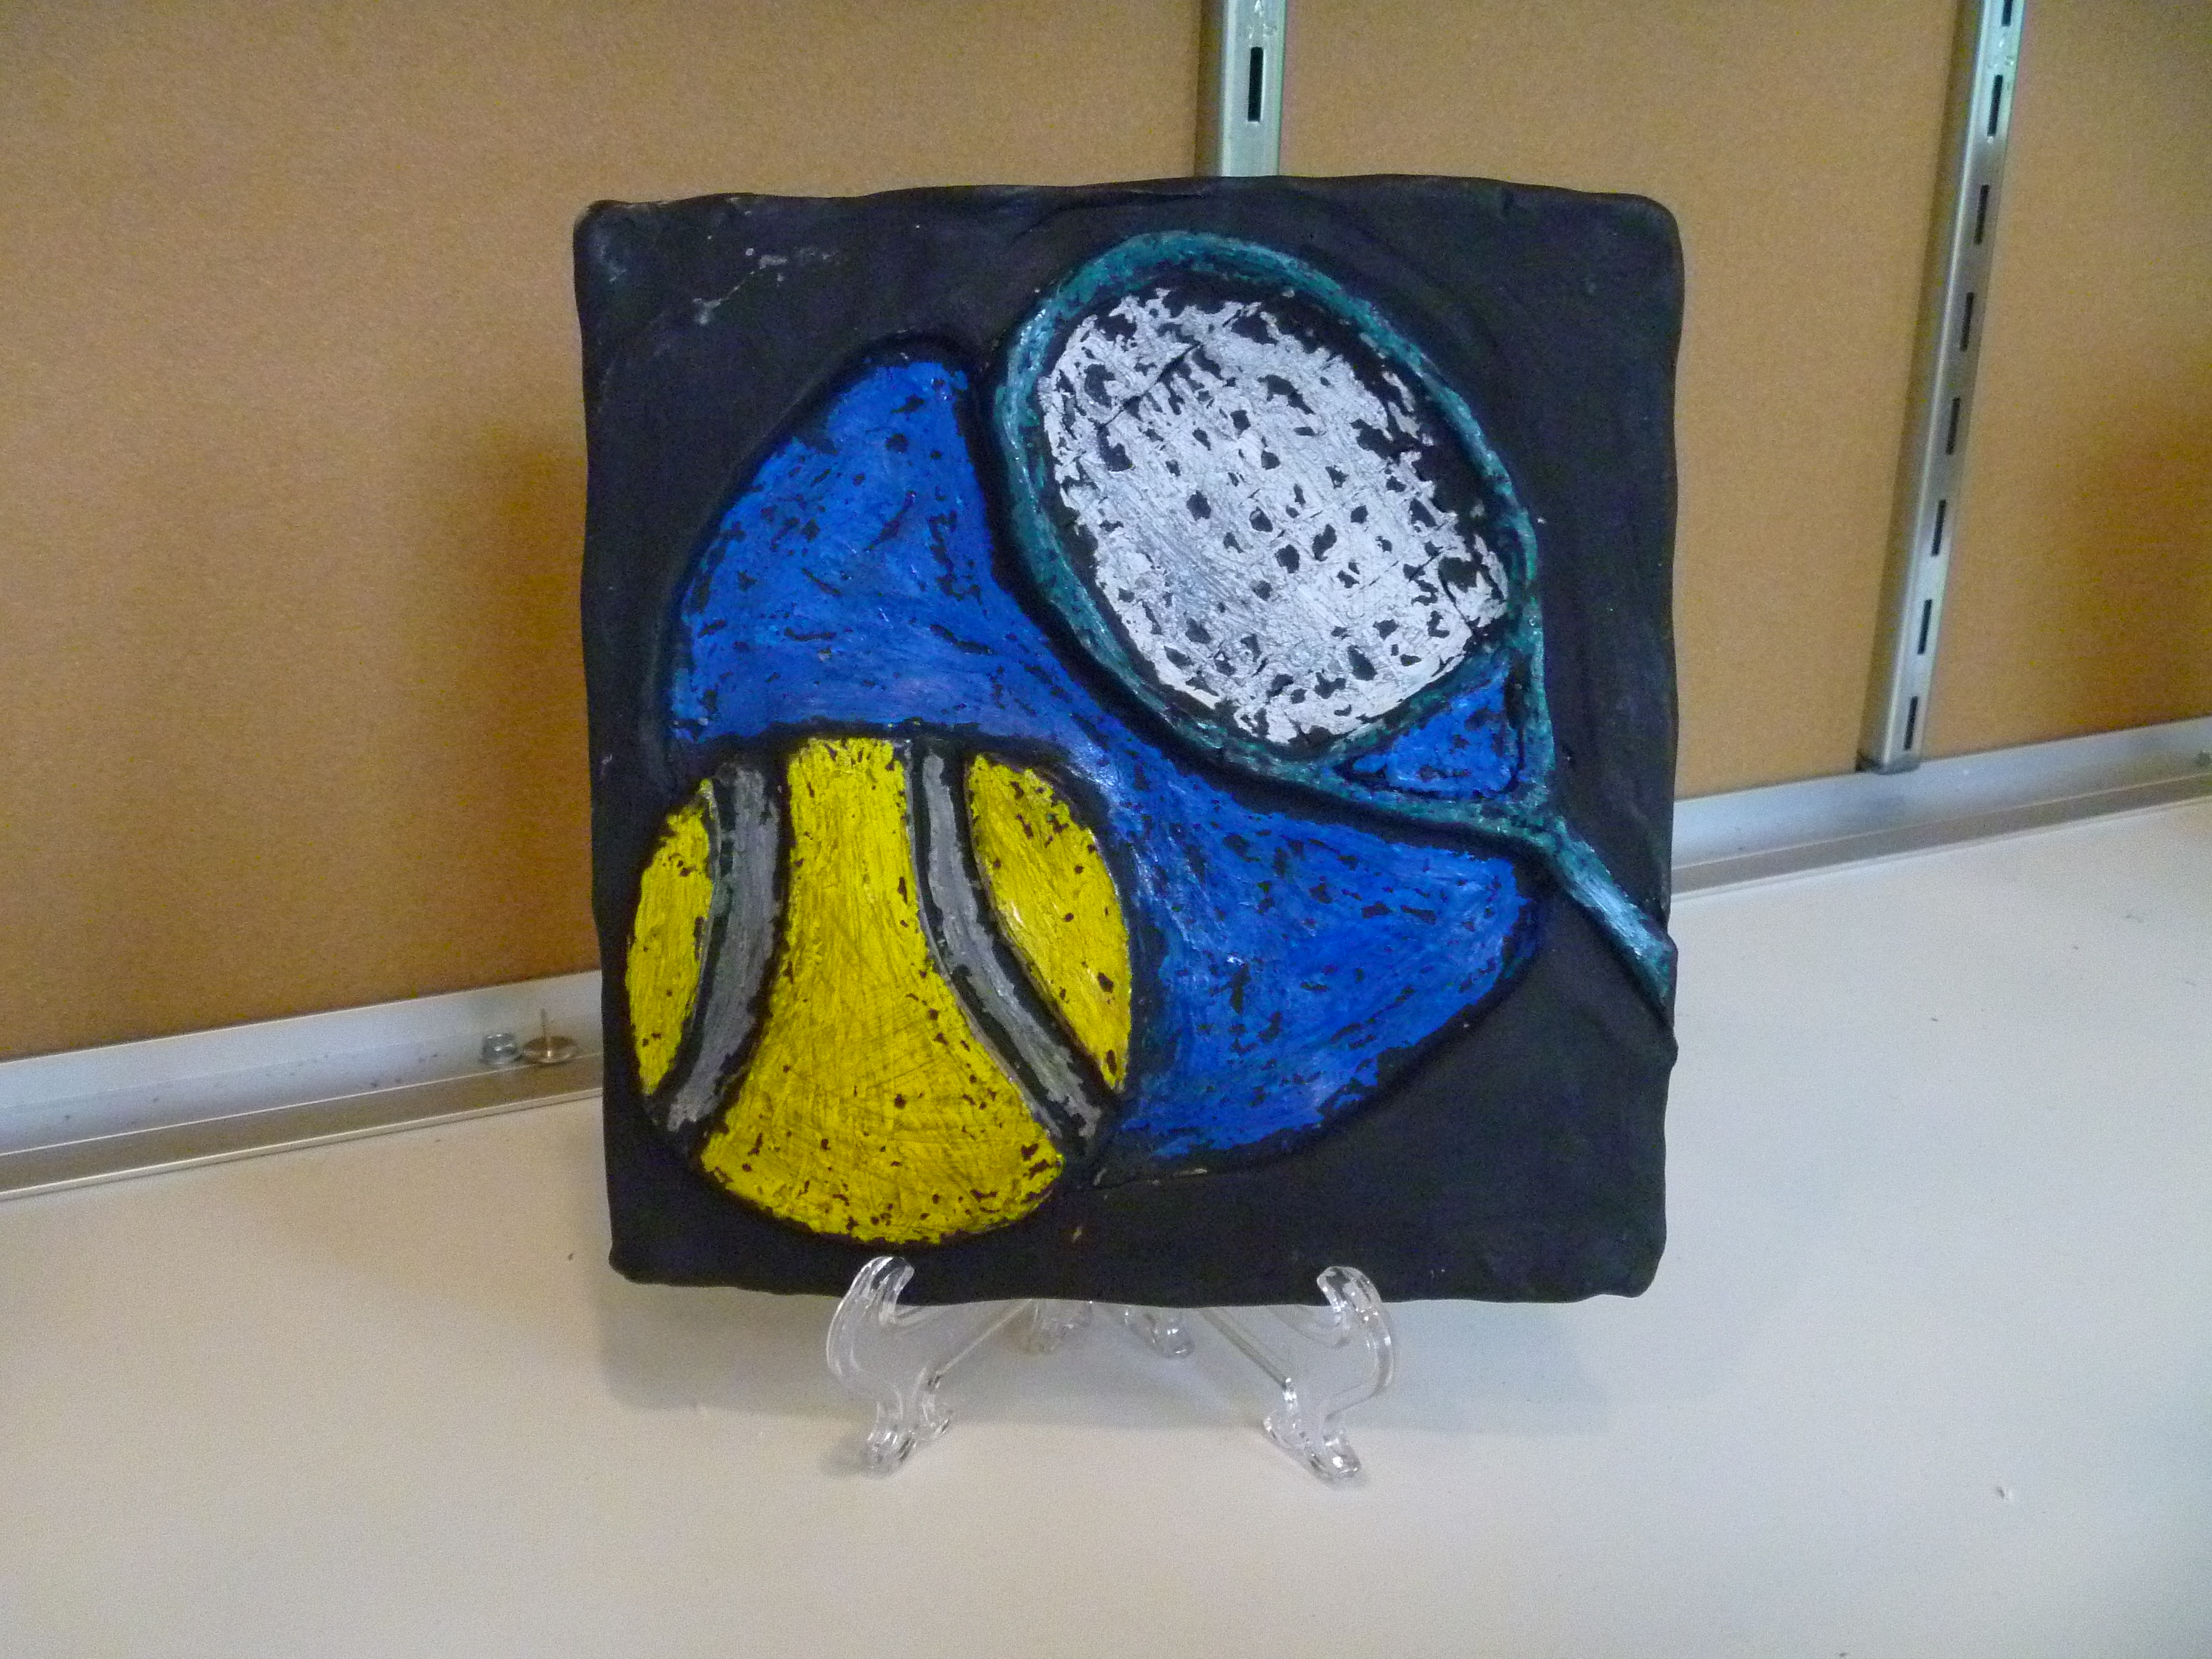
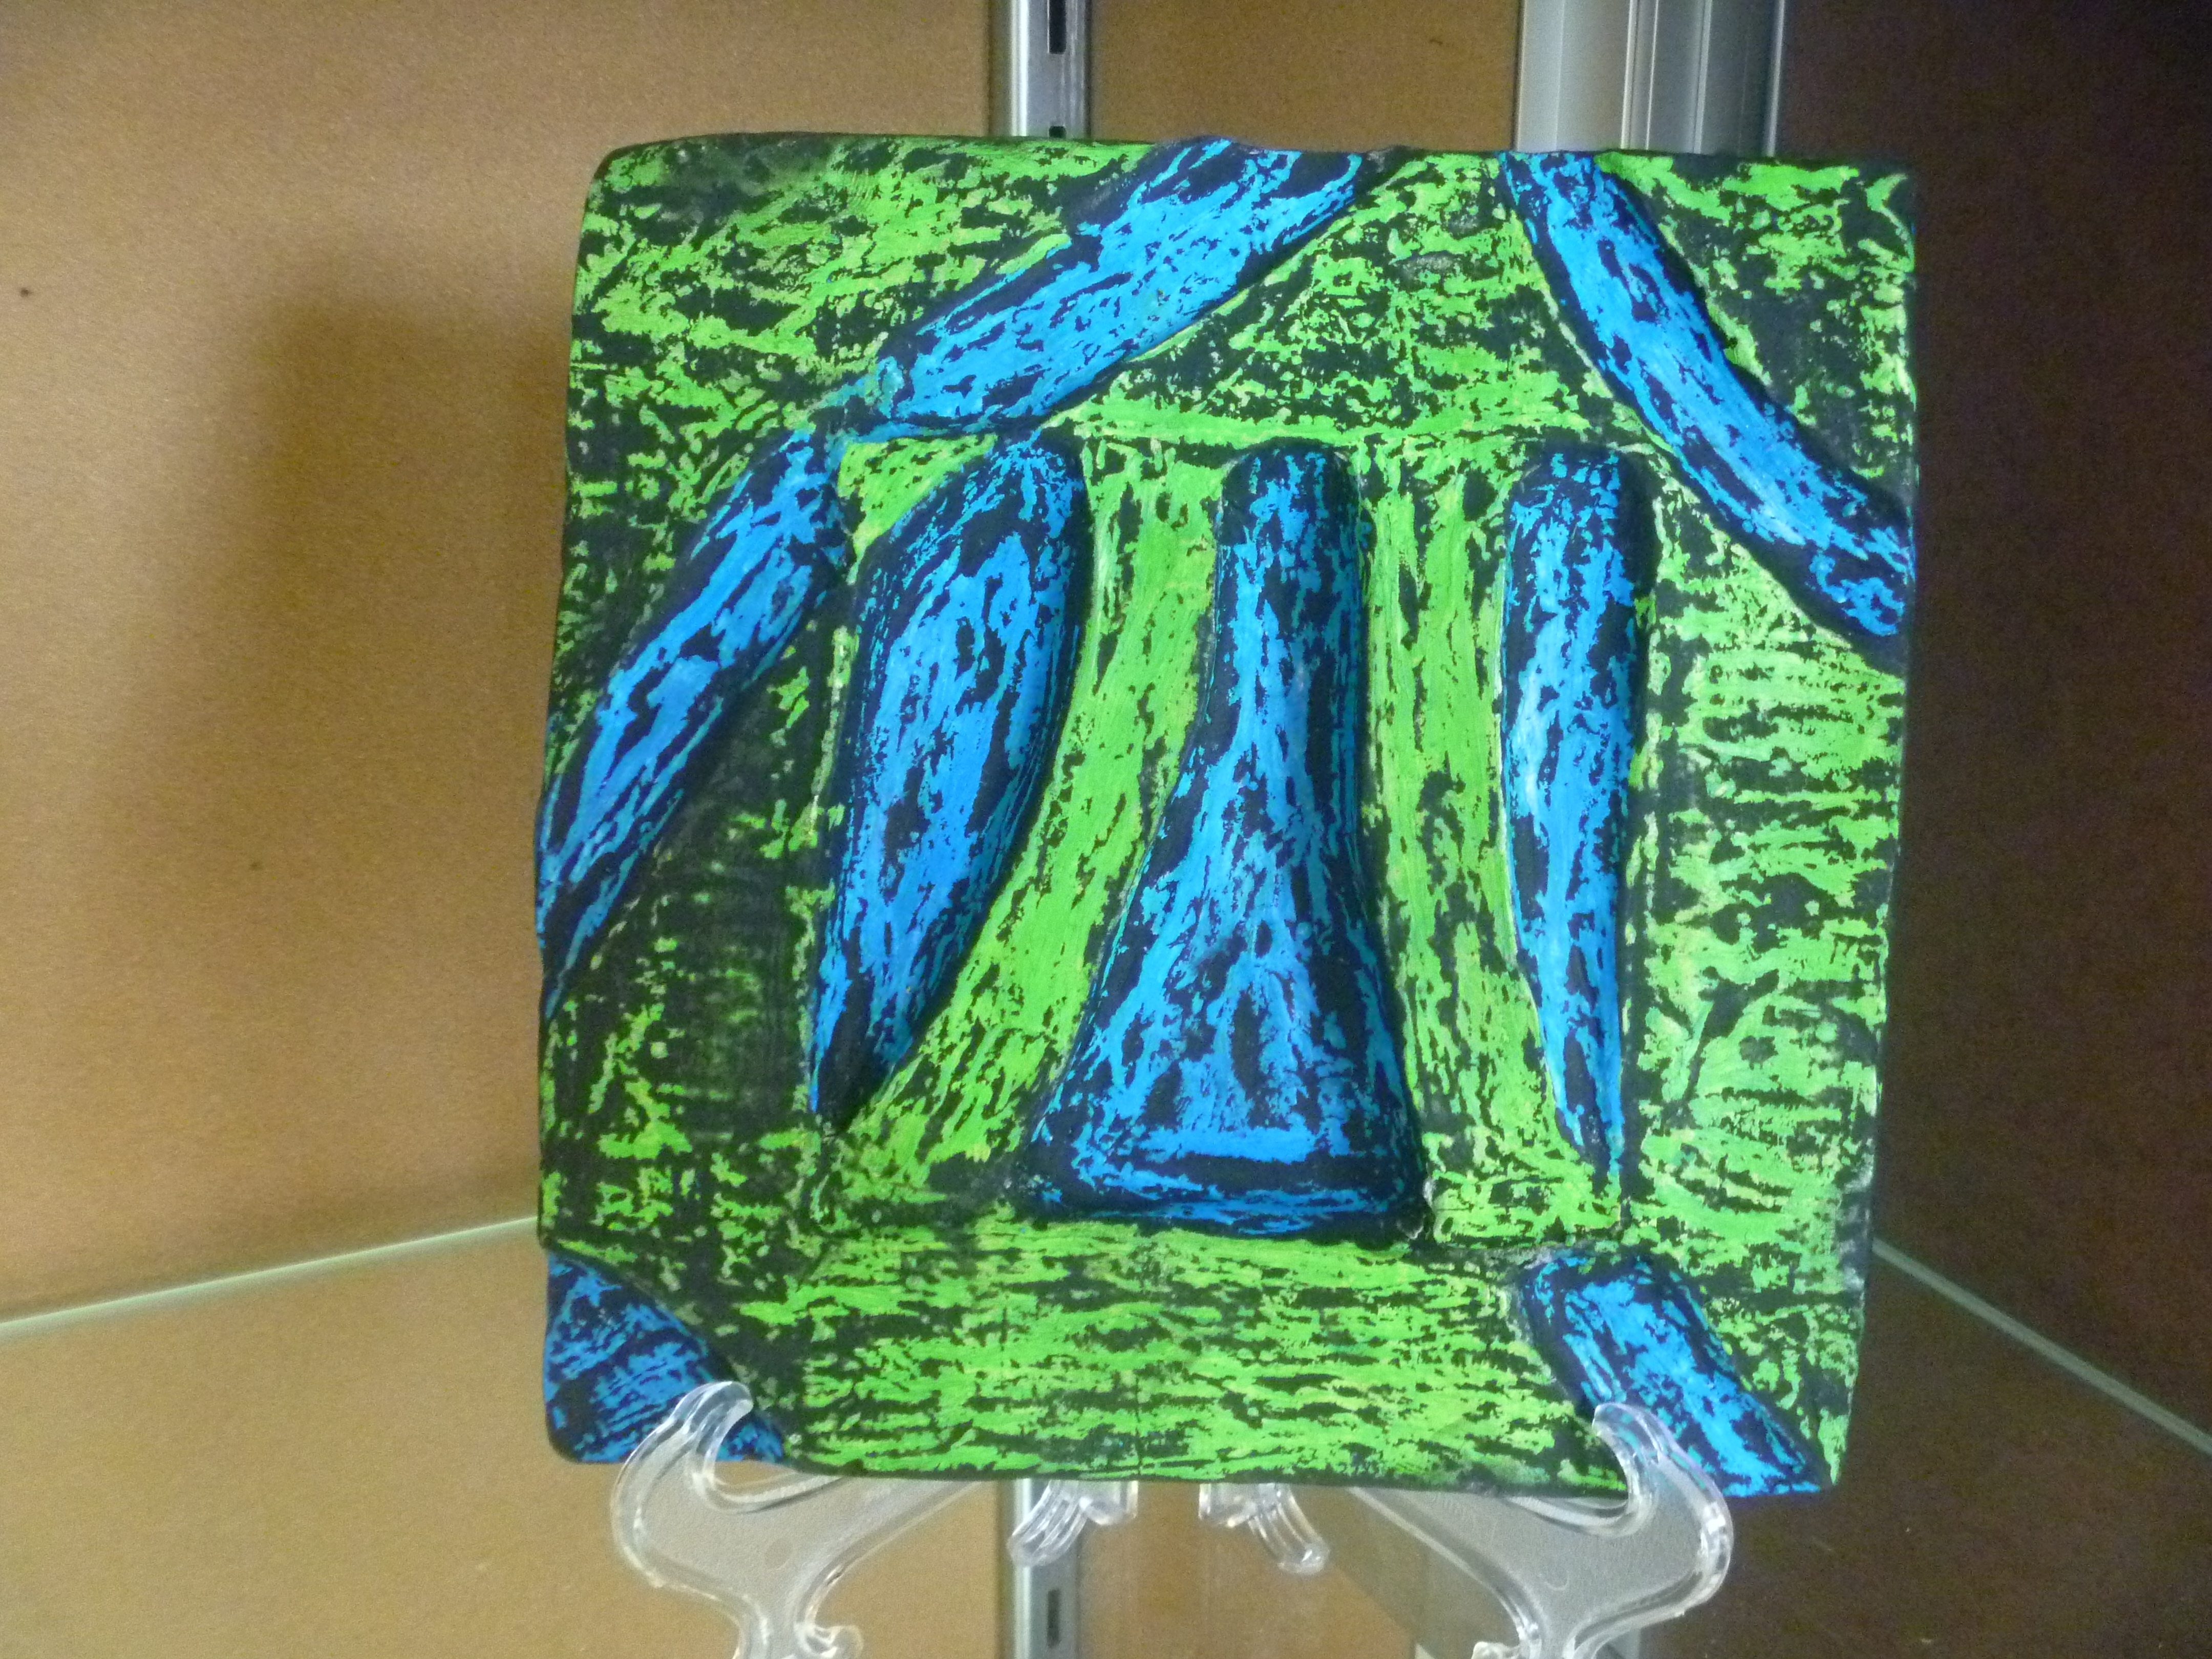
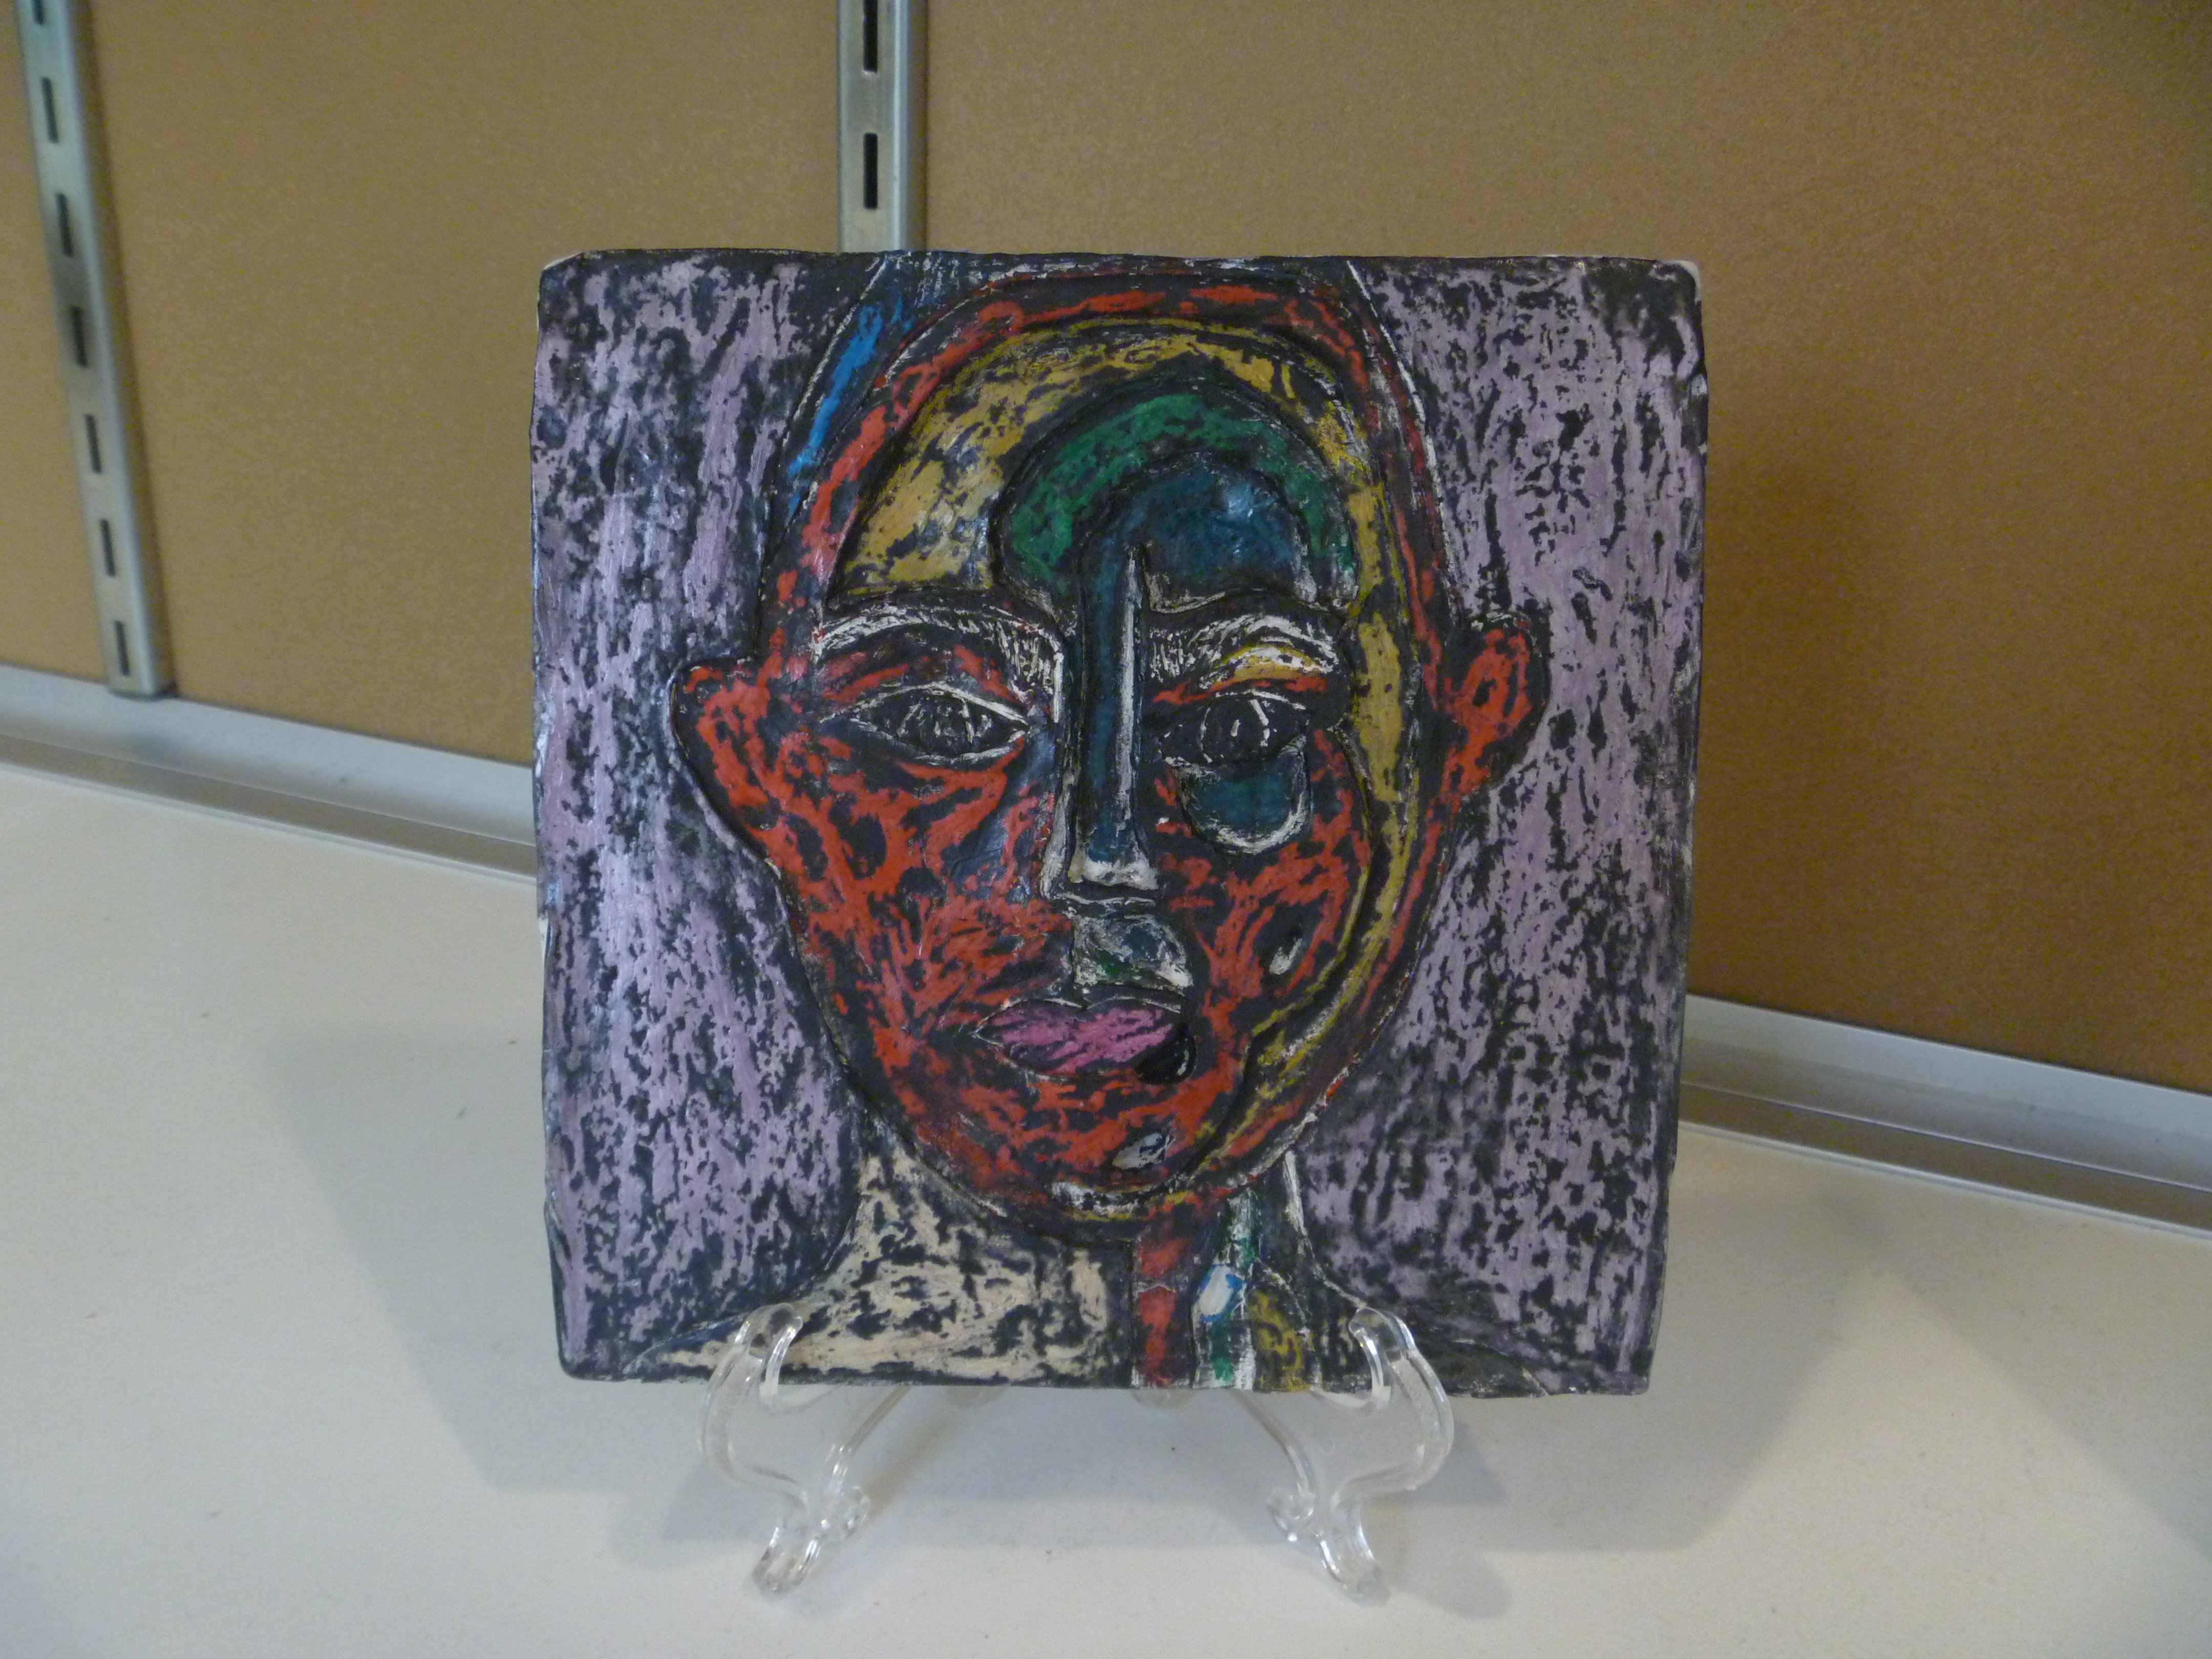
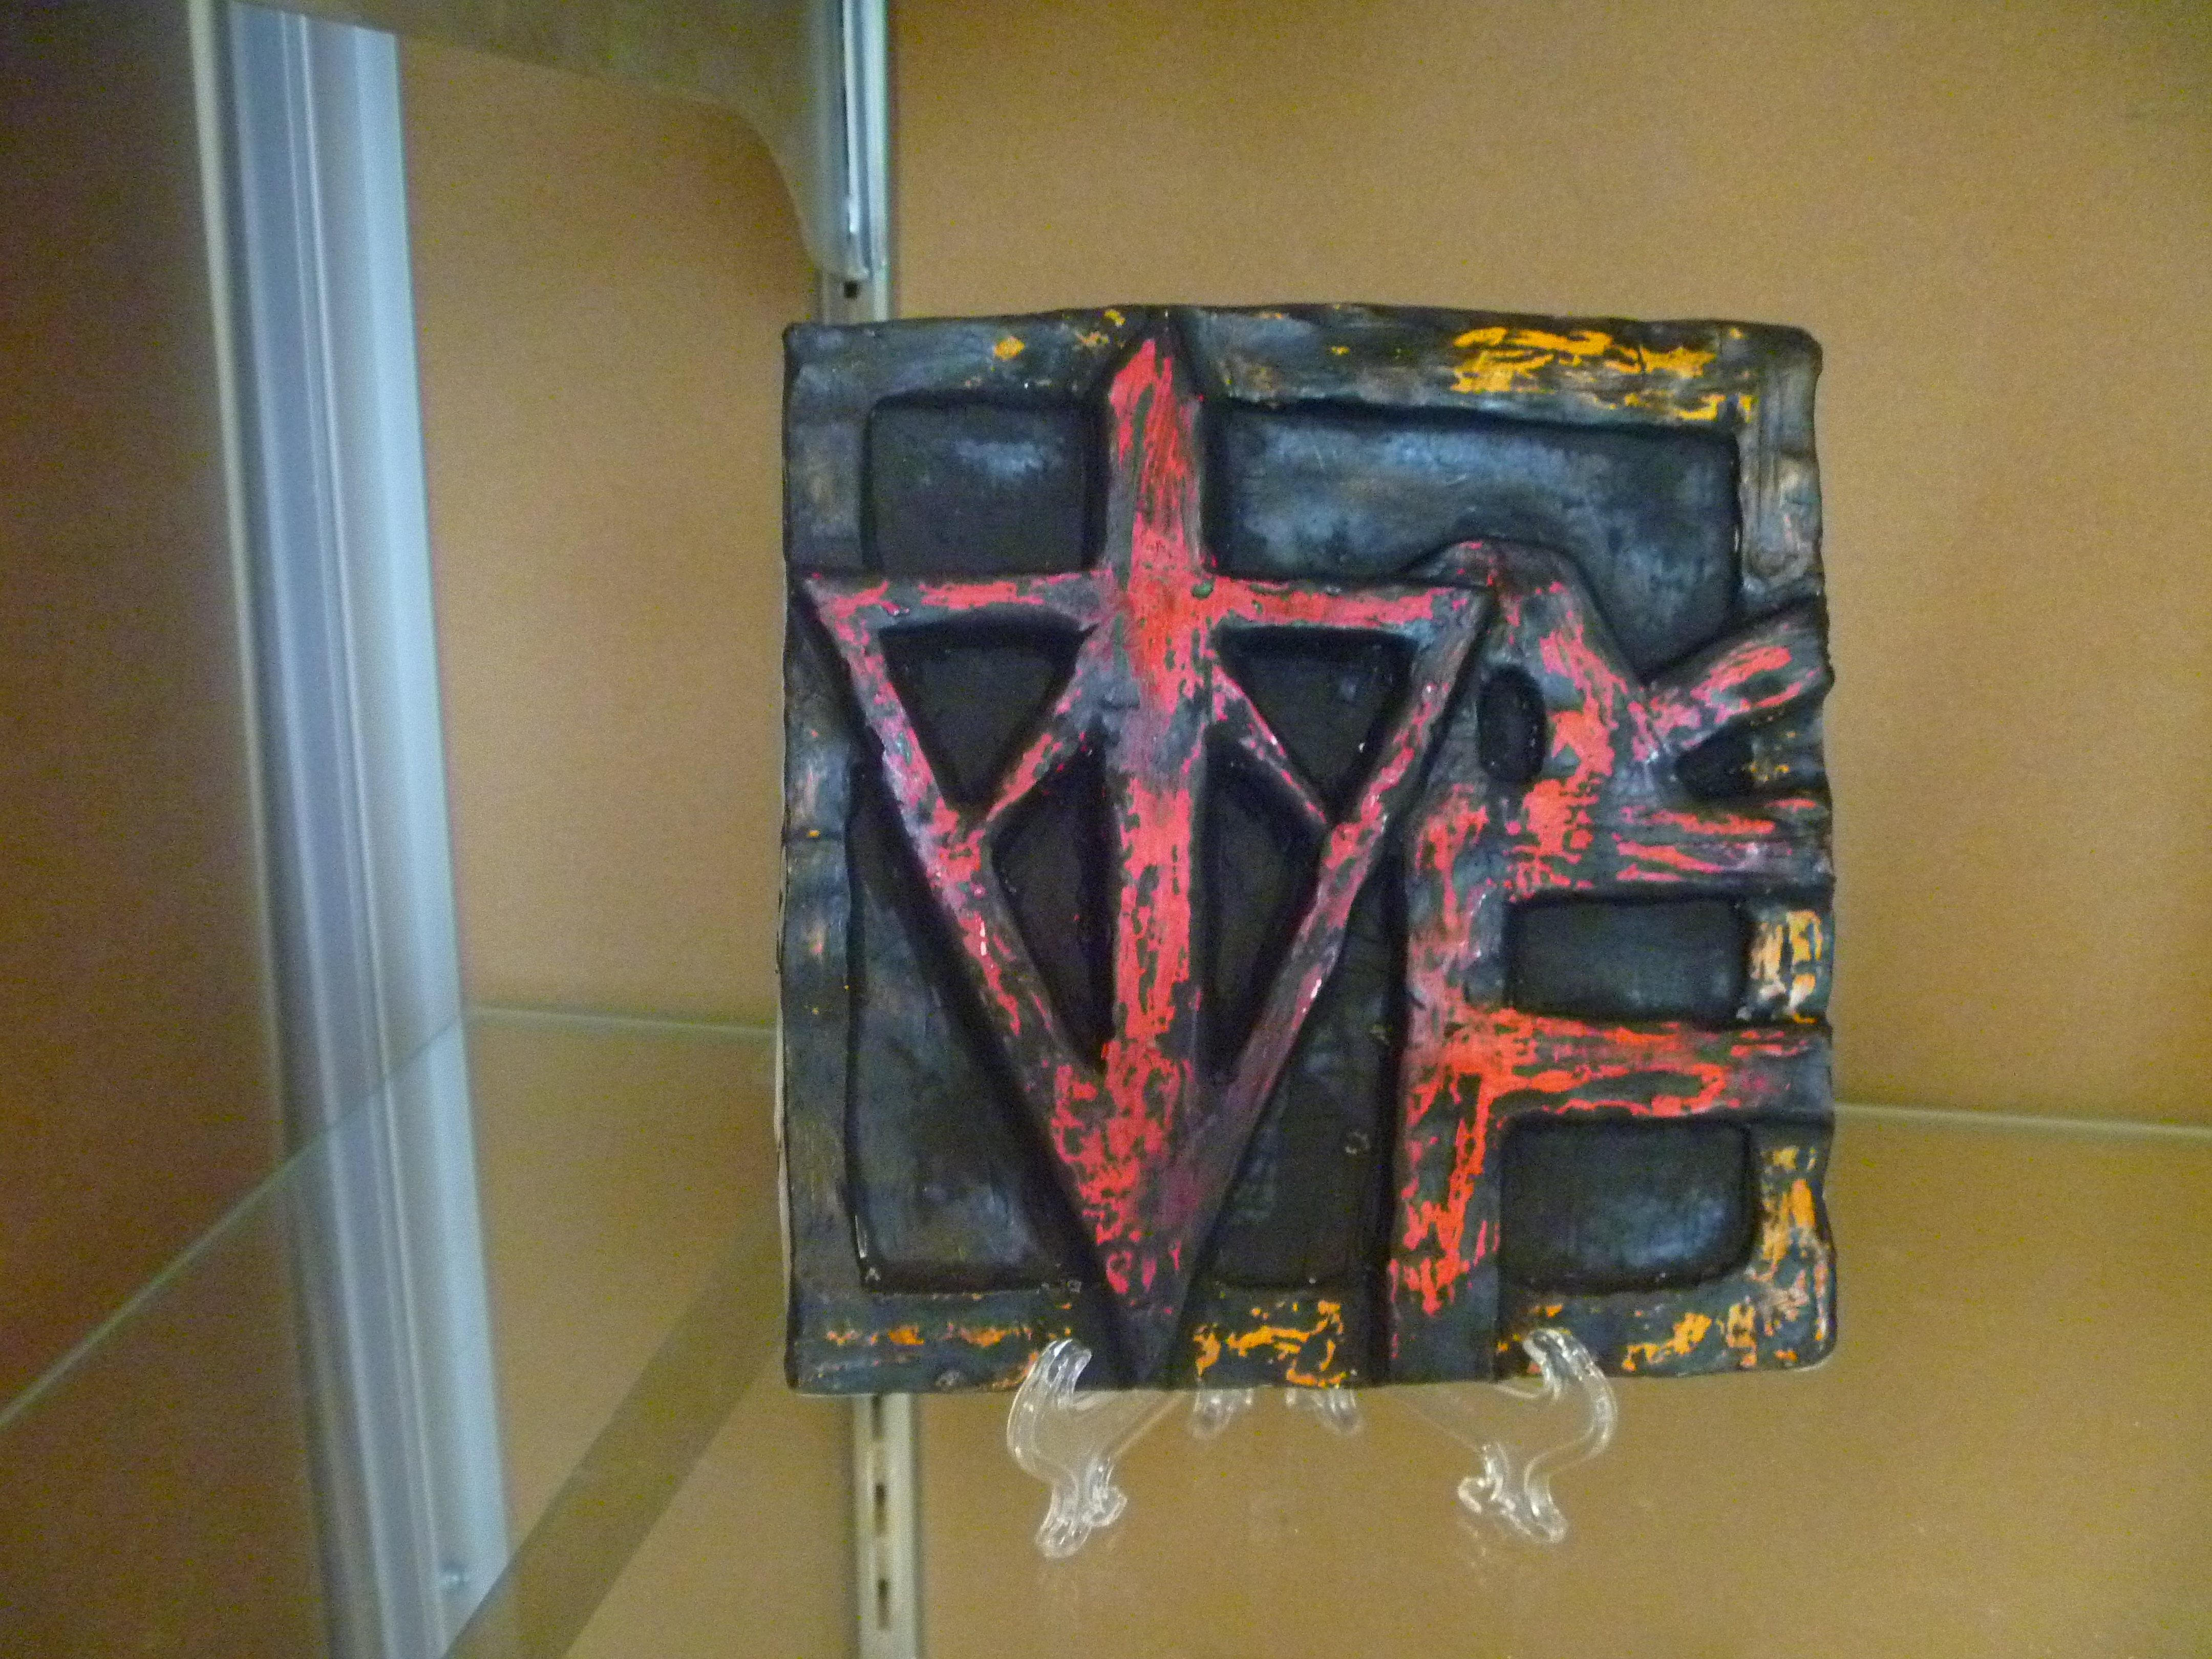
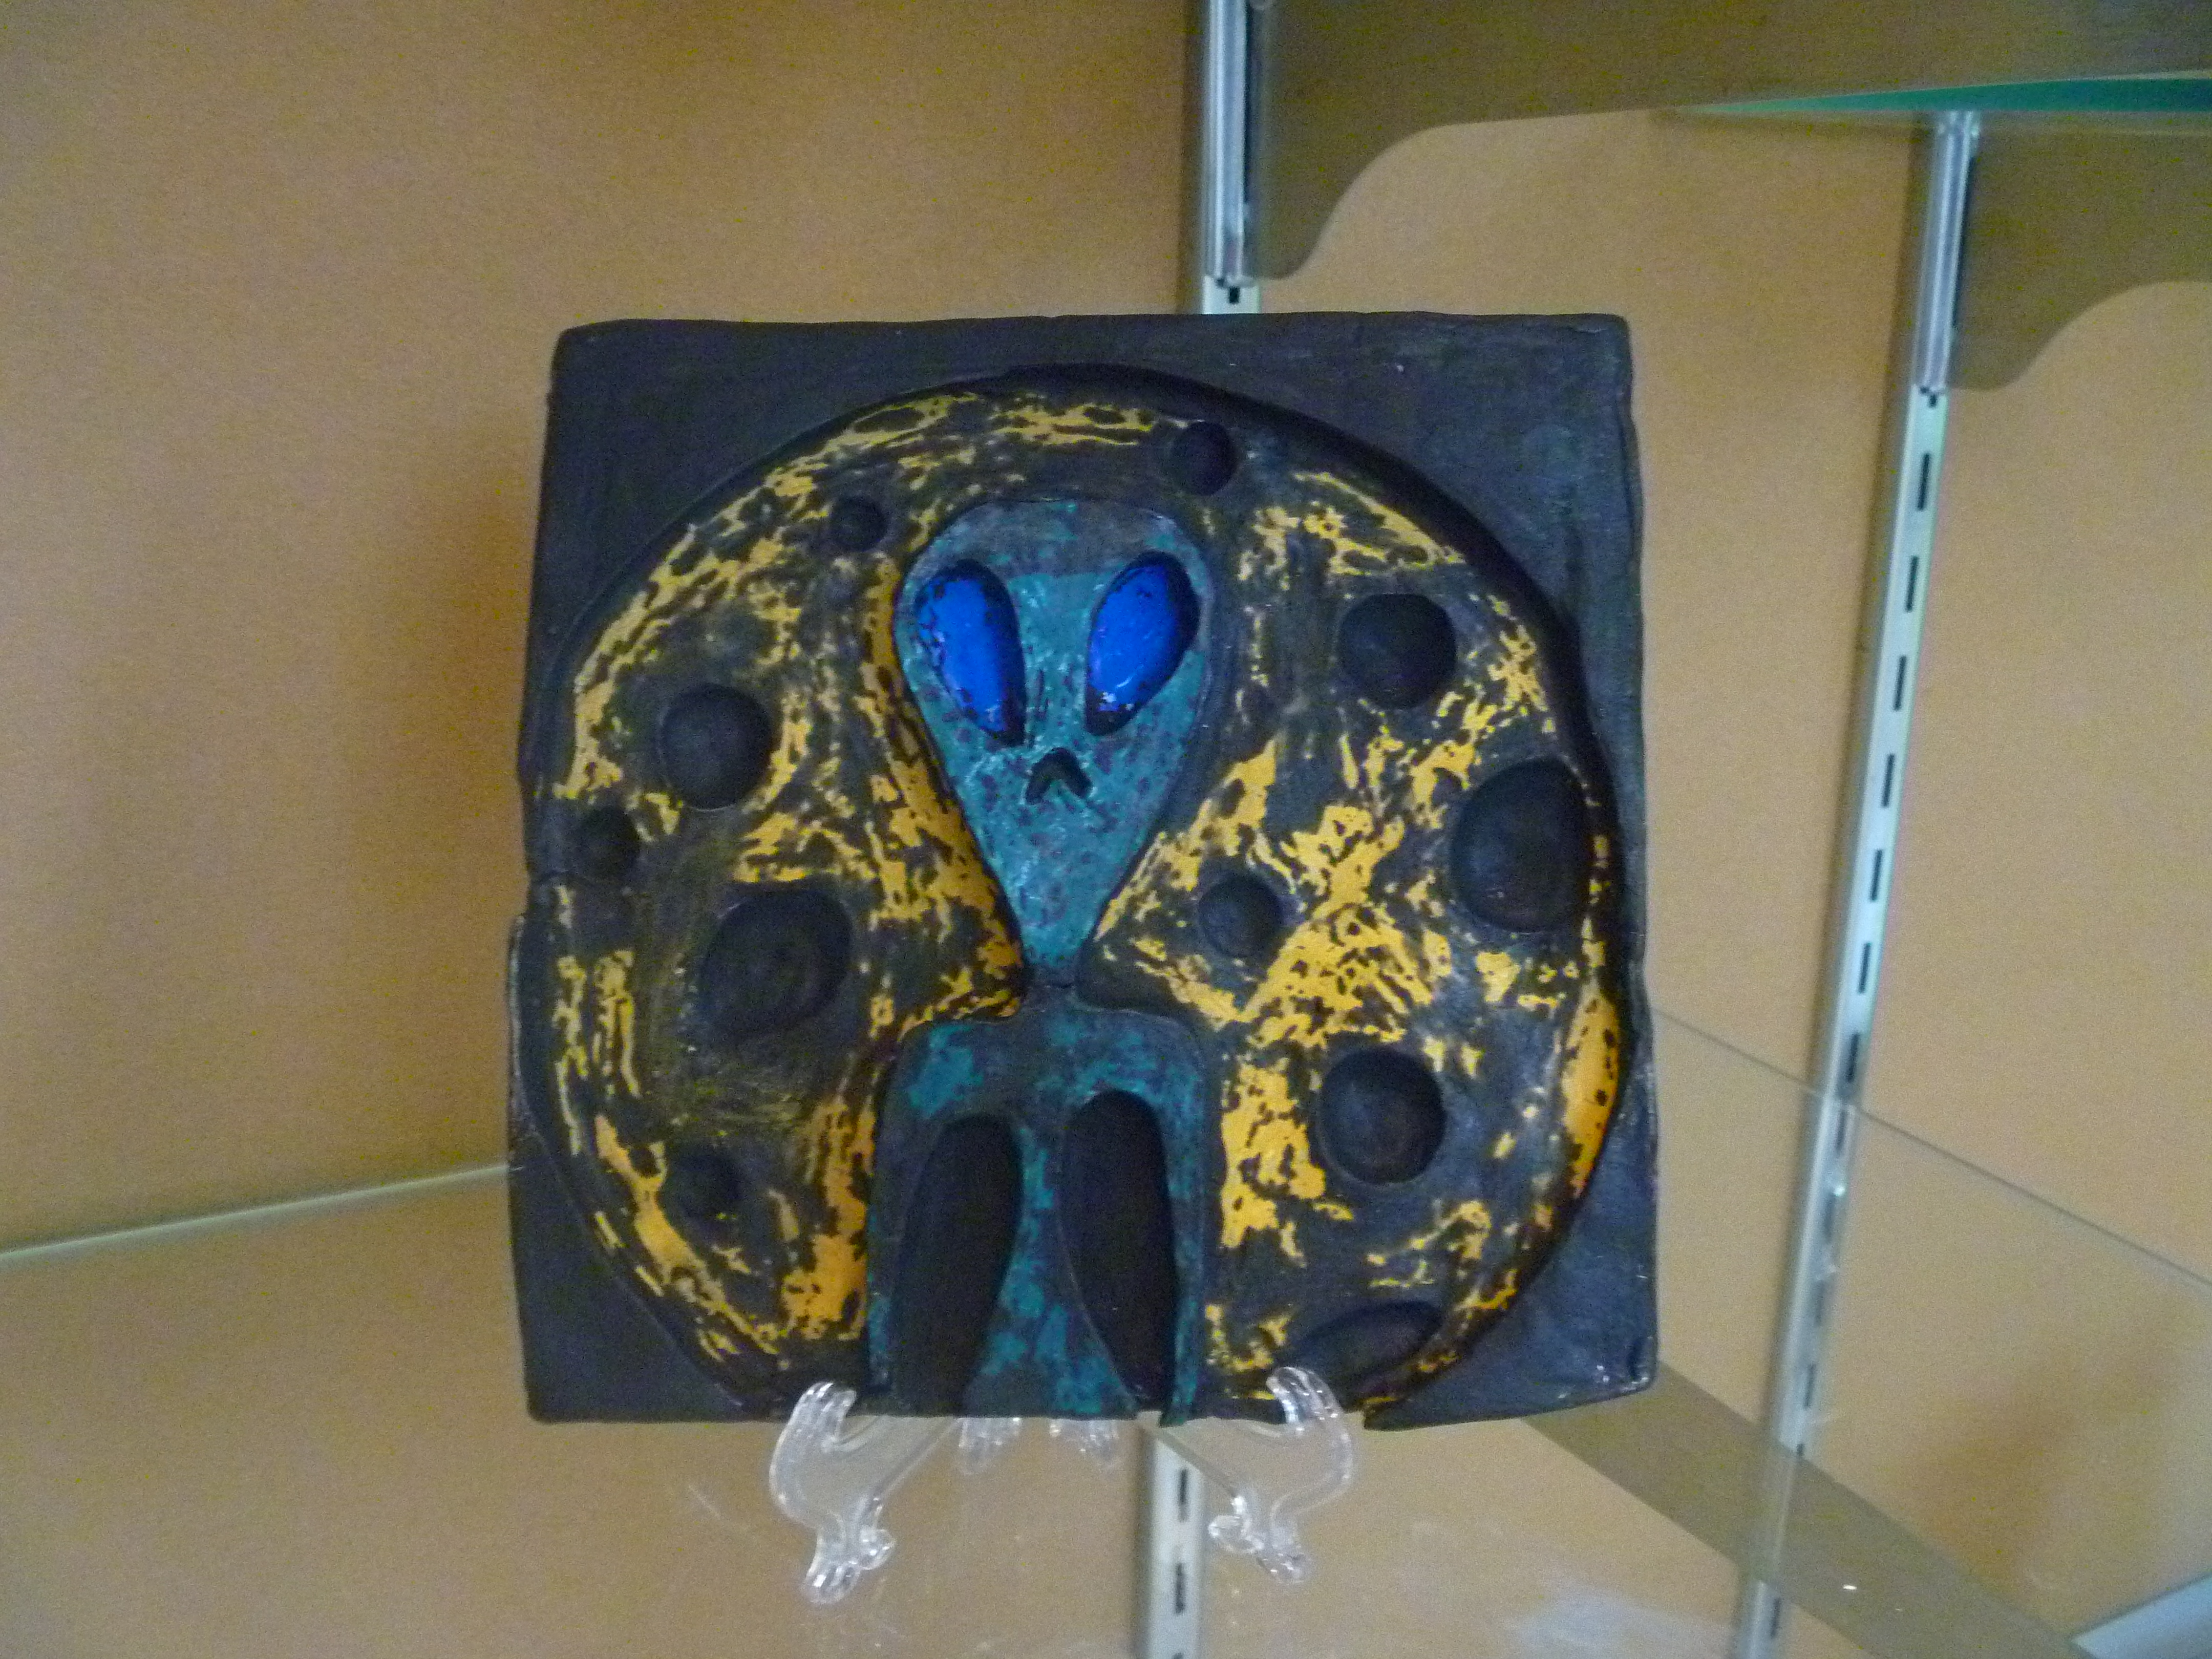
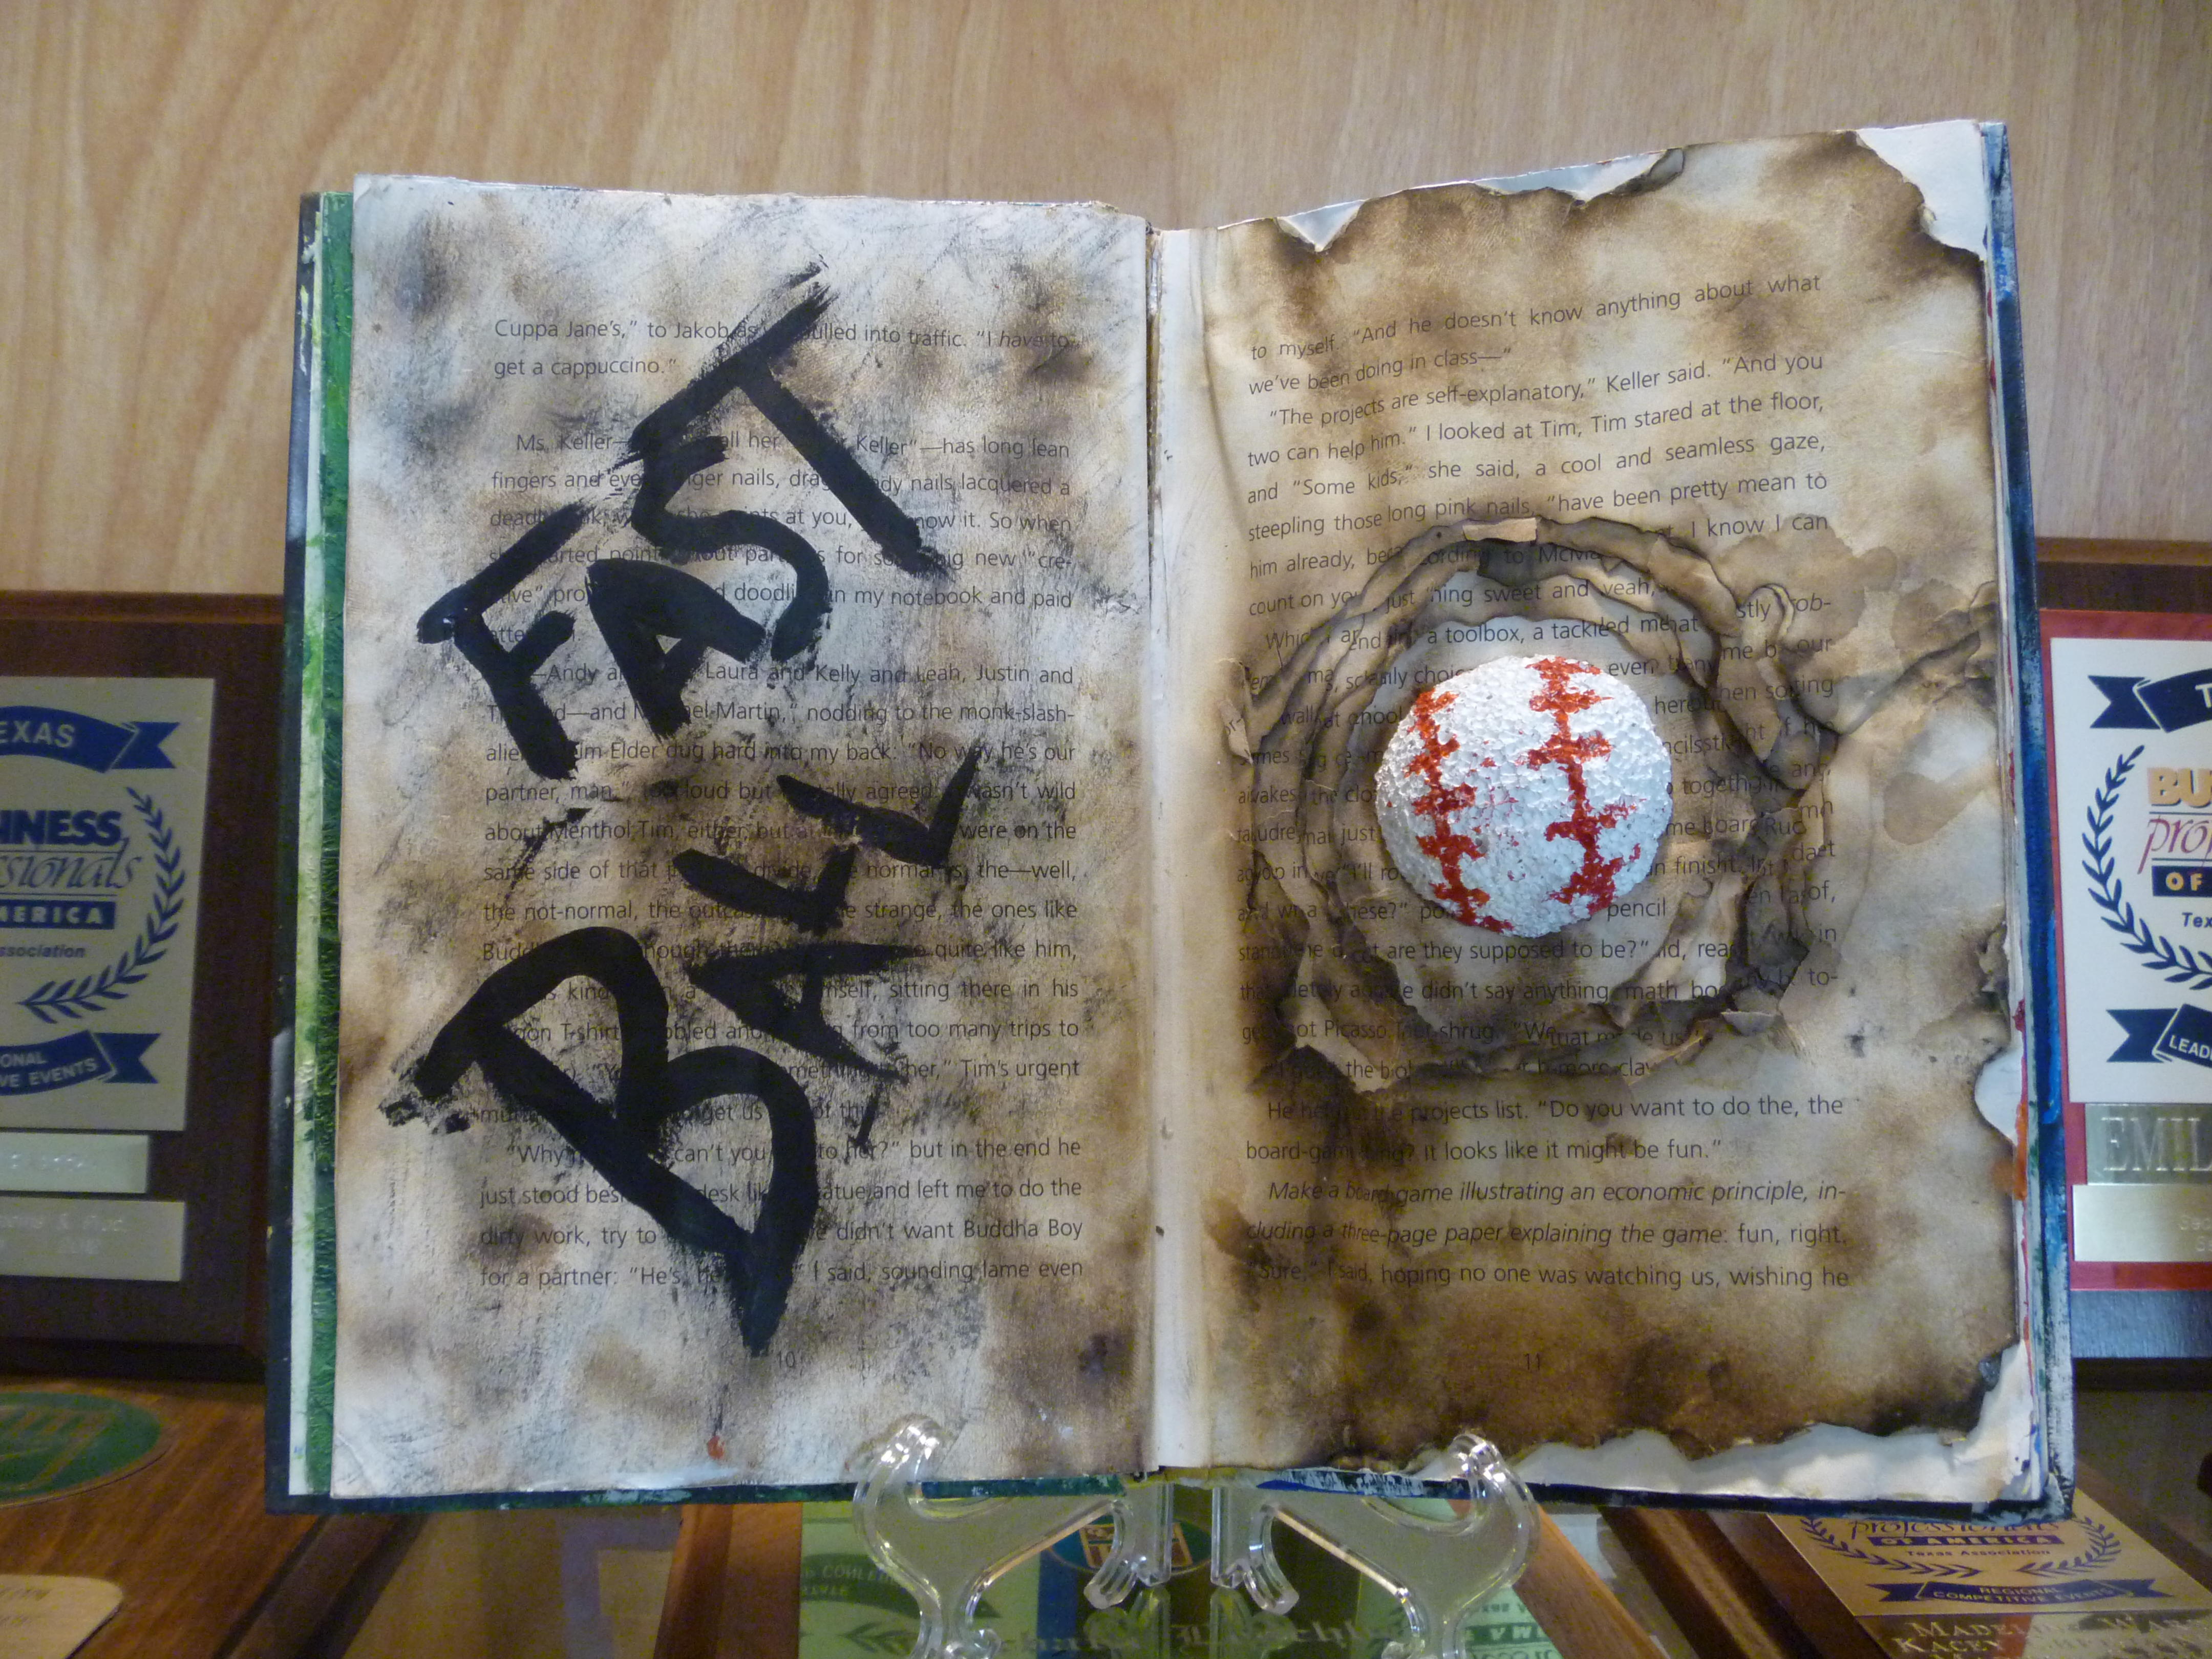
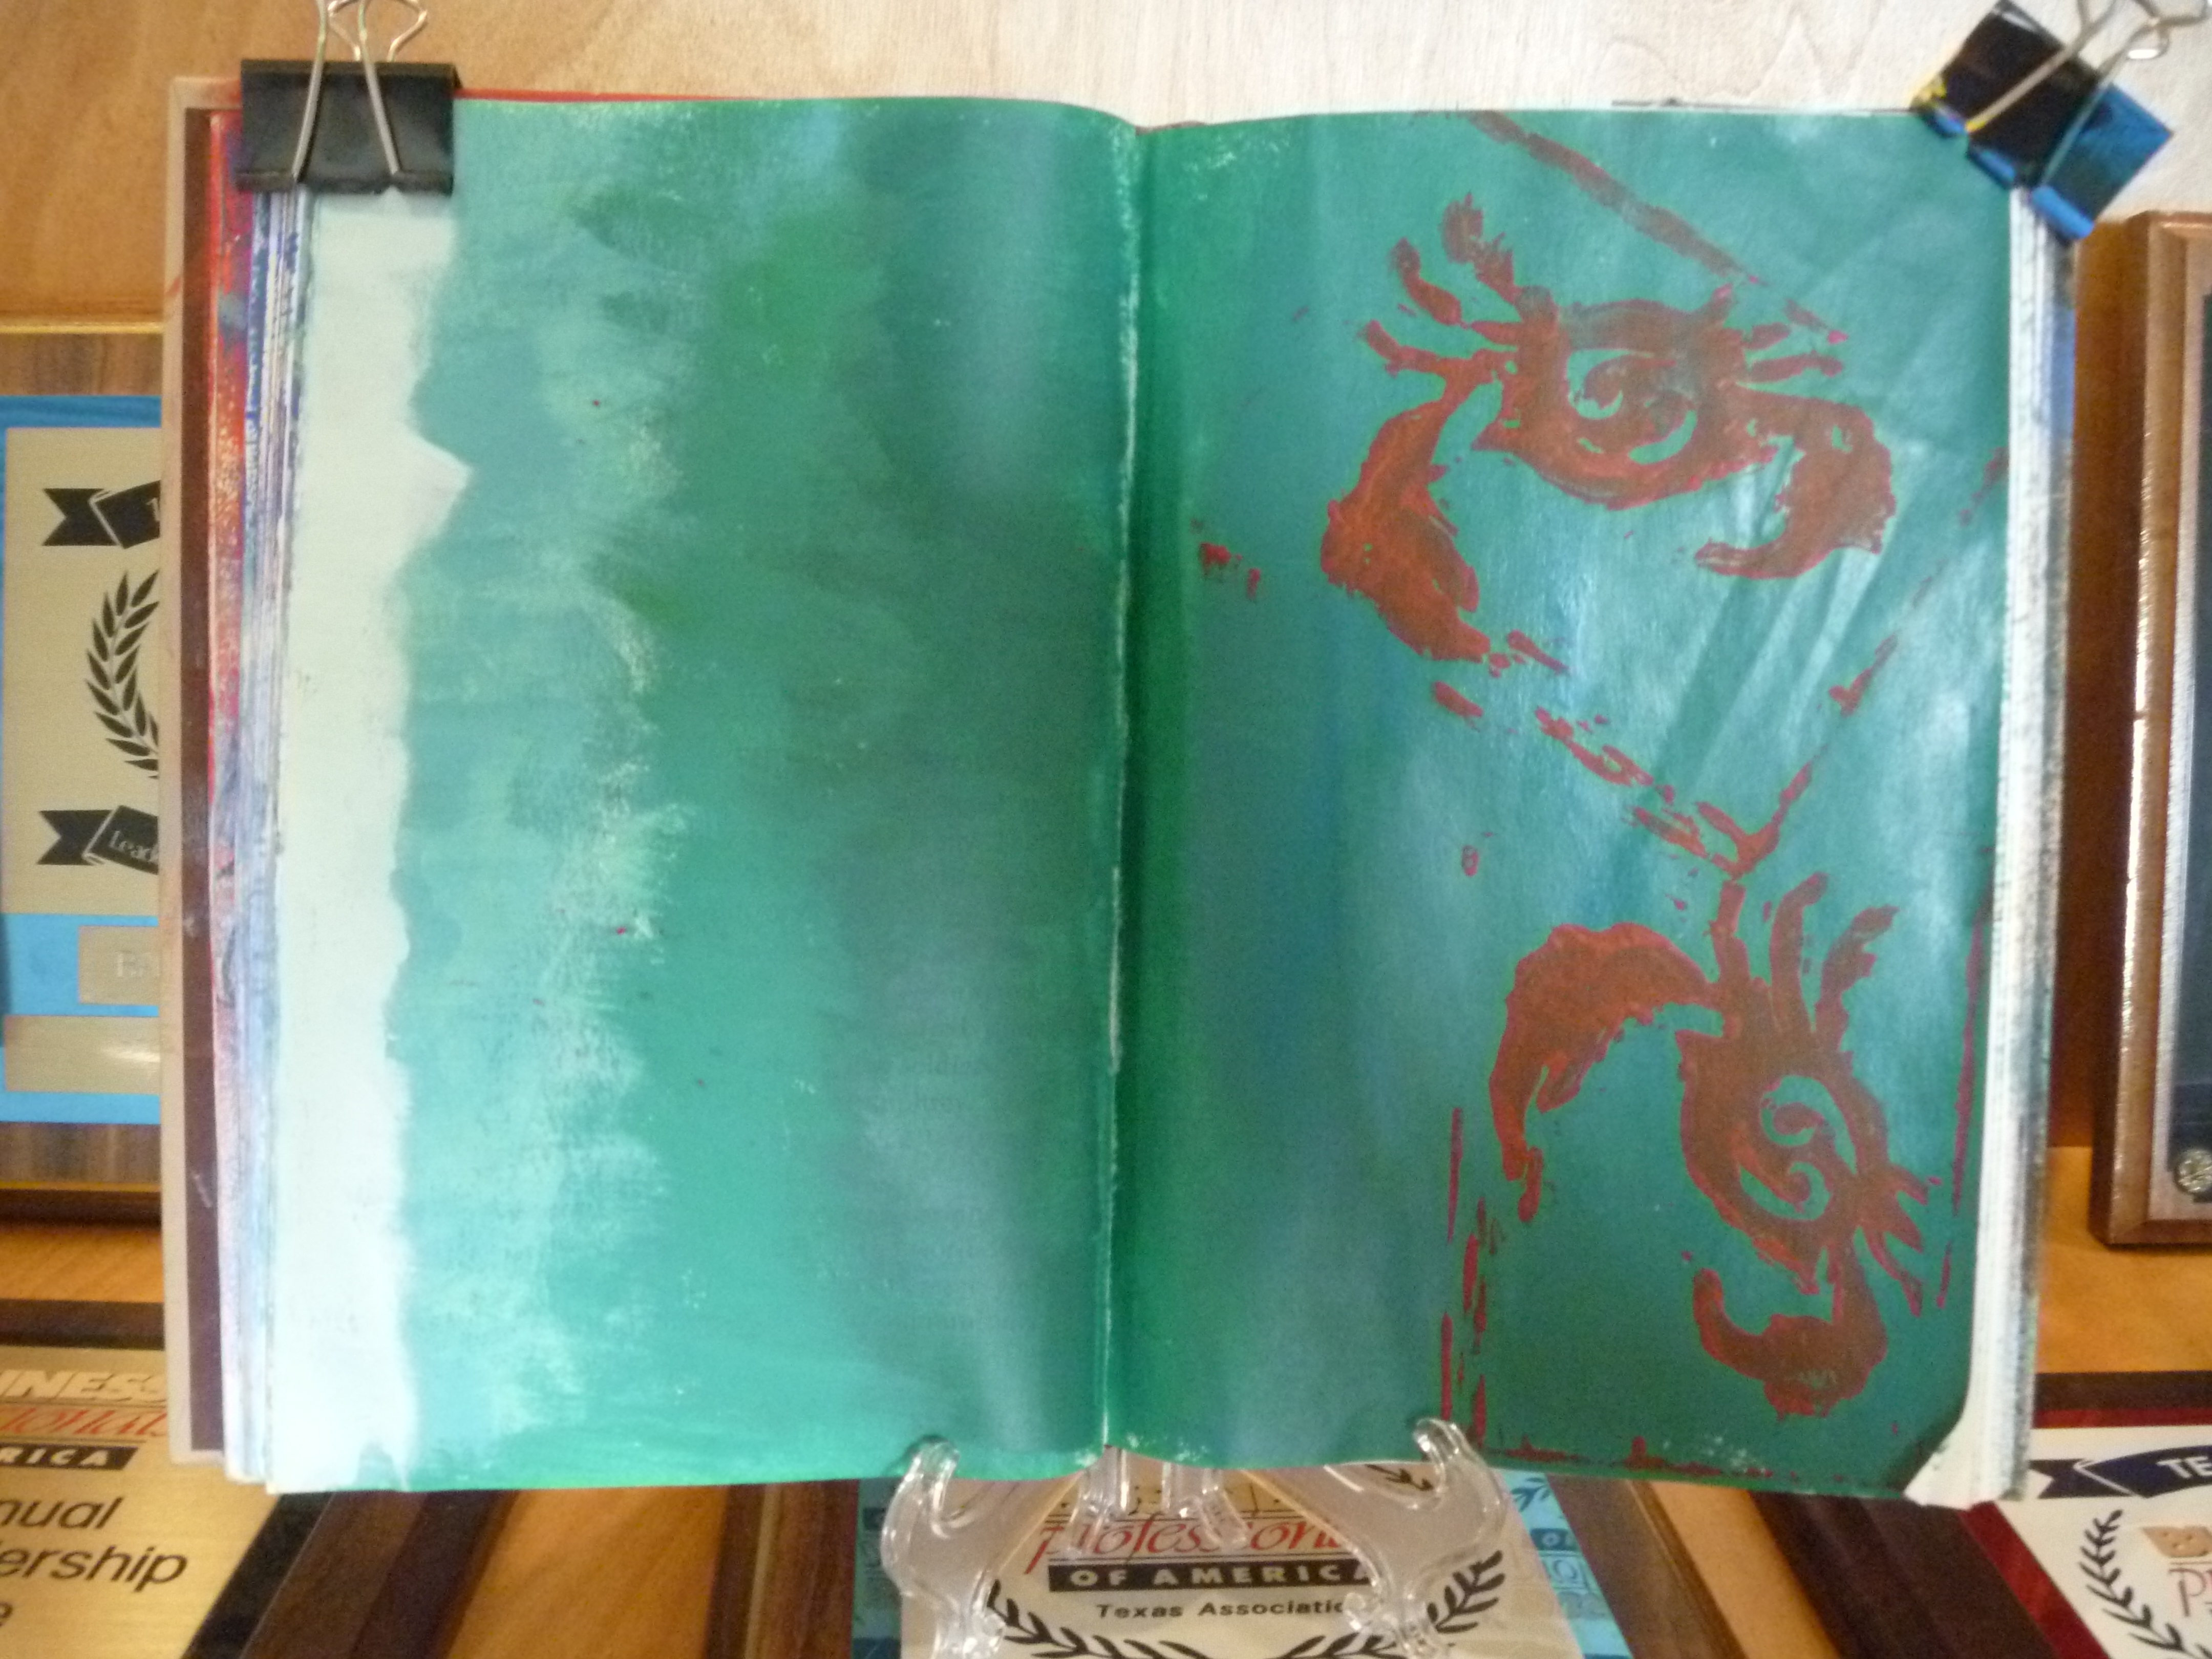
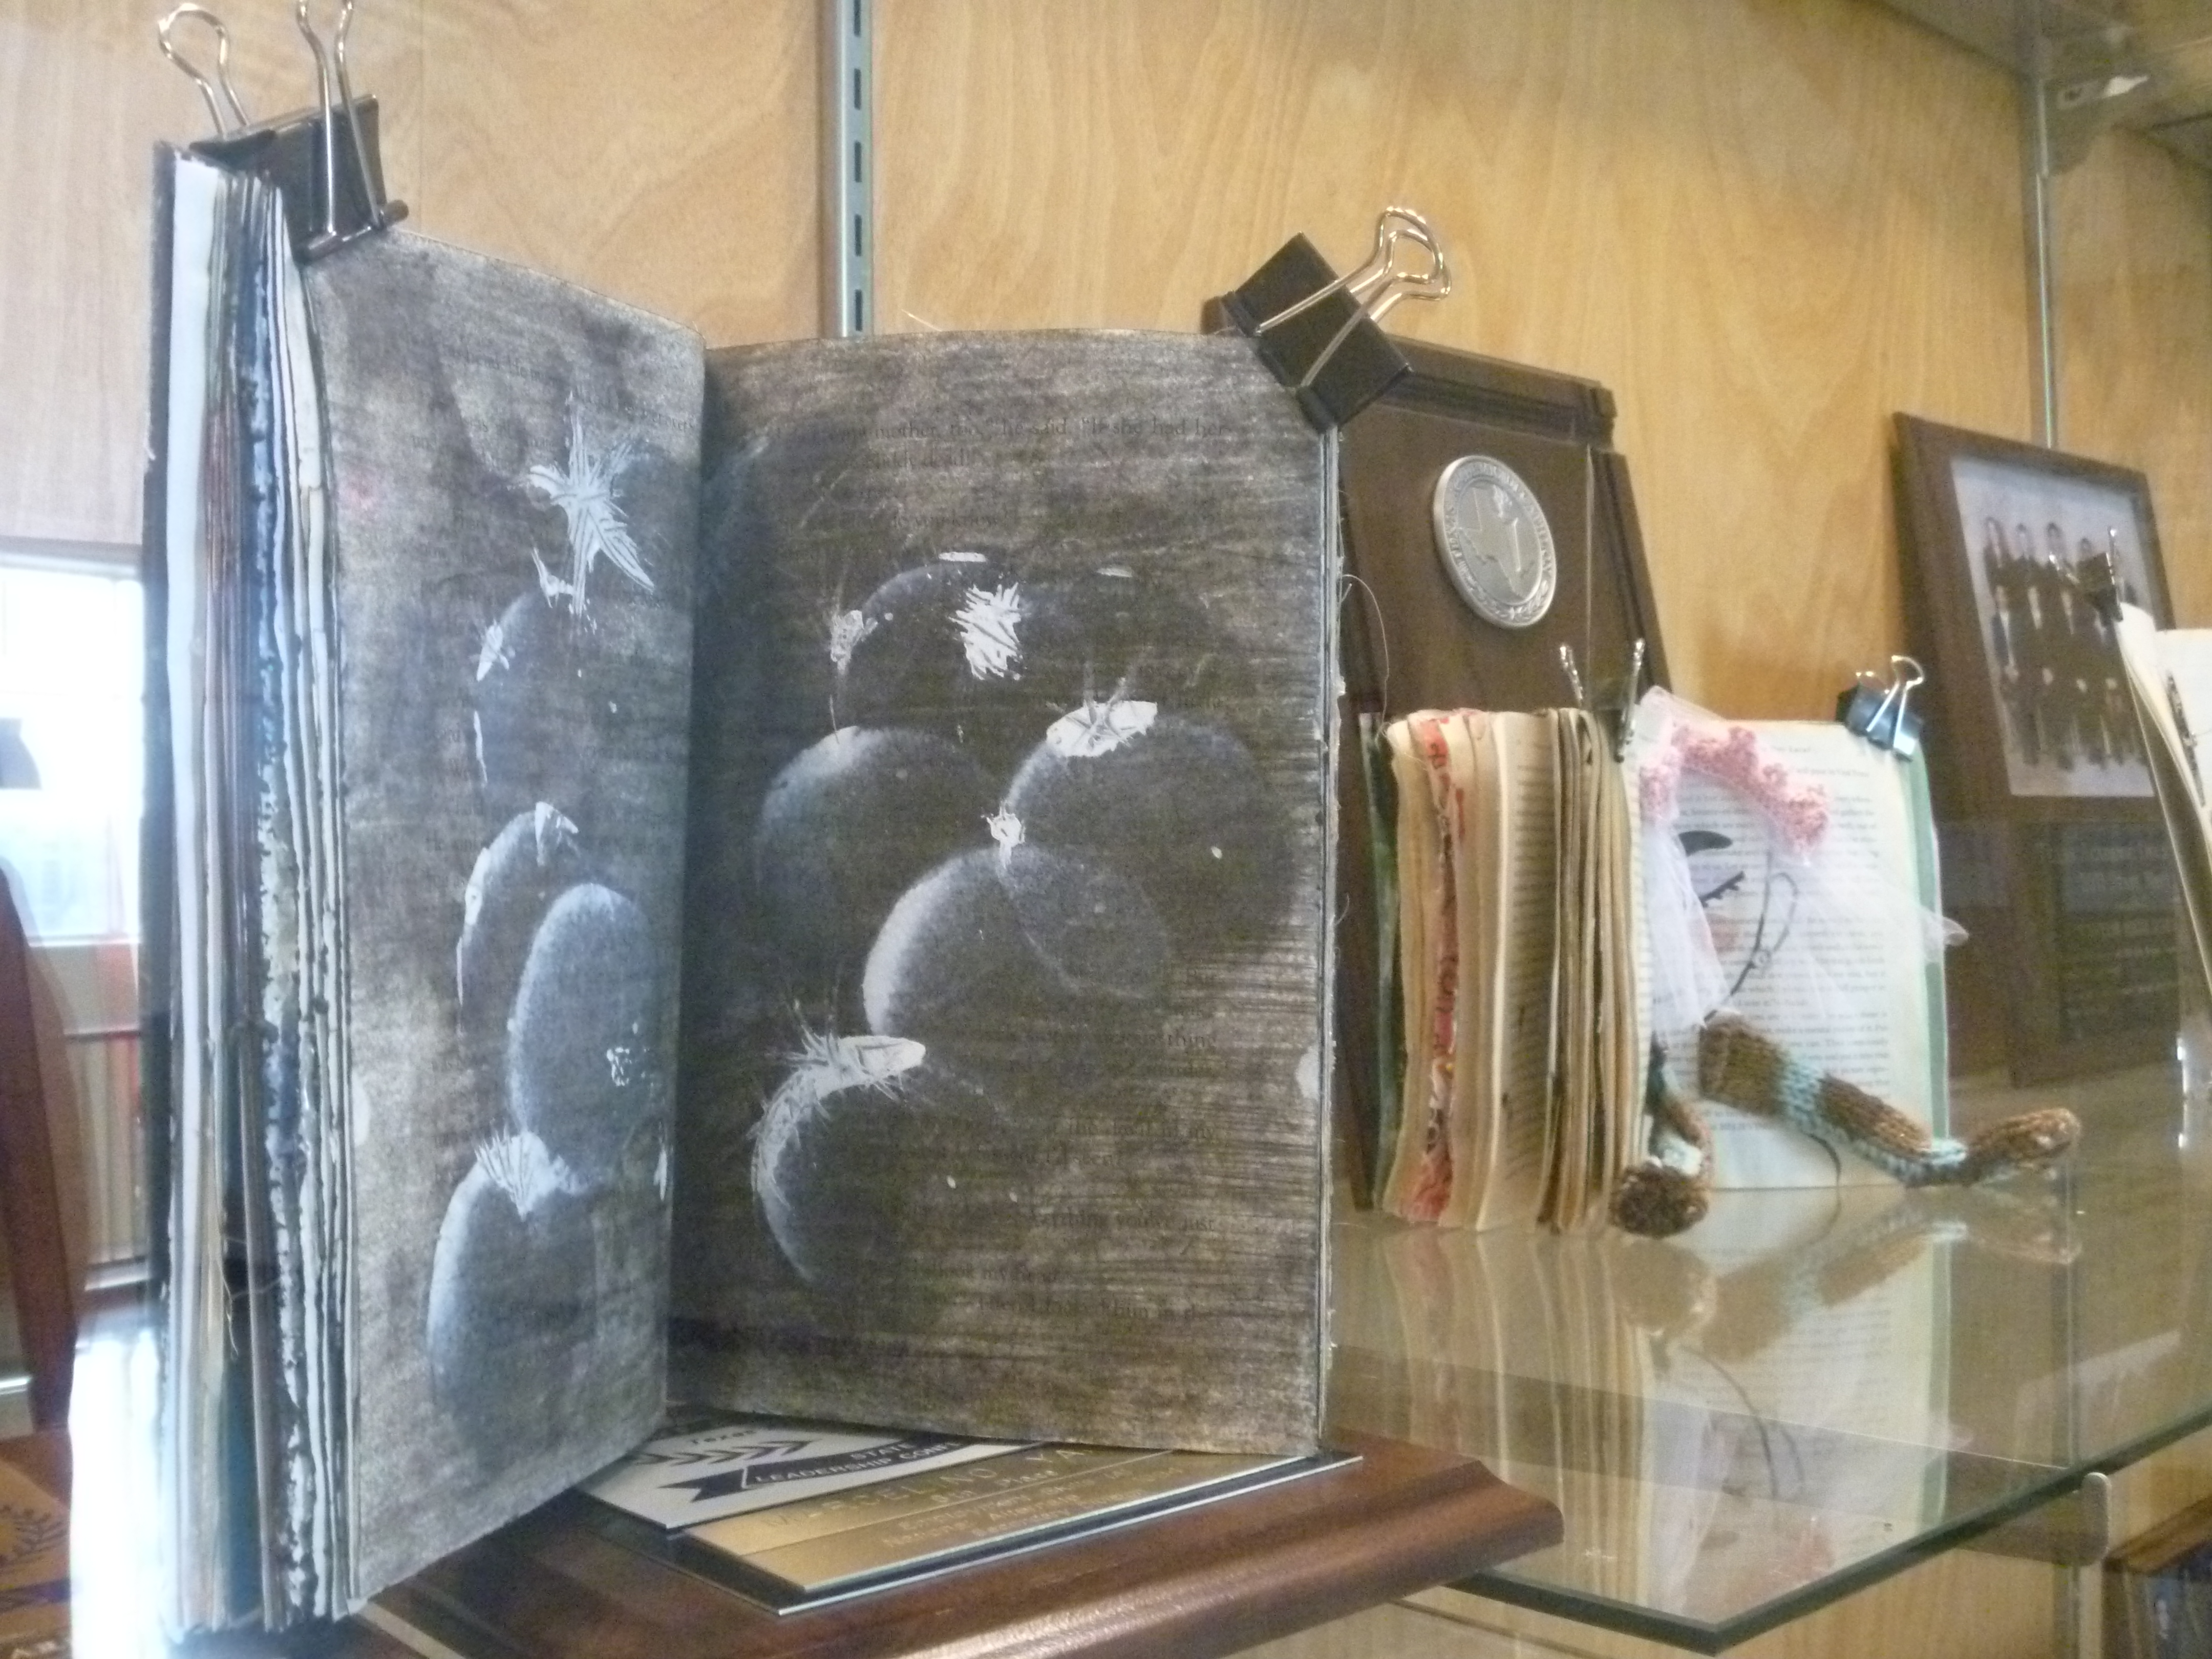
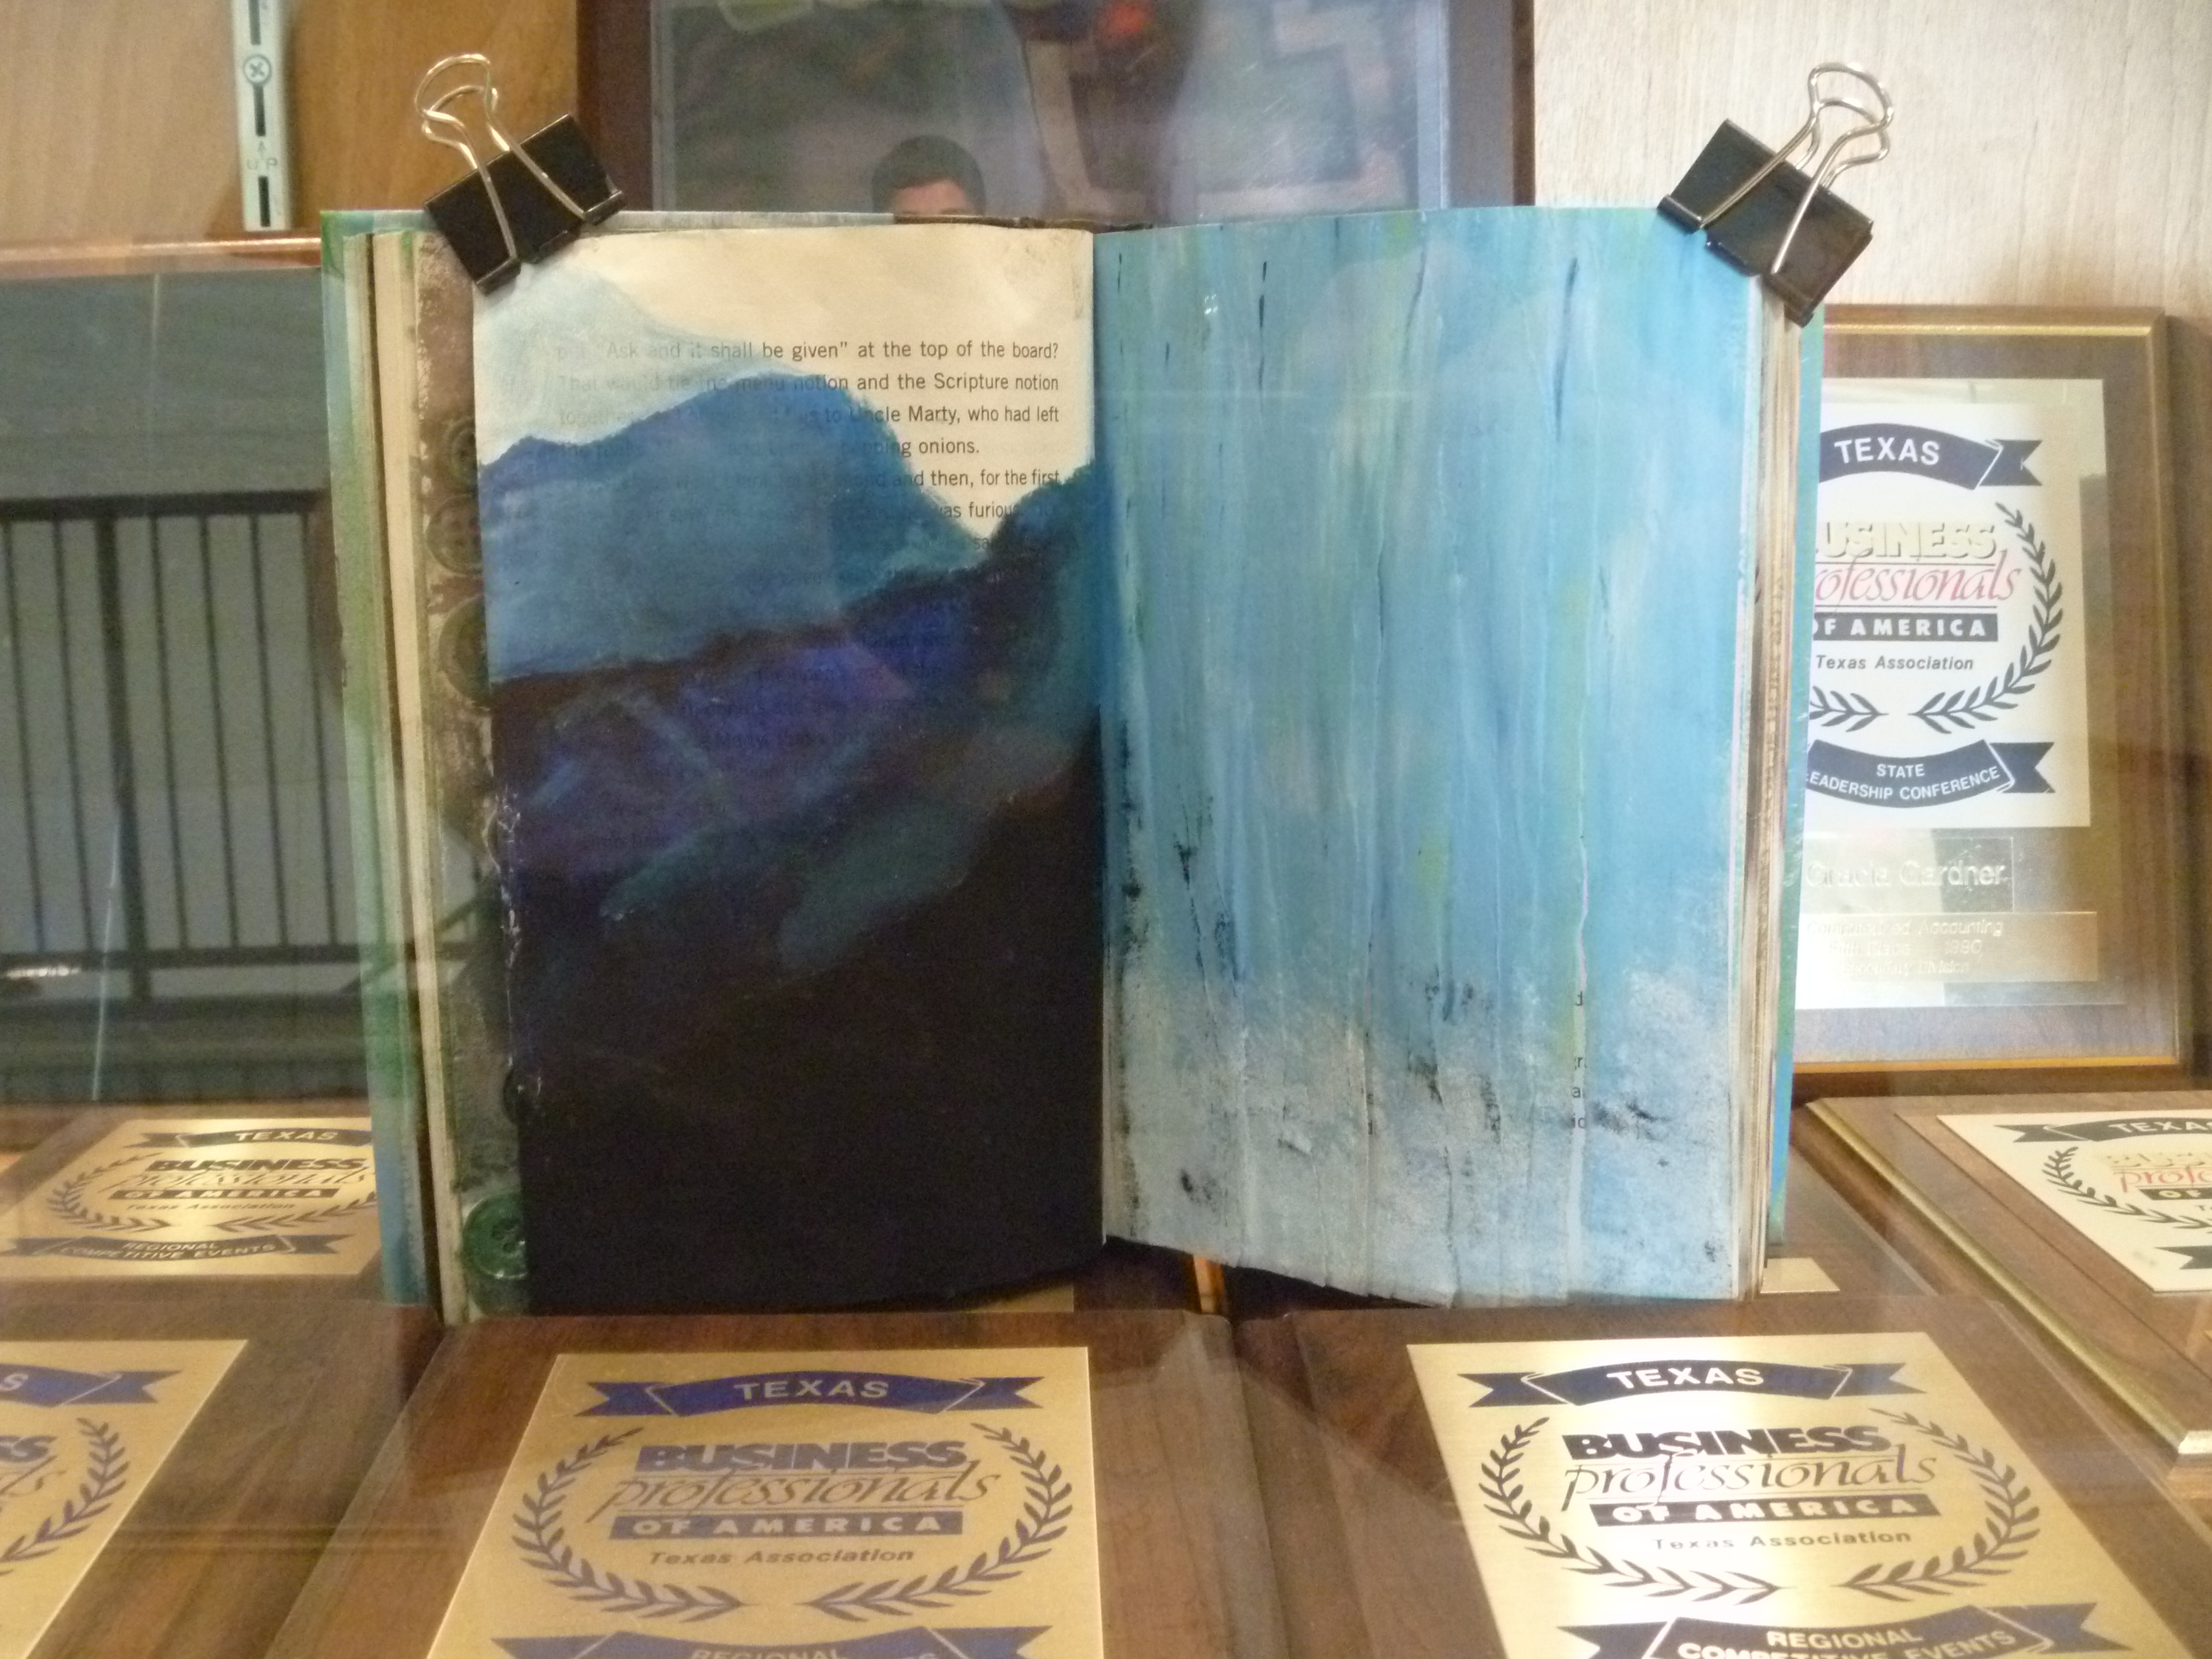
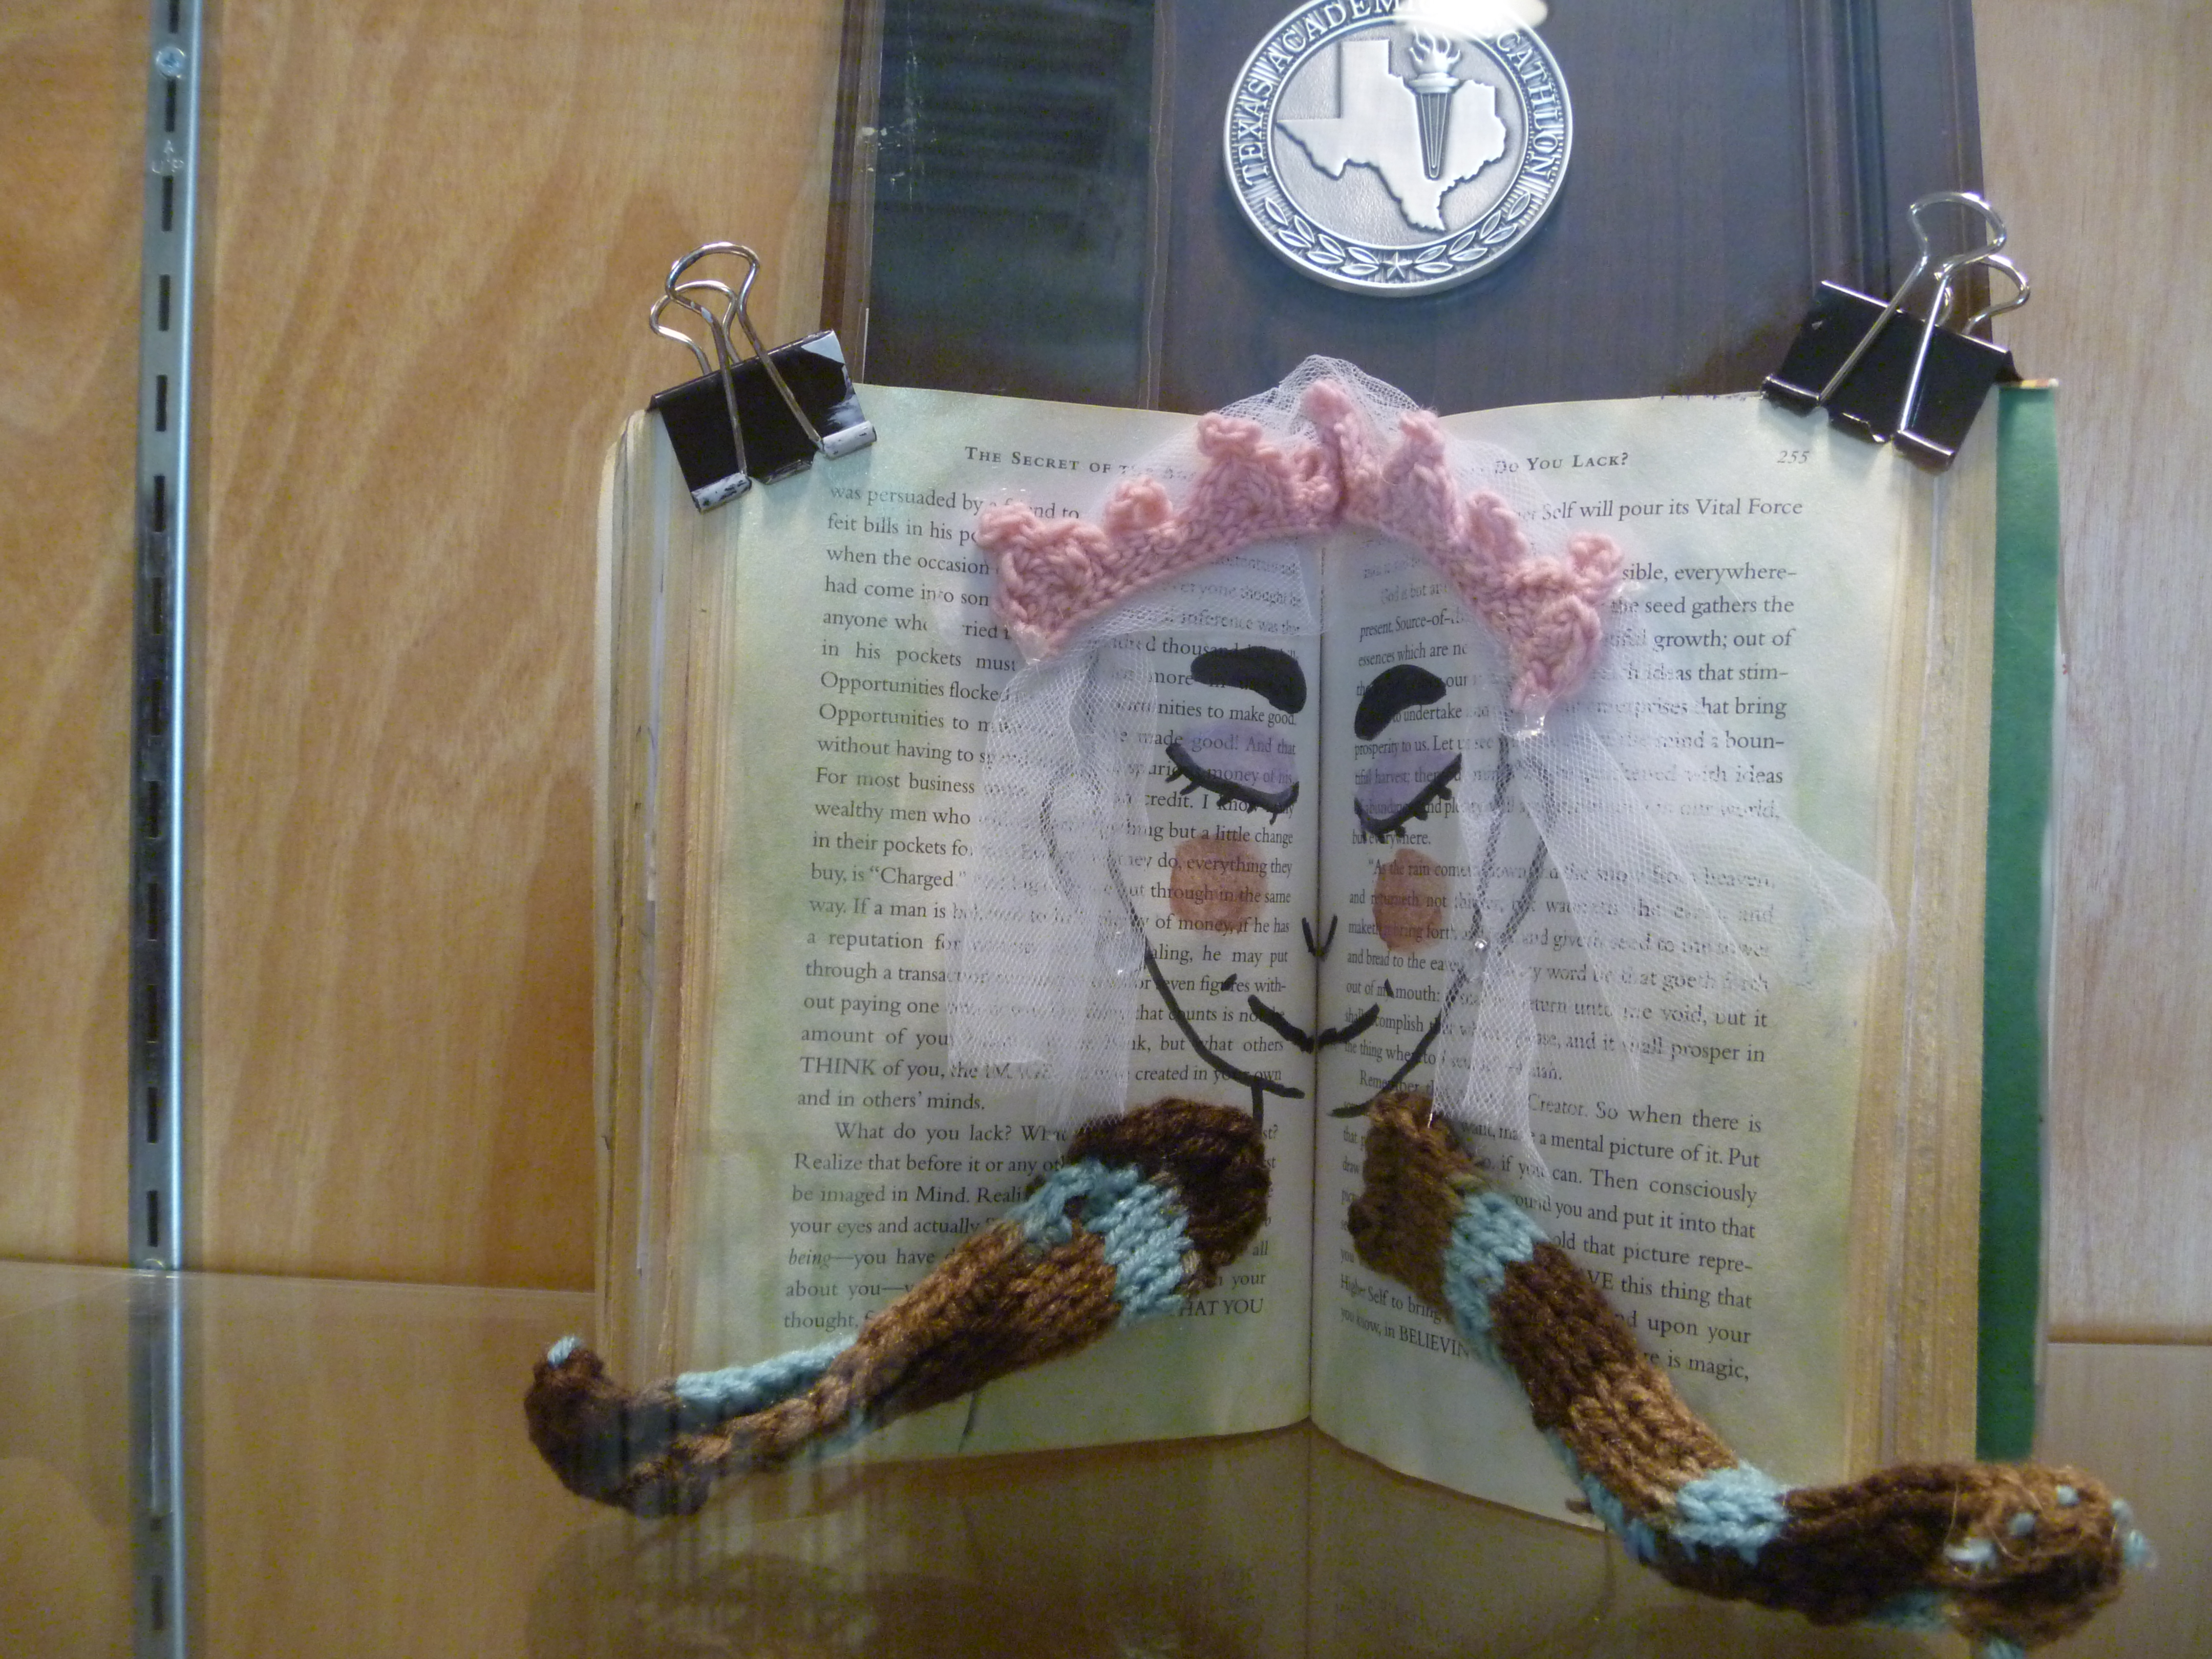
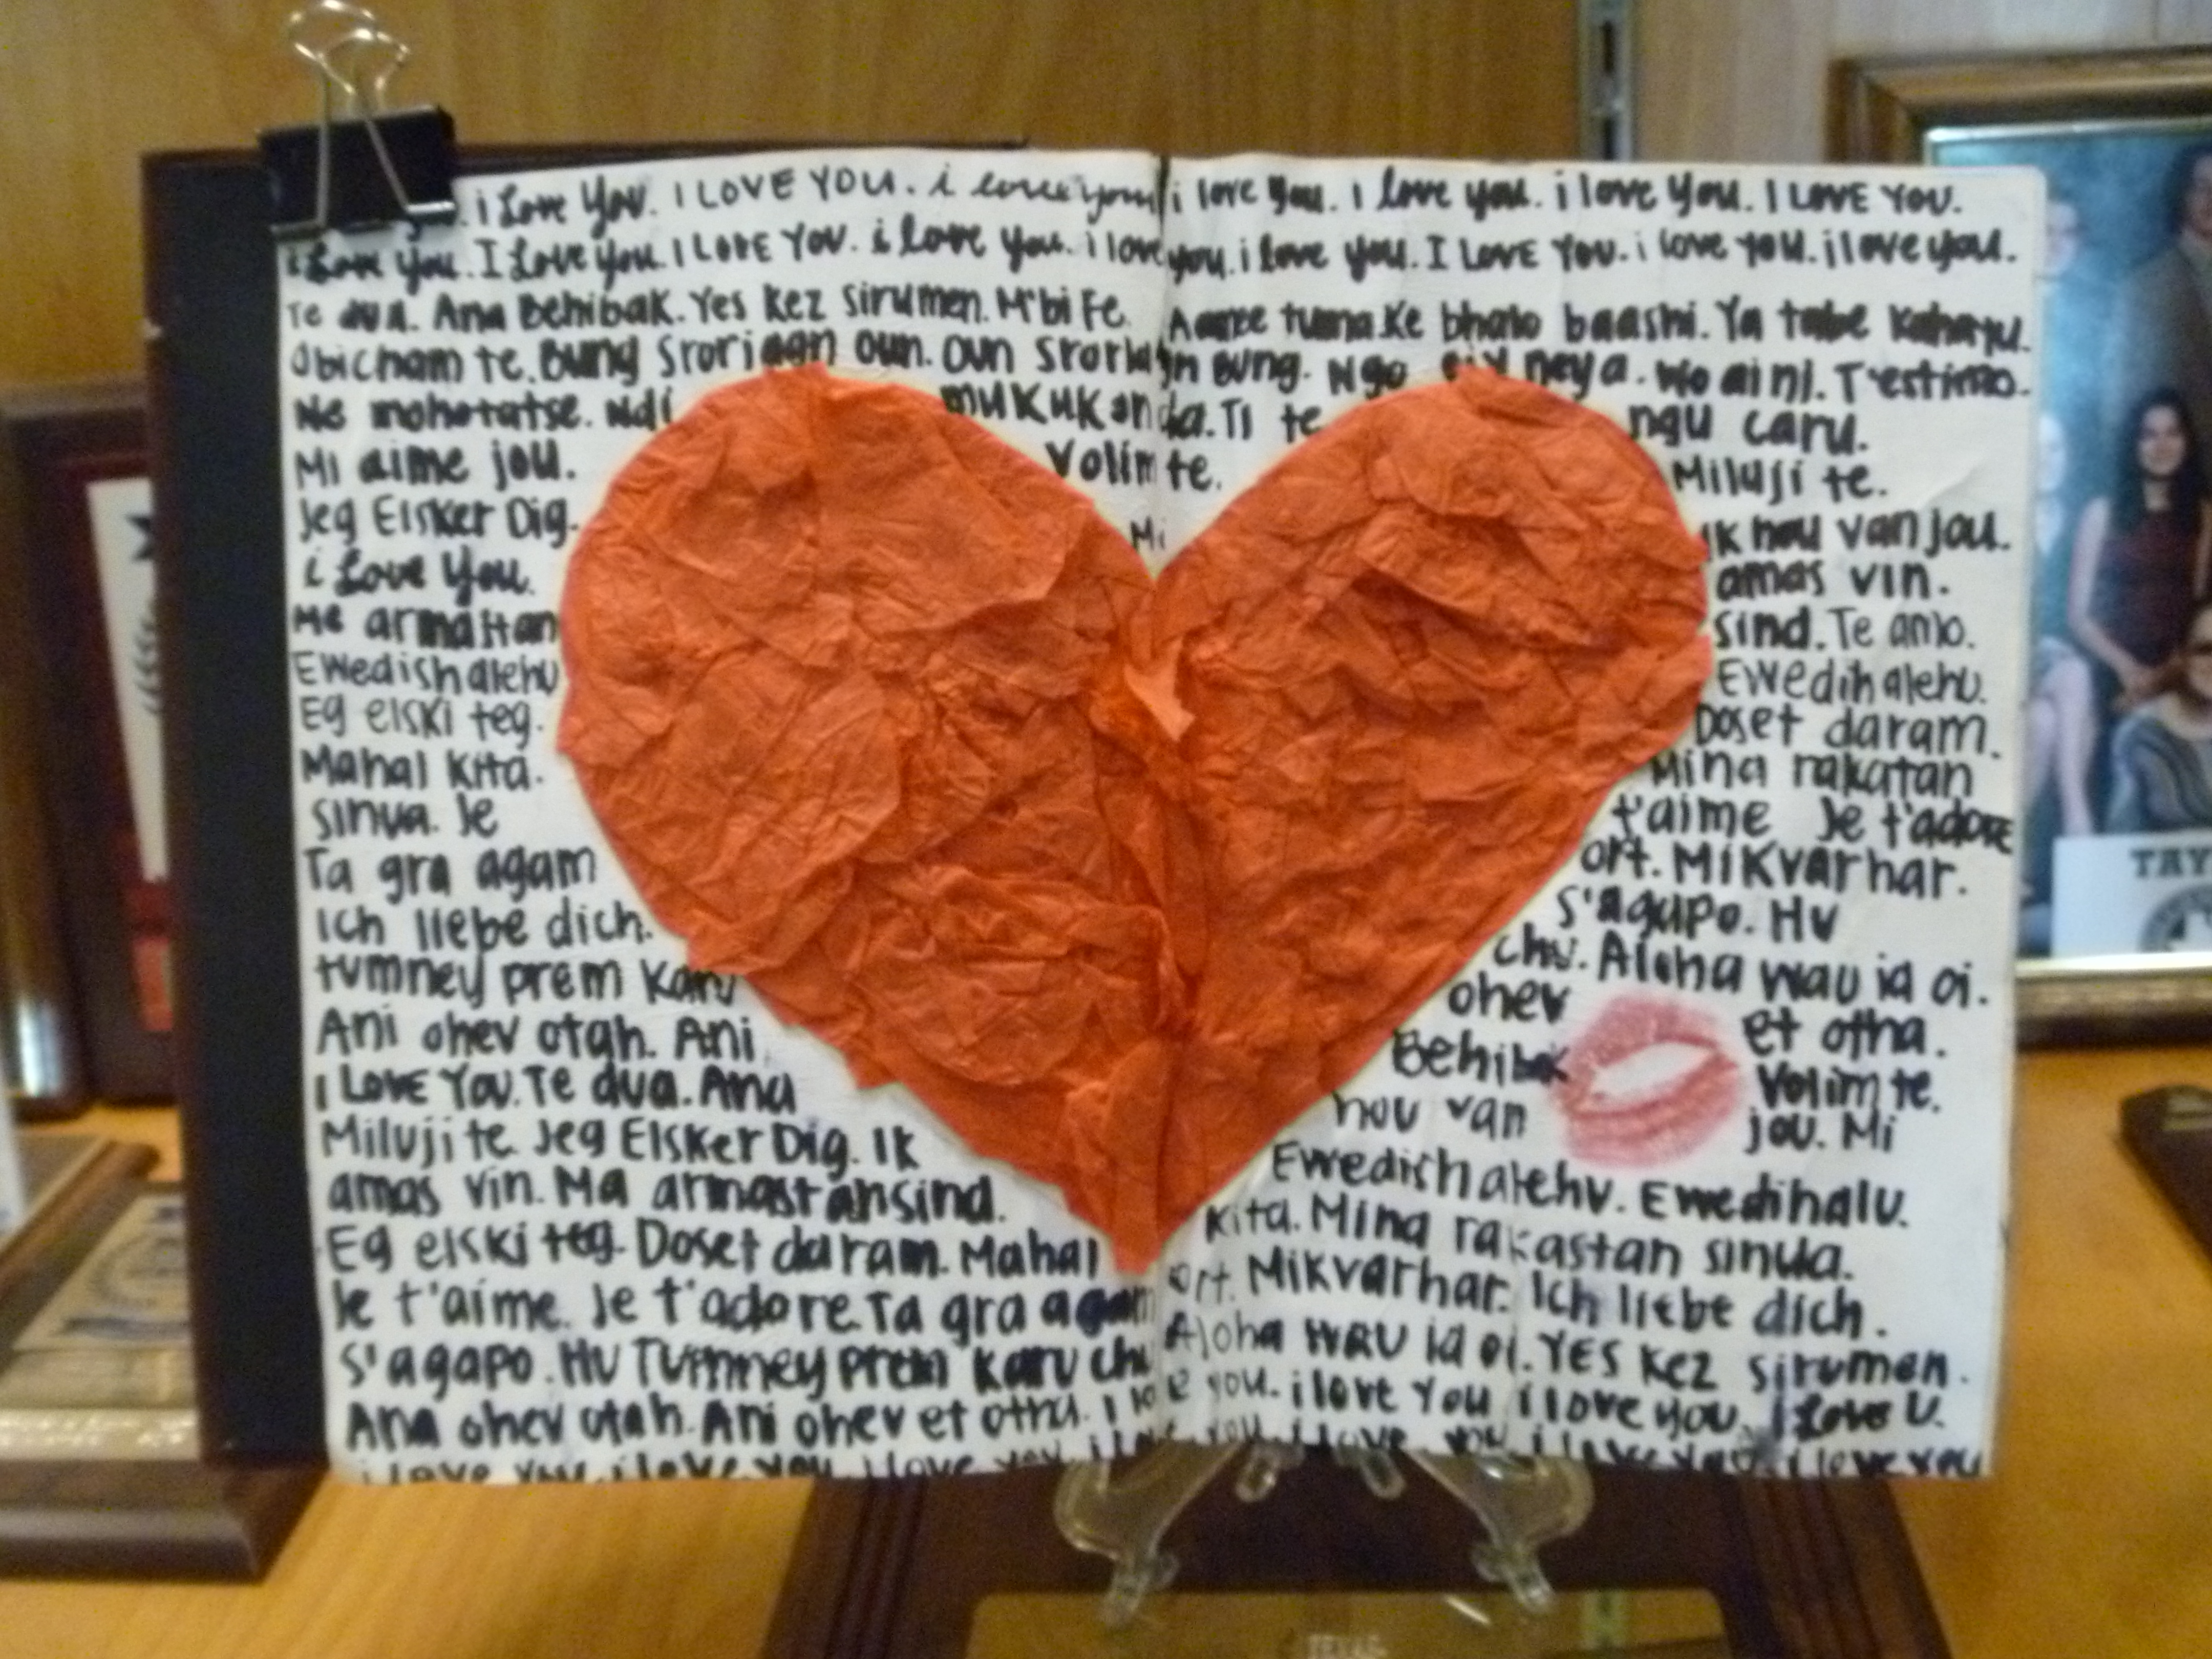
Here are some of the results.

P1050151 P1050152 P1050156 P1050160 P1050161 P1050165 P1050166 P1050173 P1050174 P1050177

Clay Slab Tiles

Standard

Beginning ceramic students learned all about rolling out slabs when making their clay boxes.  So, I thought I would use the slab to let them experiment carving.  They all rolled out and cut 6″X6″ tiles.  From there they were given the “rules”.  They needed to have a minimum of 4 levels.  How that was achieved was up to them.  They were shown this Pinterest board for some examples.  They had to have a frame…again, they decided what constituted a frame.  And, one element had to break said frame.

And go.  As usual, I have a few kids that can just jump in and go for it…and get great results.  Others carefully planned and revised their designs.  I had one student wind up at our alternative center and had to work on her tile without help from me or others…she did a fabulous job.

Once they were finished, I had decided this was a great project to show them a non-glaze surface technique.  I had seen pieces done on my Facebook Art Teachers group and thought the oil pastel tempera resist would be perfect for them.  First they color the tiles with oil pastels.  I tell them to color darkly, but not to color fully.  Where ever there were holidays, the tempera would soak into the ceramic. Next they covered the entire piece with tempera.  On my example I had watered it down.  I didn’t have them do that, and they turned out just fine.  After that they held the tiles under a running stream from the faucet.  I reminded them just to let the water wash over it and not to scrub.  The water would rinse away all the tempera where they had colored with the oil pastels.  Many were nervous and seemed as if they didn’t believe me.  I love their faces when they finally saw the amazing result.  As a last step, I had them spray with a spray gloss to seal the piece.

They were super happy with their tiles.  I don’t think they ever would have though to do anything like this.  A few of them are in painting and drawing with the other art teacher and the connected what we did with the resist to a similar project they did on paper with tempera and ink.  Love when they can do that.

P1040693 P1040873 P1040875 P1040919 P1040927 P1040928 P1050268 P1040930 P1040933 P1040941 P1040942 P1040944 P1050055 P1050199 P1050200 P1050202

Ceramic Slab Boxes

Standard

Our first big unit in beginning ceramics class was to build a slab box that had texture, a lid, a handle, and a few added embellishments.  A fellow ceramics teacher, Jen,  was kind enough to share her lesson.  I tried it out for the first time last year.  I thought the kids did well, so I did it again this year.  I think it is a good intro to the hand-building technique of the slab.  Also, it brought in texture, a favorite aspect of mine, by use of texture rollers, adding a usable handle, and adding embellishments.

The students learned a lot about slabs.  The state of leatherhard is one they all know now.  Some really did understand the state, while other just never got there and didn’t heed advice to cover the slabs they weren’t working on at the moment, thus letting things dry out too much to use.  A couple kids did find out that you can mist way too much.

But, I did hear good conversation about using the stilts (in our case made of paint stirrers) to help keep slabs even, how much pressure to use when using texture rollers, and reminders to put in reinforcing coils.

I am pleased with the results of the boxes, even though more than one handle was either not scored/slipped right or was too fragile and broke off–unfortunately, usually by me.

P1040581 P1040587 P1040586 P1040585 P1040583 P1040582

For the surface treatment, I wanted them to learn a technique that would enhance the texture created by the texture rollers.  I asked them to choose 2 glaze colors–a dark and a light.  They learned how to pour in a glaze and roll it around to cover the interior of the box.  They did this with the dark.  After that, they used the dark to brush into the texture.  Once dry, they washed off the excess leaving the color in the recesses (and as a slight stain on the flat surfaces.)  Then they brushed on the lighter color to the outside of the box, going over everything–including the dark in the texture.  The theory is that the dark will show through the light, creating an interesting surface with a bit of depth.

Not everyone followed instructions, and that is okay.  But, the ones that did created some wonderful looking boxes.

P1050129 P1050243 P1050242 P1050150 P1050149 P1050146 P1050144 P1050139 P1050137 P1050136 P1050134 P1050133 P1050132

Under Pressure

Standard

I just had to put that as a title.  However, my students were not under any pressure.  Pressure was the latest theme for my Art 2: Painting/Drawing students.  This was an interesting theme.  The students had some wonderful ideas, but a few just never hit the mark.

I added into the mix printmaking–both collograph and block.  I also addedpainting–watercolors (paints and pencils) and acrylics.  Funny thing was, almost every student chose to use block printing.  I asked them about it after the fact and some said they really liked the carving aspect, but some said they thought they had to do block prints.  I looked at them with a questioning look on my face.  We discussed, again, that they could use any medium they wanted for their work.  Hopefully they get that now.  I am unsure what I said or did for them to get that impression.

I have 6 life skill students in my class.  Most of them chose to do block prints.  I want to highlight Noah’s.  While I am sure that what he did had no ties to pressure, I love this piece.  He has been scribbling since day one and he has developed so much.  I love this piece.

P1040856

This next piece is also by a life skills student.  Deven is one of my more advanced LS kids.  He plays football and much of his work is centered on it.  His pressure piece is no exception.

P1040868

This piece had so much potential when I talked with this student.  We talked about the pressure from people looking at us and watching us.  I think the execution missed the mark.

P1040861

The rest are pieces that are super successful.  These are my favorites from the group.

P1040860 P1040866 P1040858 P1040855 P1040854 P1040852 P1040851

You Can Go “Home” Again

Standard

Our third theme in Art 1 this year was “home”. This proved to be a harder theme than anticipated…and one that many thought was uninteresting. I knew some students wouldn’t be able to get past doing a drawing or a painting of their house, no matter how much we discussed different things that “home” could mean.

I challenged them to look beyond the obvious and look into their lives and show me what home meant to them. Many took this challenge. Many succeeded. But, many fell short. However, that doesn’t mean they didn’t learn anything.

A new “station” was opened on this unit. I introduced them to paint. We looked at watercolor pencils and watercolor paints. We also looked at acrylic paints. I could see the sparkle in the eyes of the few that explored the world of acrylics. I watched the frustration. And I saw the perseverance of the few that kept working and working until they were satisfied.

While I am unsure if I will use the theme of “home” again, I am pleased with the results. Here are some of my favorites.

P1040790

To see all the artwork, visit The Barnett Blog.

Art 2 Work In Progress: Interior/Exterior

Standard

Art 2’s newest theme is interior/exterior.  They have really explored this theme and their ideas run the gamut.  They are all so different and I am so proud of them and their work.  They work so hard and many come in with ideas so they are ready to go once they finish practice sheets.

Here are some of the works in progress.

This student did a smaller sample first to figure out how he should color his mango.  We both liked the look of the sketch so much, he tried to replicate it in a larger form, finger prints and all.

20141028_160015

This student is big into soccer, so he is doing an open stadium located in Madrid.

20141028_155943

I really like his concept of switching up the ball and the court.  This student’s work is improving so much.

20141028_155918

I am not quite sure what is happening in the mouth, but it isn’t “mouth parts”.  Today he and I had a discussion about what color the inside of our nostrils are.  He went so far as to use his camera to find out.  I love the way he is using the oil pastels.  He has never used them before.

20141028_155911

An “inside”look into someone’s eyes.  And, it is said that they eyes are the doorway to the soul.

20141028_155904

I eagerly await the finished artworks.

Man / Machine

Standard

Our first TAB unit is coming to a close.  Art 2 finished last week, and Art 1 is just about done.  The theme the students were challenged with was MAN/MACHINE. As a class, we talked about what “man” could mean, what “machine” could mean, and what connections/interactions/relationships they could have.

The students were limited to a black and white drawing no smaller than 8X10. We talked about different techniques including hatching, cross-hatching, pointillism, and scratchboard.  The students practiced these along with charcoal and using white pencil on black paper.

I couldn’t have asked for a better first theme.  The students gave it their all–well, 98% did.  They learned so much about the artistic process.  Many sketched first before committing to a final drawing.  Others went through 2, 3, or even 4 ideas before settling on something.  Some even started final works, reflected on what they were doing, weren’t happy, then started over again.  Kids researched drawing faces and learned how to draw wood grain.  I don’t think my classroom has seen so much independent learning in one artwork in an art 1 class, ever.  Art 2 amazed me with their thought processes and choices.

Interpretations were all over the map.  Here are just a few.

P1040280

P1040281

P1040288

P1040289

P1040294

P1040295

P1040296

P1040297

P1040299

P1040303

P1040305

On "aged" parchment paper.

On “aged” parchment paper.

P1040326

P1040330

P1040333

On newsprint, like a comic.

On newsprint, like a comic.

I have to admit that I was nervous putting them up in the hallway to display.  I was nervous that my colleagues would think my students weren’t as talented as in previous years.  I wrote a carefully worded email announcing new artwork in the hallway.  I always do this because the fine arts hallway is out of the way for many.  This time I explained what the students were learning, TAB, and the authentic art making happening in my art room.  My worries were not necessary.  I received…well the kids received so many complements.  In fact, one of my AP’s complemented me on the artwork, the wonderful email, and the exceptional learning going on in my room.

A Student’s Story about Problem Solving

Standard

I wanted to take a moment to brag on one of my ceramic students.  Lately I’ve been talking so much about my art 1 and art 2 classes and how their immersion into TAB has been off the chain.  I feel like I’ve been neglecting my other classes…my ceramic classes.  They do make up half of my class load after all, they should not be looked over.

It has been slow going in the beginning classes as we were waiting for clay and slabs are getting to a working state that isn’t so floppy.  (I have to say I can’t wait until we are past the first project so kids have more than one thing to work on.)

My intermediate/advanced class is creating enlarged organic objects.  I asked them to bring in an organic object, but of course, only one student did.  Luckily I predicted this and found a ton of things for them.  One of the objects was the flower pod from the cactuses here in Texas.  Paul chose that object.

It started out fresh and bulbous and he jumped right in building it 5 times as big.  It was going to be an awesome piece.  However, over the course of the time we’ve been working, the pod began to shrivel as the moisture left.  Neither of us thought of this possibility.  As Paul was close to finishing, I told him if he wanted to just pretend the piece hadn’t shriveled, I was cool with that.  He said ok.

I went about my business and towards the end of class came back to Paul and saw that he had incorporated the shrivels.  His piece looked way more awesome than it did before.  There is now so much more life to his sculpture.  I am so proud of him.  This is his best work to date.  I love that he encountered a problem and instead of getting mad, he ran with it and brought his work to another level.

P1040214 P1040245

Student/Teacher Collaboration

Standard

Should we influence our students’ artworks?  And if so, how much?  I struggled with this the other day.  As I walk around my classroom, I stop and watch students work.  I stare at them staring at their work and eventually ask what they are struggling with or what they are thinking.  This has started some wonderful conversations and lead to some collaboration.

I listen carefully to what they have to say and I form my questions with great intention to pull out of them where I think they need to head in their artistic journey:  what things they need to consider, what are they trying to say with their work, what is the relationship between this and that.  I wait for them to think and answer.  And in the moments of silence, I start to think too.  Based upon their answers, I come up with some suggestions.  I can see the unknown in their eyes and I say, “what if you…?”

As I offer up ways to go with their pieces, I started to think to myself, am I giving them too much and not letting them figure it out on their own?  Am I taking something away from them?  Maybe yes, maybe no.  I like to think I am helping to open their minds to the world of possibilities and that art can be so much more than what they have seen in their little rural town.

The possibilities of where they can take their artwork and how they can bring it to another level excites me.  It makes me love art and teaching even more.  But, am I teaching or am I directing?

What do you think?

Altered Books Revisted

Standard

My Art 2: Painting/Drawing students finally finished their altered books, and let me tell you what… they are fabulous.  (As a side note, I think I have been in Texas too long if I just wrote the phrase “let me tell you what.”)  Anyway, I knew some were going to be a home run, but I wasn’t prepared for almost every book having at least one amazing page.  Normally I get some great books and a few that could have been great, but were never finished.  And, of course there are the ones that should have never been allowed to become artworks.

This year, I had a hard time deciding which page in several books to display.  It makes me feel so good as a teacher to see such exploration.  And, throughout the process, my kids just weren’t learning from me or on their own…they were ASKING OTHER KIDS about what they were doing.  And some of the kids didn’t even like each other.  AWESOME!!!!

I will be doing this again, but much sooner in the year as I think it really opens up the definition of what can be done with art. In fact, perhaps I will introduce the Altered Book to Art 1 towards the end of next year.

P1030893 P1030894 P1030895 P1030897 P1030898 P1030899 P1030900 P1030901 P1030902 P1030903 P1030904 P1030905 P1030906 P1030907 P1030908 P1030909


P1030934