I decided to start the second semester off with some good old exploration. I was going to jump right into my “Artists Steal” unit (appropriated from Apex HS), but then I changed my mind and thought we needed to get messy for a week and a half.
We don’t have a printing press at school, so that limits what we can do. However, that didn’t stop me from coming up with 6 different techniques involving making prints. I got this idea from Cynthia Gaub and her art around the room activities. The students would be asked to explore 5 out of 6 techniques and reflect on each technique.
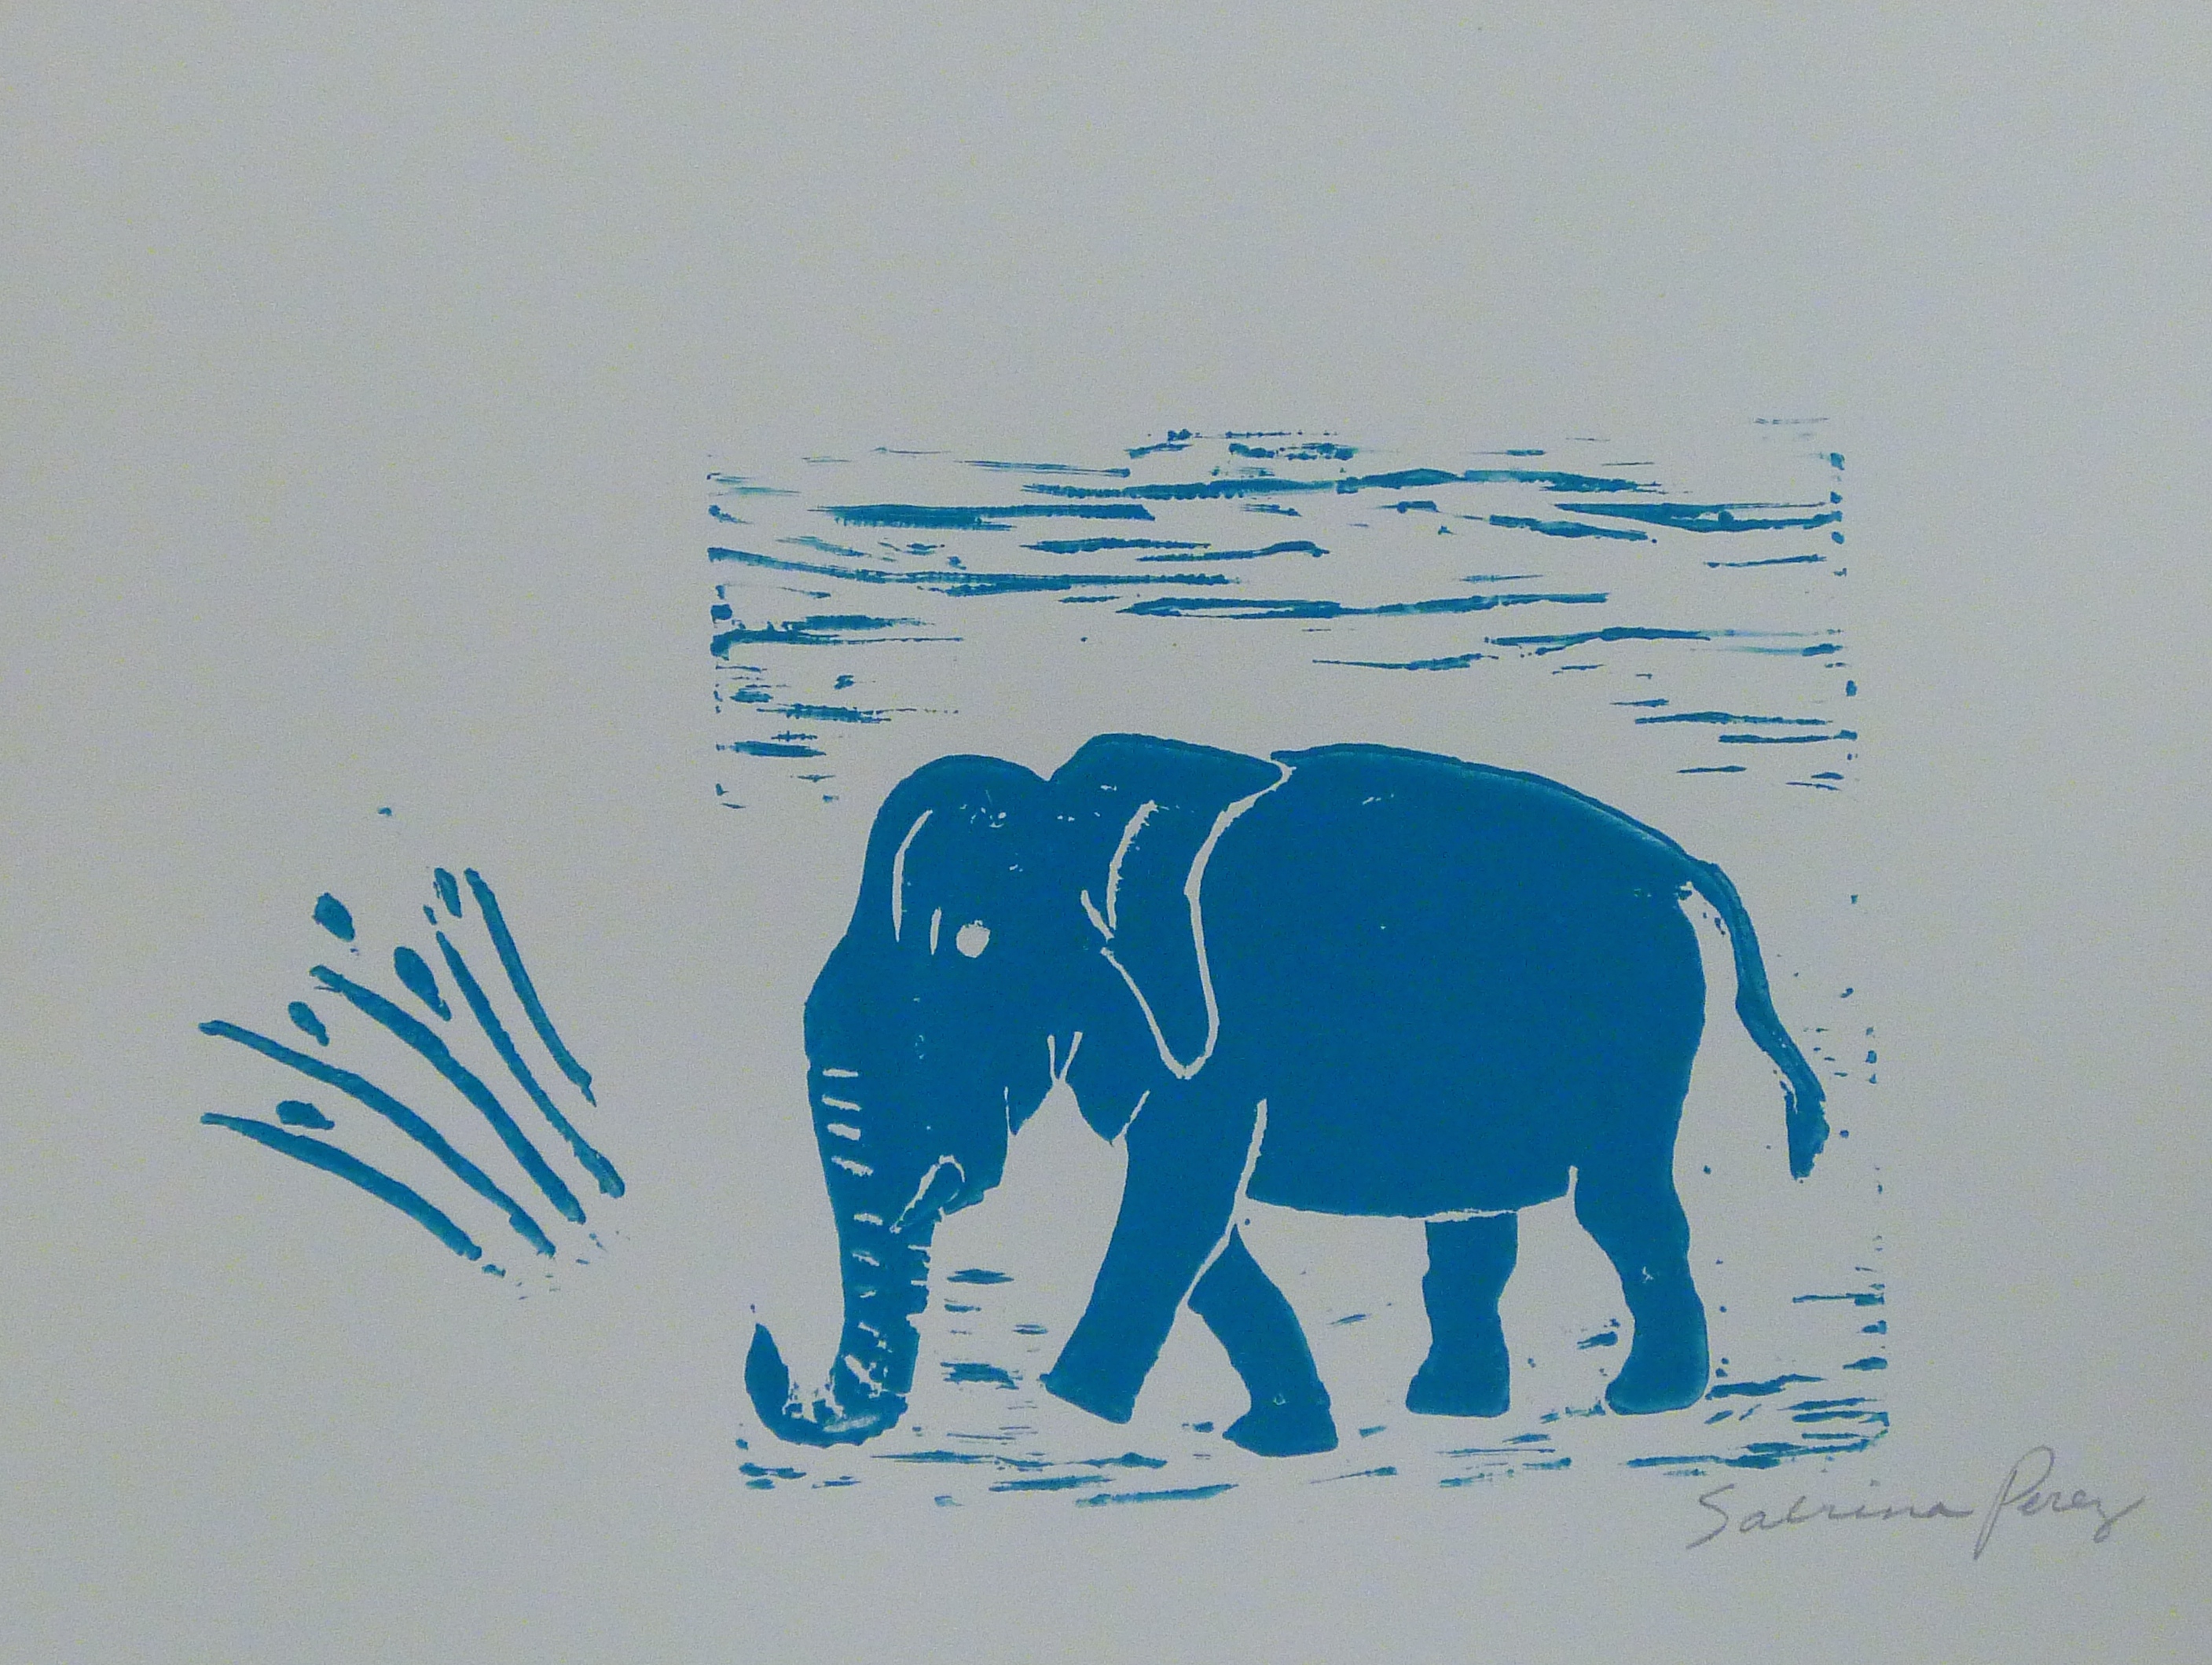
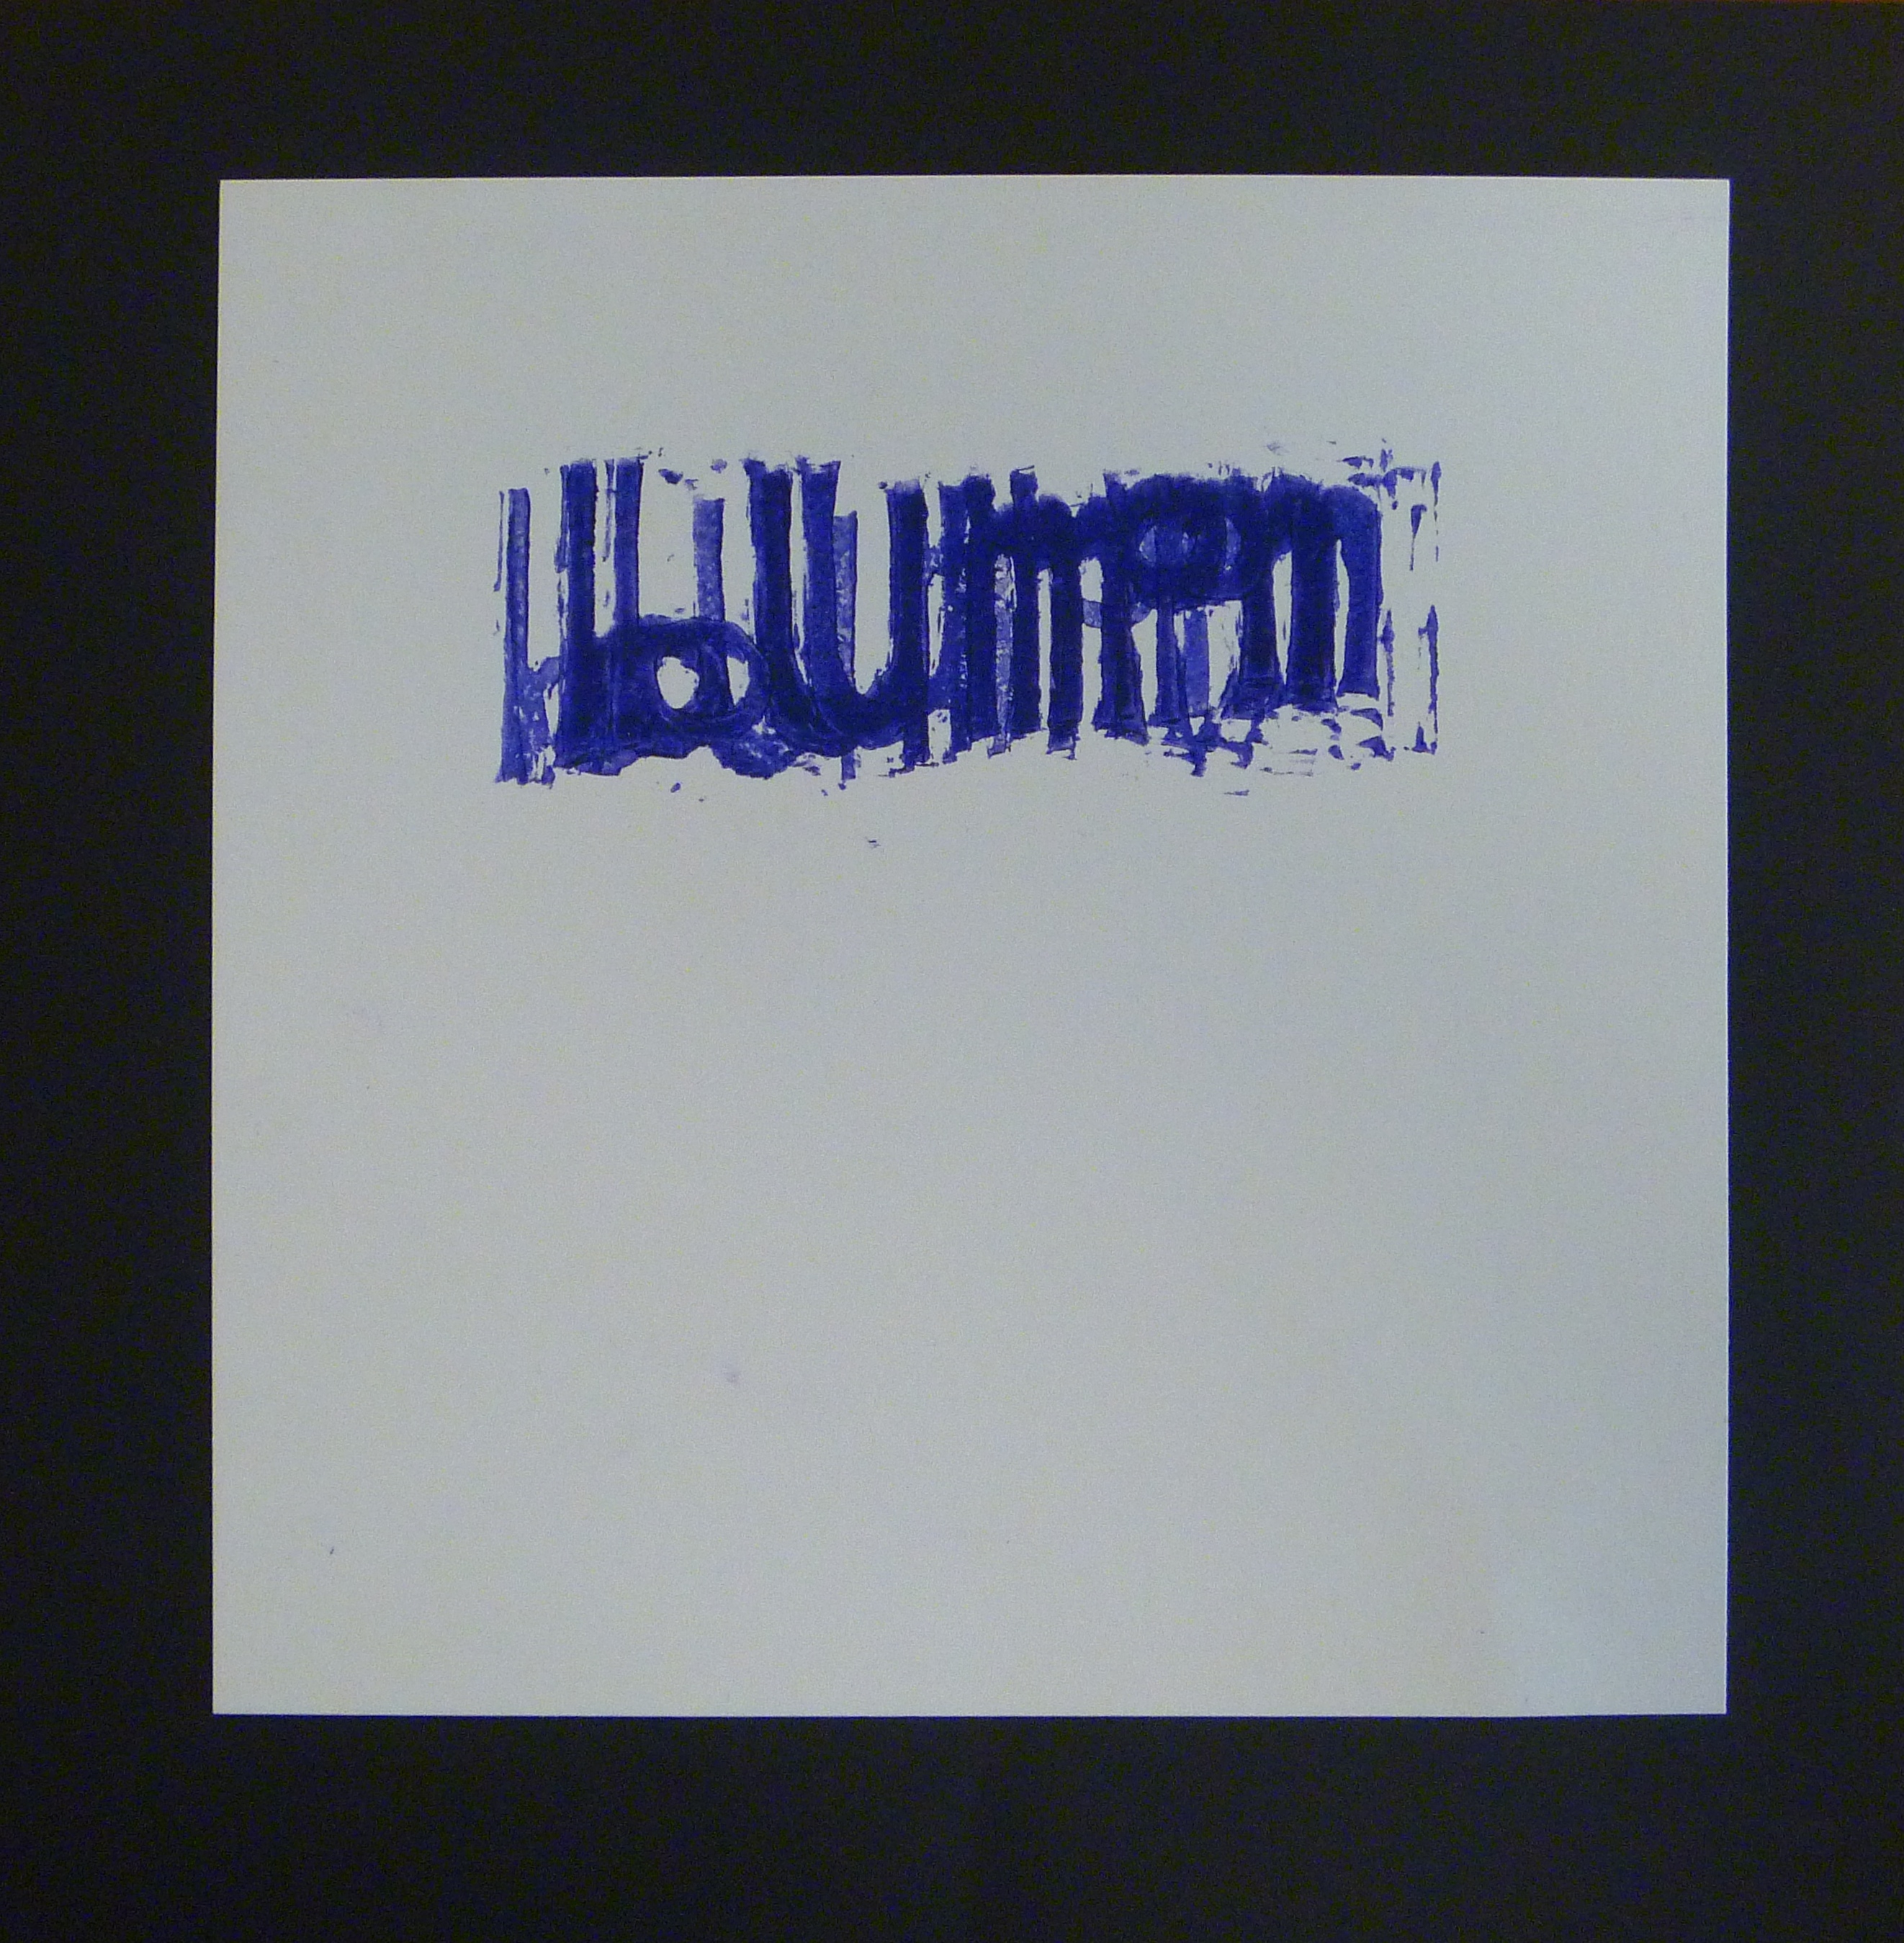
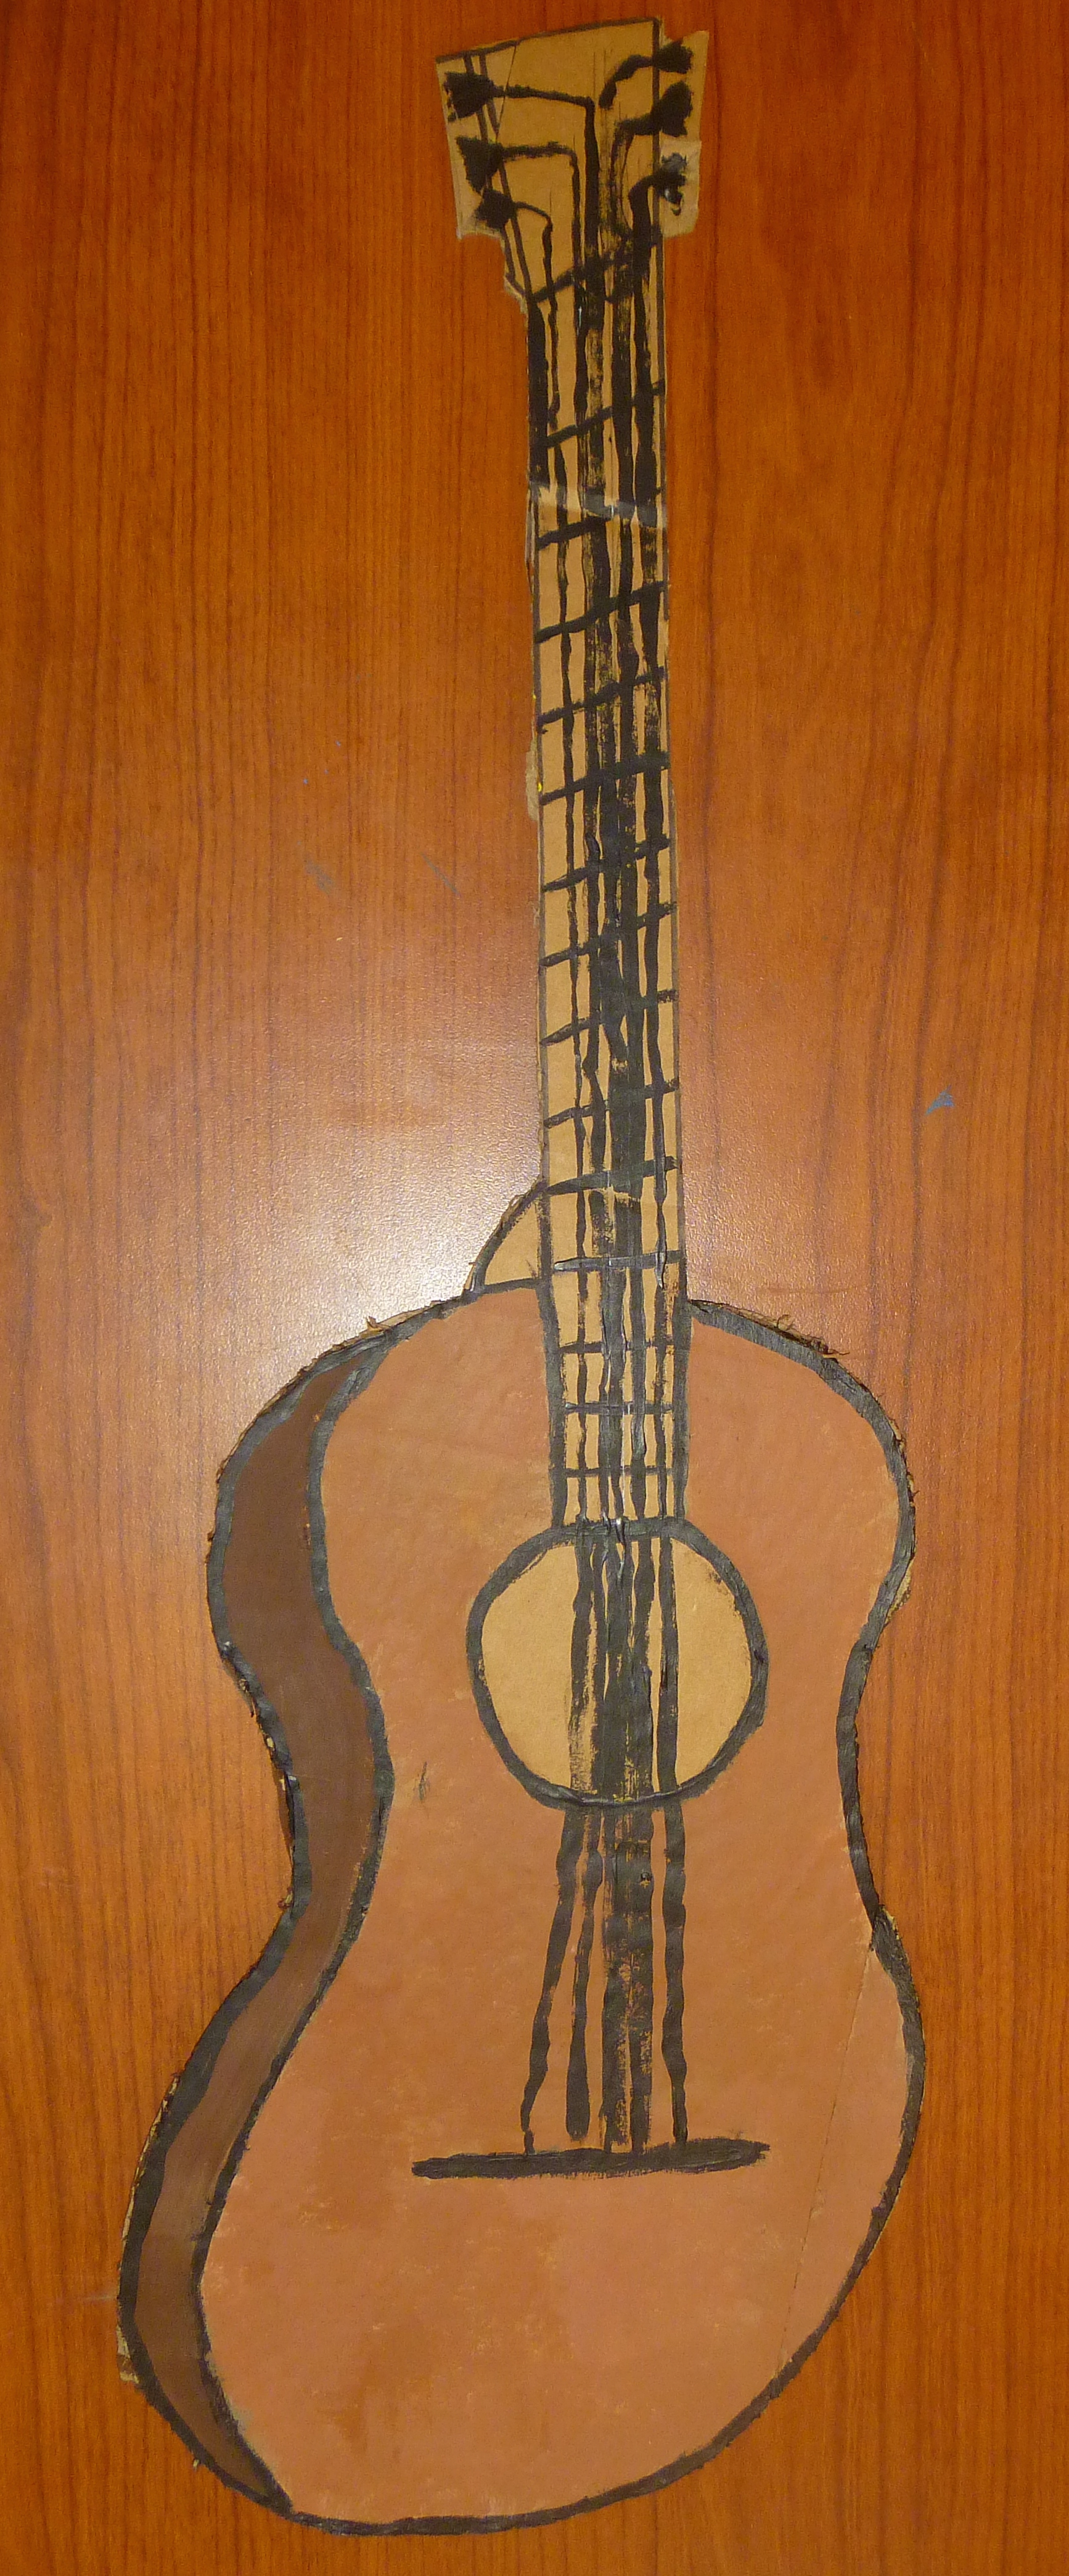
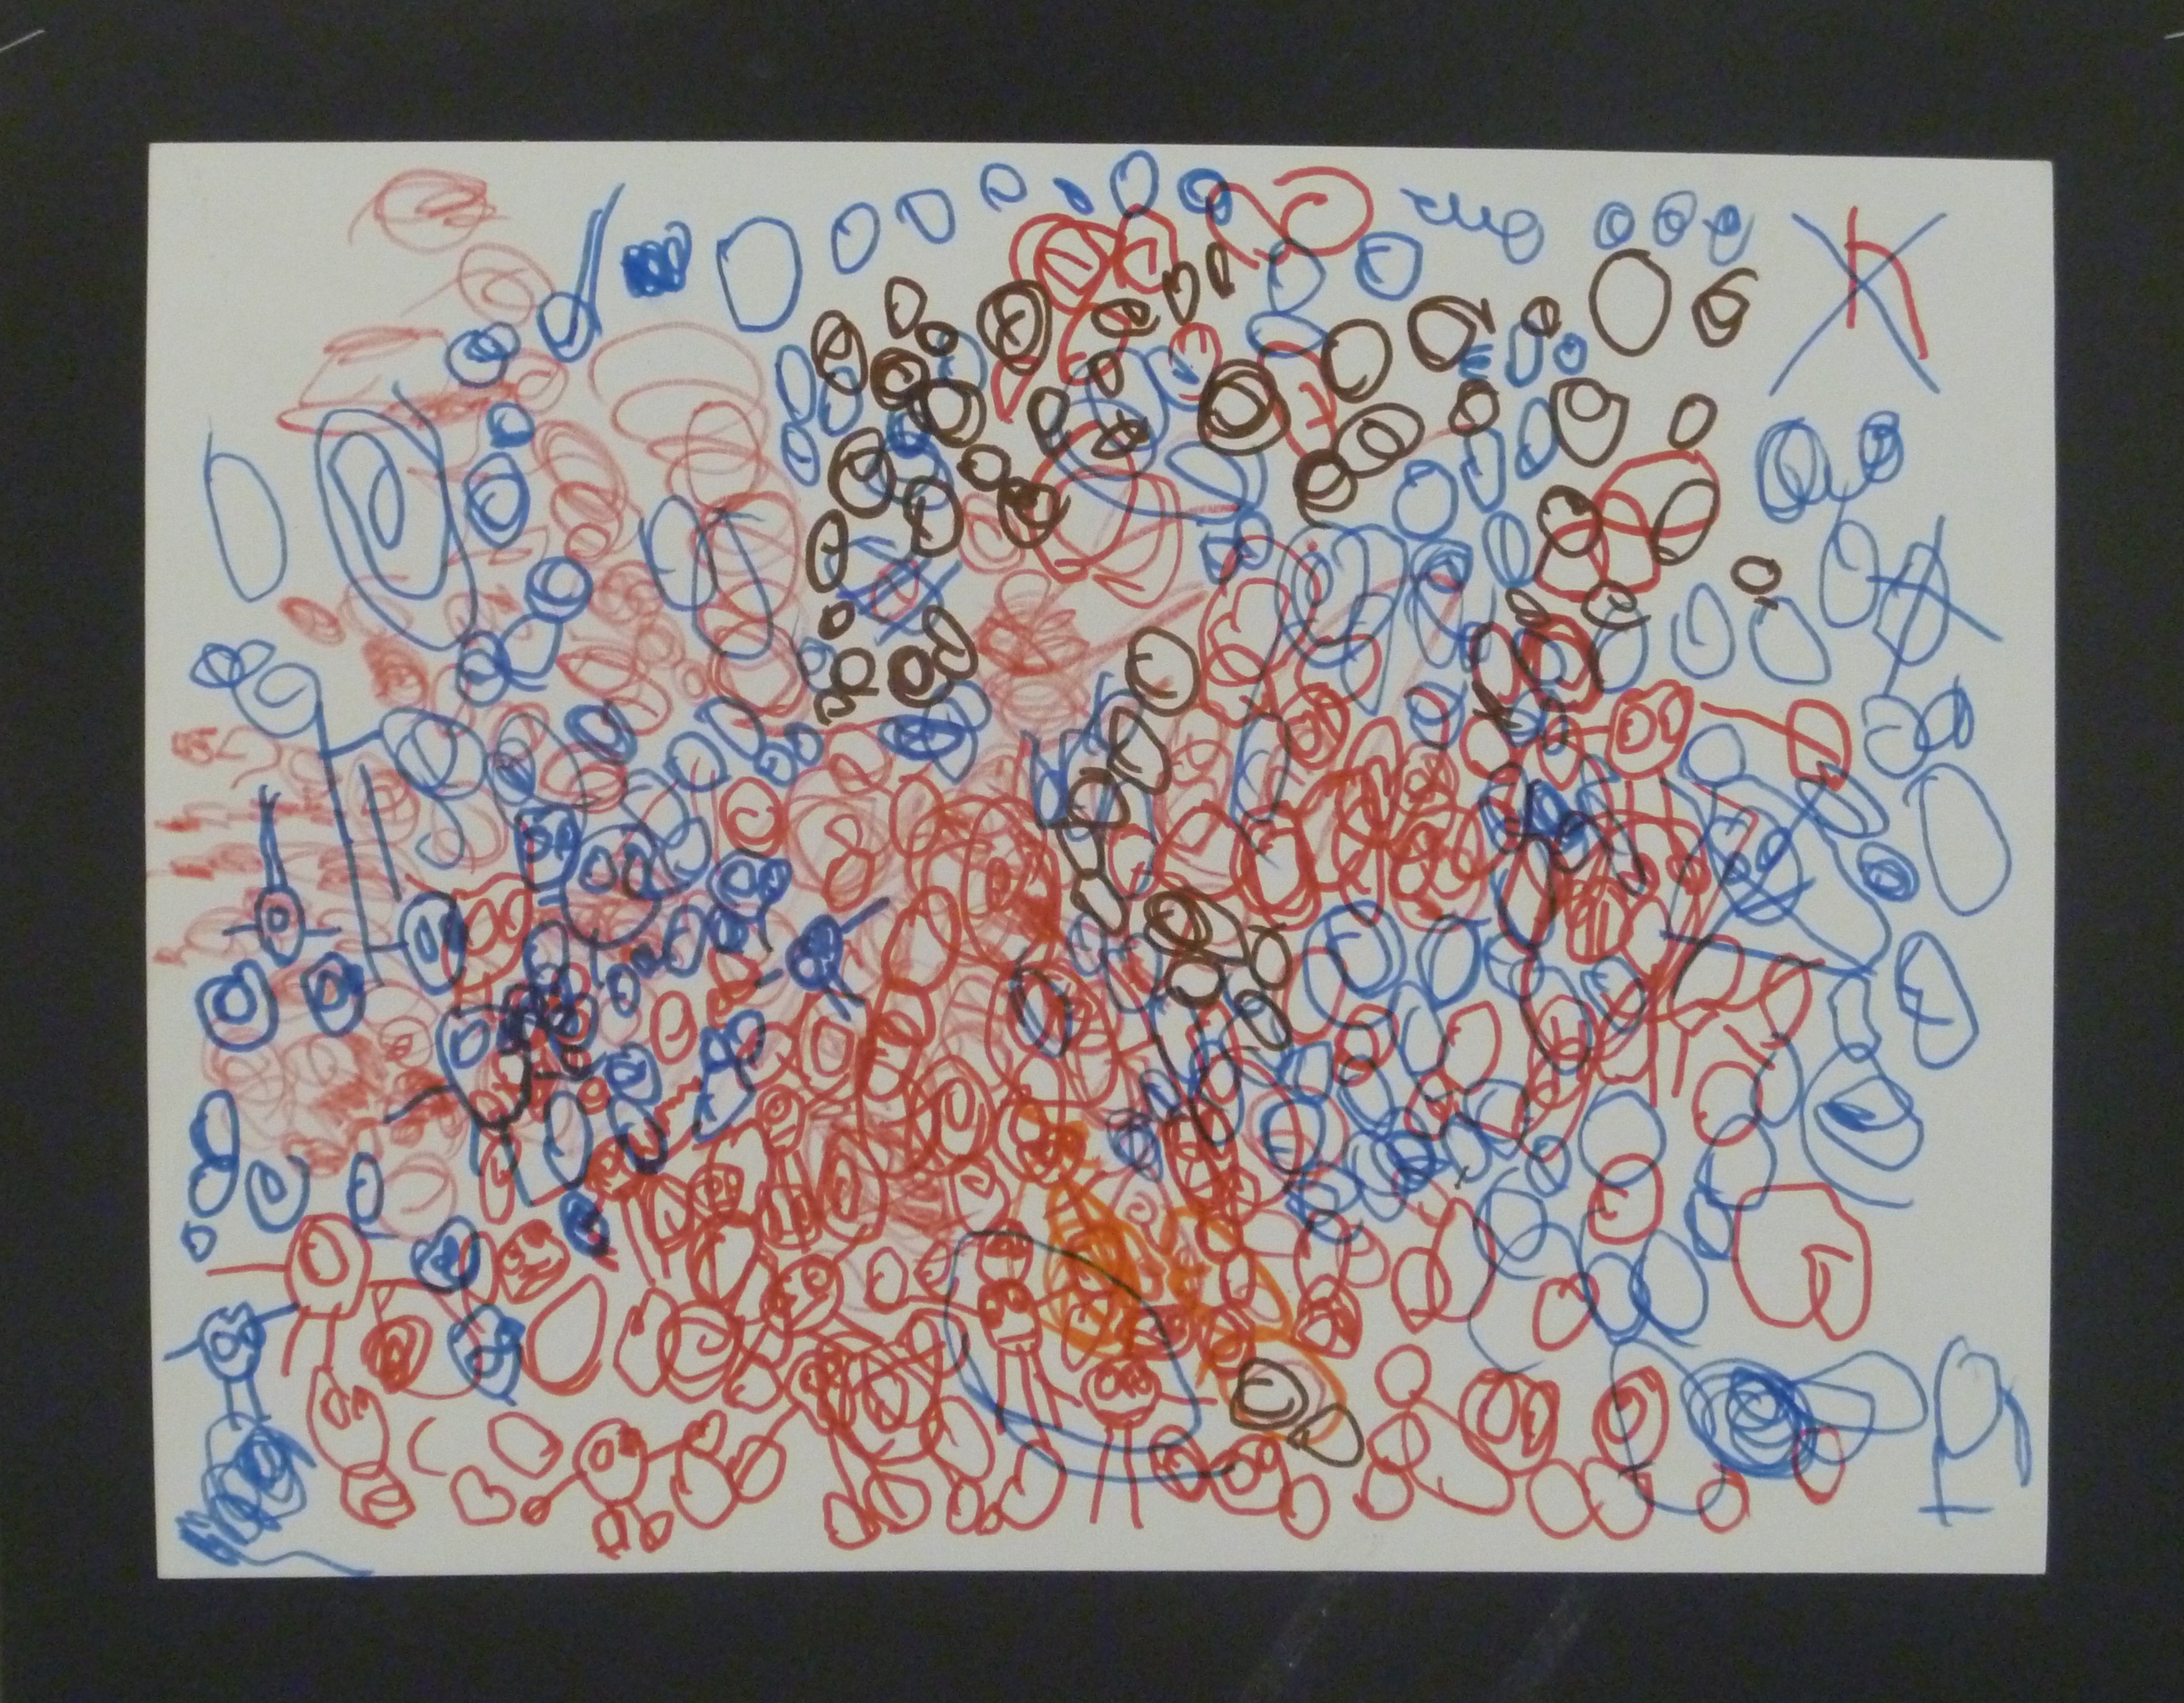
I set up the counter with the 6 different “stations”. We would learn about block prints (with EZ cut), collograph, stamping, styrofoam plates, monoprinting, and faux screen printing. I laid out the week and a half in a short PowerPoint, explaining I would only do demos for cutting blocks, inking plates/pulling prints, using the gelatin plate for monoprints, and how to set up the screen for screen prints. For the other techniques, the students would have to rely on the example cards I had created the year before. Some of it required some thought on their part on interpretation of the card.


The students were asked to reflect on their findings of each technique. They could either write their answers in their journals/sketchbooks or they could start a new BlendSpace lesson and reflect there. I gave the students 7 questions to choose from…they have to answer question #1, then pick 4 from the remaining 6.
- What was the medium/technique explored?
- What qualities/characteristics does the medium/technique have?
- What makes the medium/technique different from a similar medium/technique?
- What did you like the best about media/technique and why?
- What did you like the least about media/technique and why?
- What could you use this medium/technique for?
- What other information would you like to know about this medium/technique?
My favorite part was reading the variety of questions they had for #7.
- How is this art? (re: screen printing)
- Is there an easier way to reverse when doing blocks?
- Could block printing be done on a larger scale?
- Was styrofoam printing invented by someone on a budget?
- Who came up with block printing?
- How do you add multiple colors?
- What can you do with the collagraph technique?
- Why is it called collagraph?
- What is the right amount of ink?
- How do you keep ink from getting on certain points on the styrofoam plate?
- What other tools can be used to dent into the styrofoam?
- How many layers can you do on a monoprint?
- Do people really use the collograph technique and make a living with it?
- How can you draw cleaner in the styrofoam?


Here are my thoughts on this activity:
I really think this could be a good way to explore different ways of printmaking. While I showed the students some examples of final pieces, I don’t think I really let them know “how” different type of printmaking could be used. They tend to think that each technique must be used alone and don’t consider mixed media, texture, background, layers, etc. So, I would figure out a way to bring that into the activity for next year.
When it came to leaving some of the work to them… relying on the example cards I had created the year before, I was hopeful that they would figure it out…I was wrong…most didn’t and they ended up asking me. Sometimes they didn’t even try to look at the cards and make some educated guesses at what the process was. This was frustrating to me as part of my philosophy does have the expectation that the students are responsible for their own learning and that I won’t spoon feed them. I know they are high school students, but that can’t be their excuse for everything. I did find myself smiling when I would hear a student asking another student.
I think perhaps I could show some videos or require them to watch a video as part of each station so they could see other artists use the technique or see what it could be used for. Then, they could use that as well for more informed reflections of the techniques.
My other thought, and this happens every year since moving to TAB, is how to get kids to actually use printmaking/stamping in their artwork. Do they really not like it? Do they not see it as an artwork? Do they (the students) see it as too much to add to their process when art making?
I will continue to do this Printmaking Exploration Activity, but I will make some needed adjustments to enhance the learning and the take-aways from the activity. One adjustment might be some requirement of what they need to create from the prints…so they put more thought into what they are doing.
Since originally writing this, I did have one student revisit monoprints and the gelatin plate. She really enjoyed the process and was glad she was able to use it again when creating a non-objective piece for our “Artists Don’t Represent” unit.