It’s been a week since the 2015-16 school year ended. I have taken a week off from doing any work, but it is now time to take a moment to reflect on the year. And, what better way to do that than to do a top 10, well, a top 9…close enough. Normally, a top 10 would only be the best things, but I thought I would add some of the not-so-good as well. I mean, we all like things to be puppies and rainbows all the time, but let’s get real folks…it ain’t.
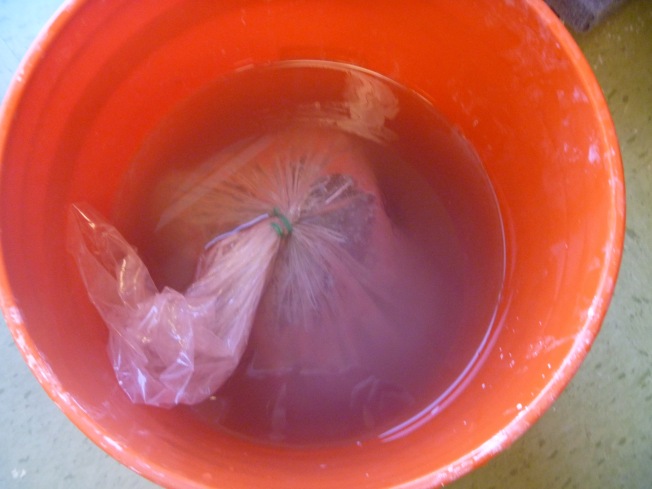
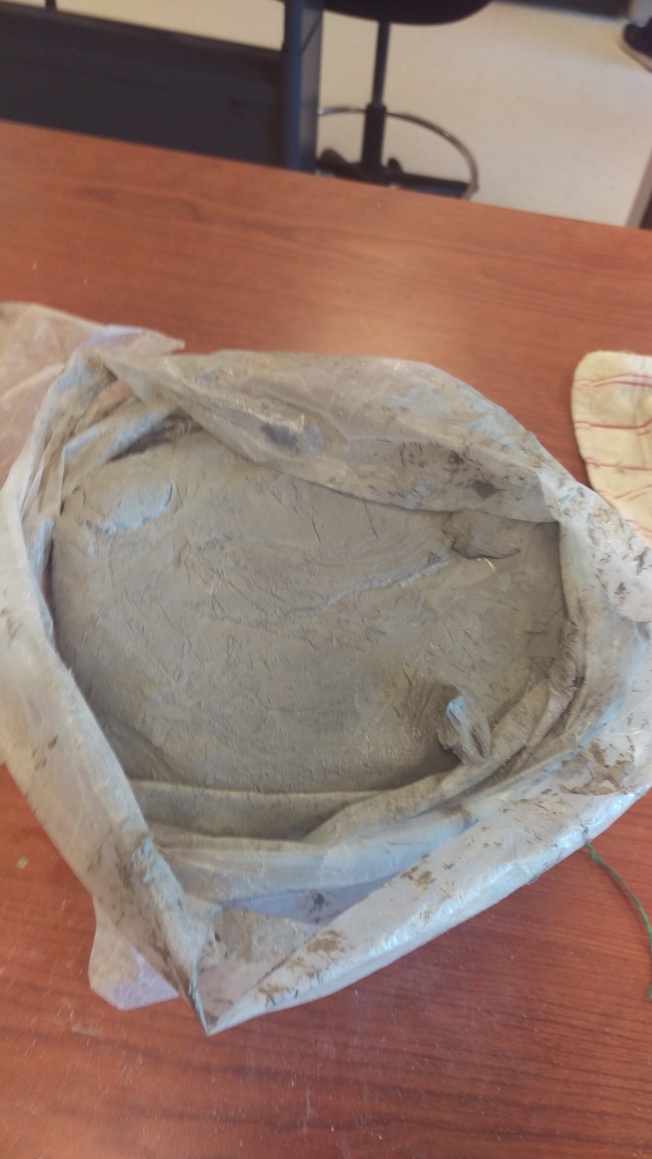
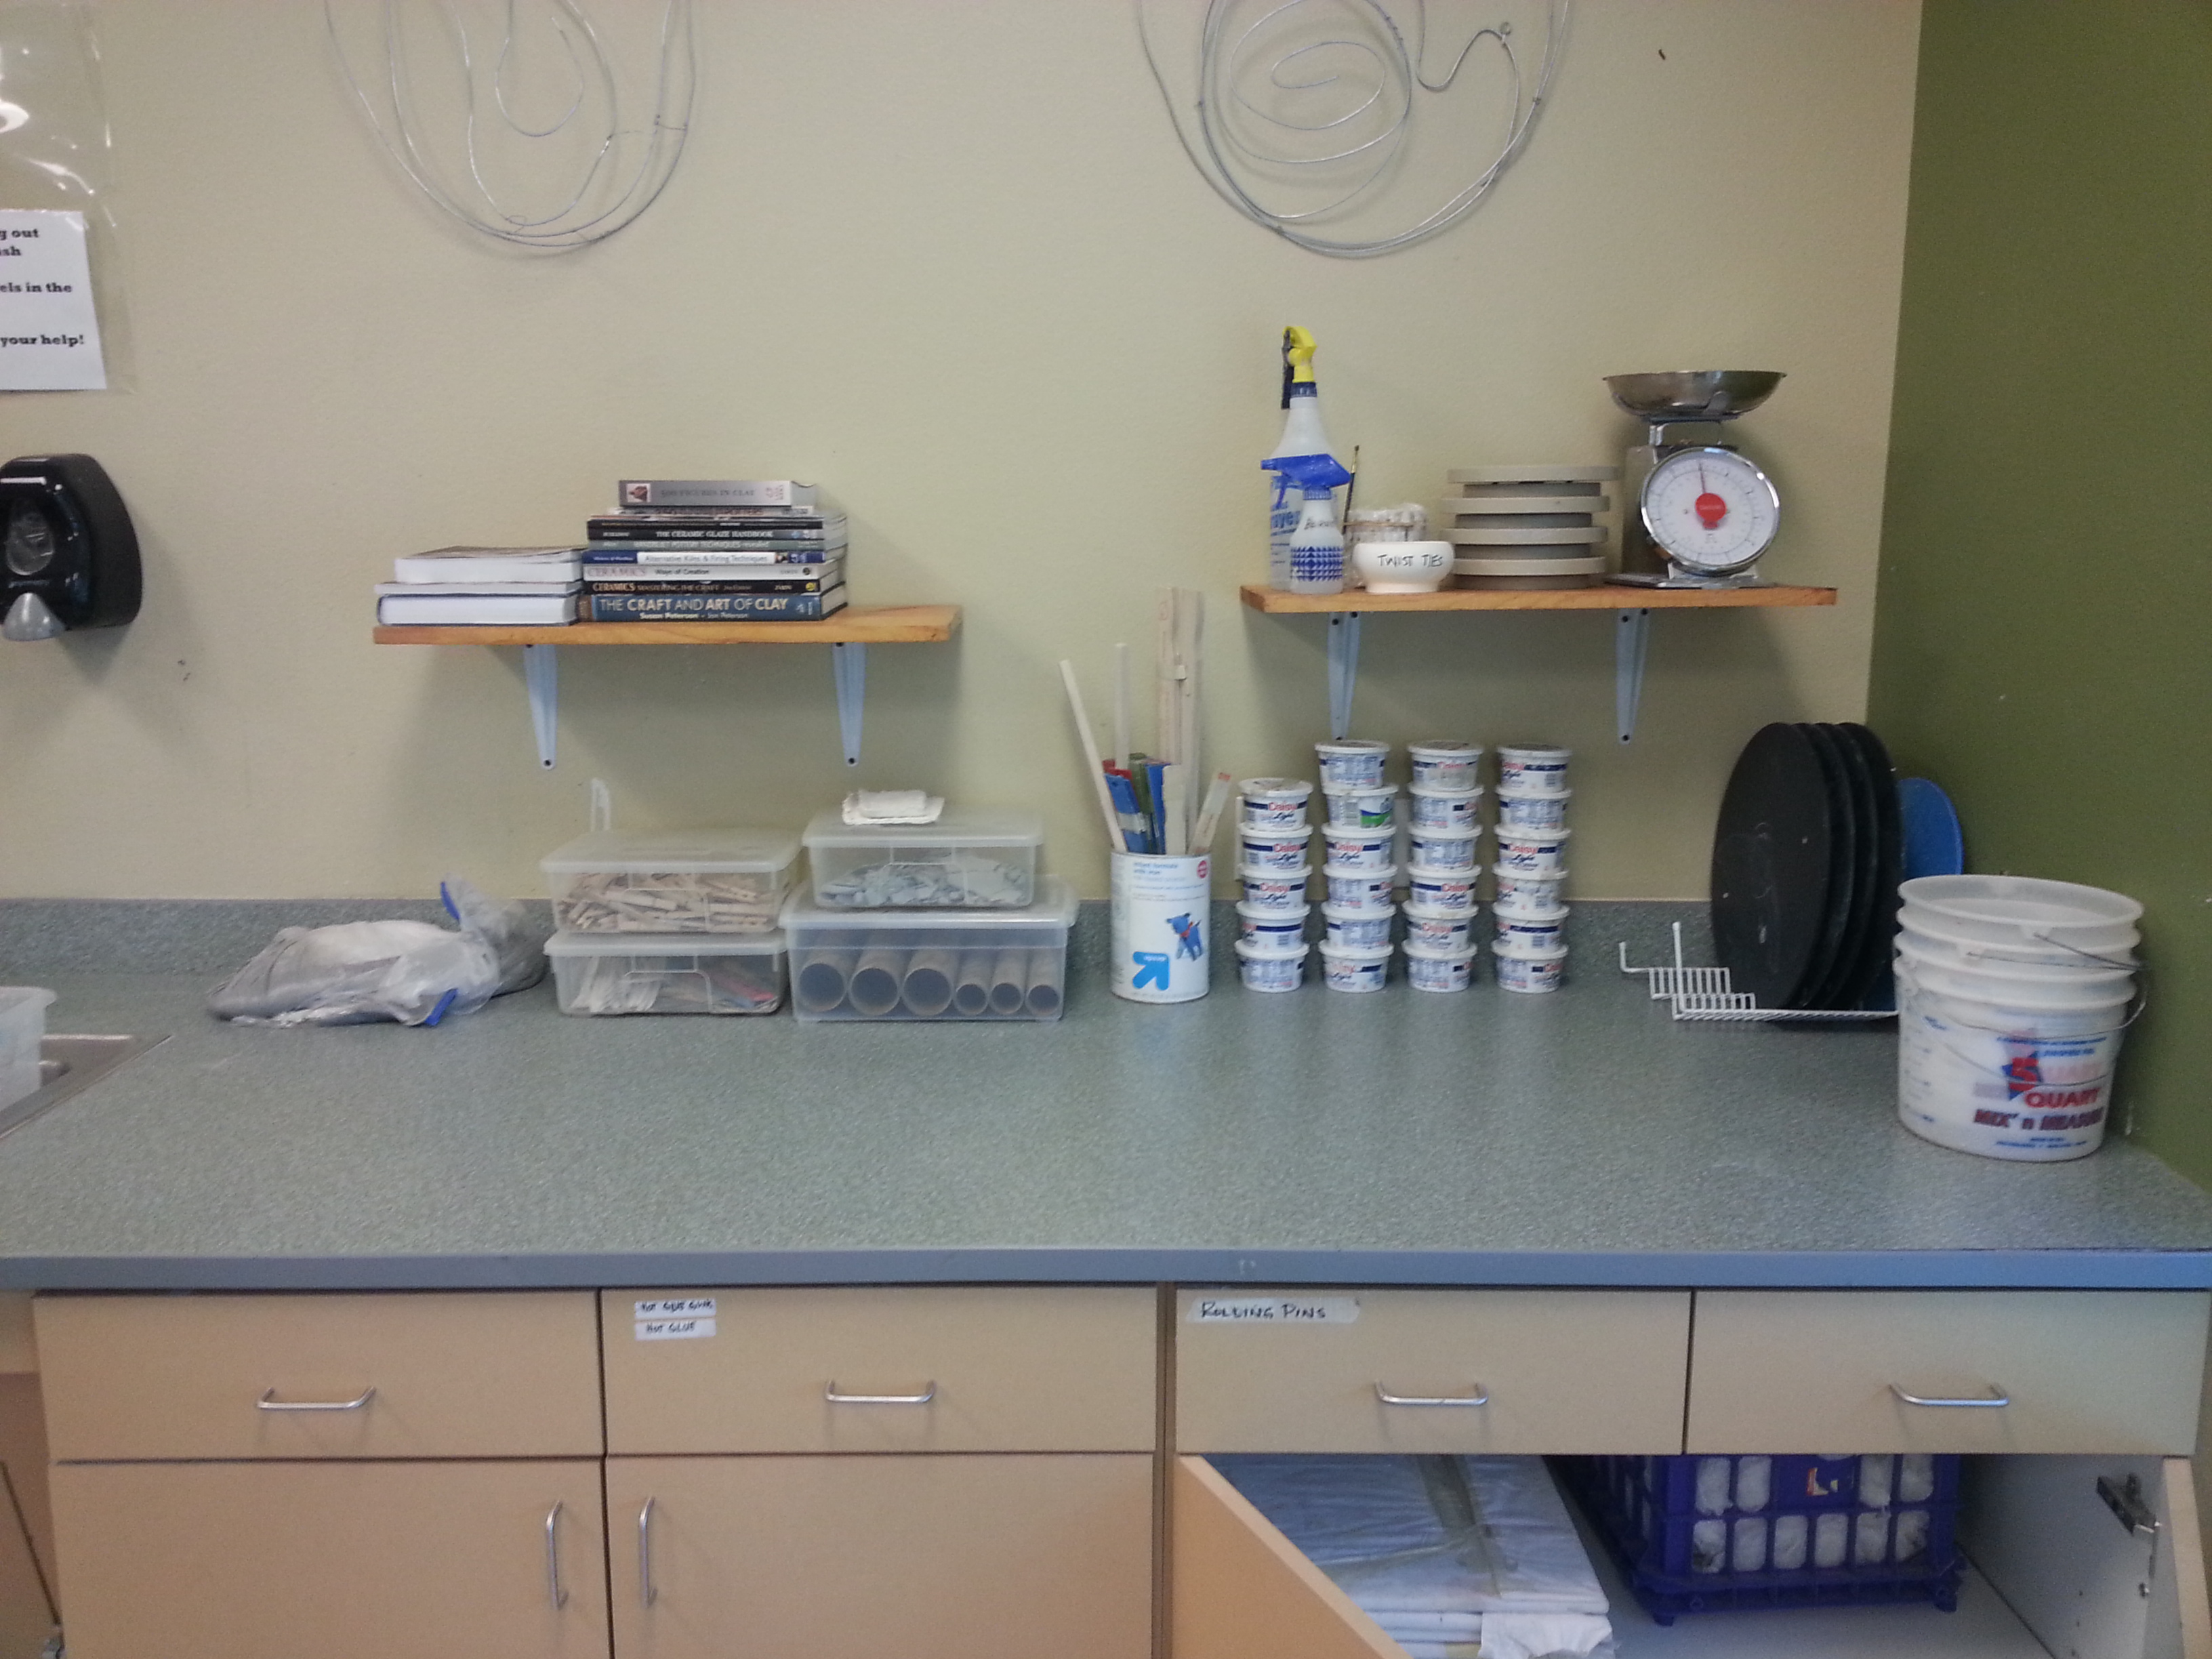
9. New Ceramics Curriculum…or should I say lack there of. I decided to go balls to the wall and go full-on TAB with my ceramics students. This is the last year I will have had any students that were part of my sculpture program–from before I made the switch to “all clay, all day”. And, if you were to walk into that intermediate/advanced class, you could tell which kids those were. But, I digress. For the most part, for my intermediate and my advanced students, they were given complete freedom. They were allowed to work on what they wanted, in the time frame they needed. I did have some themes with guiding questions to help them if they were stumped, but they were in no way “forced” to follow those themes. If you are wondering how to do a single-media TAB class….read this!

The Ceramics Graveyard and Senior Totems Sculpture Garden at THS
I think this was a great decision. It allowed the students to move at their pace and do what interested them. Are there some kinks to work out concerning the structure of the class? Of course. I plan on doing a “Technique Tuesday” type of thing. I will have a demo day once a week to show different things they could use in their work, like sprigs and molds and glazing techniques. I also am revamping their technical reader and going to incorporate that more into the class.
8. Braeden, The Beginning Ceramics Student Who Learned More Than Me. I was fortunate enough to have that student this year that many teachers dream of having. That student who falls in love with your subject matter so much, that he or she just becomes a sponge and soaks up everything. Who during their free time spends it watching videos and reading about the subject. Who is in your room working and learning and creating at all times of the day. I had that student this year, and his name is Braeden. I had Braeden in art 1 his freshman year, but for some reason, he decided to stop taking art for 2 years and finally returned to me his senior year for art 2: beginning ceramics. I often wonder where he would be if he hadn’t taken that time off. He started off as a normal ceramics student, doing the required beginning projects. Then all of the sudden, he changed. He found a passion. He found what he wanted to do with his life. He would come in whenever he could to practice throwing. He learned to make his own clay. He learned about glazes and different types of firing and their temperatures. He attempted to make his own wood ash glaze. It was amazing to watch his lust for learning about all things clay. I eventually had to tell him to stop learning because he knew more than I did. Of course this became a running joke, and I love it when he teaches me new things. I loved being able to have those conversations about ceramics with him. I will miss that next year.
7. Starting Over, again, and again… Sometimes you think you have a great plan. And sometimes that plan, no matter how awesome YOU think it is, sucks. This was the case with my art 2: painting/drawing class this year. I won’t go into too much detail, as I wrote about having to start over with this class here. But, I will say I learned a lot from that class. It is okay to stop and rewind. You HAVE to do what is best for your students, and if that means if what you are doing isn’t working, then try something else. However, if you are going to “start again”, you have to keep your students informed about what you are doing and why. I had that tough conversation with them. I told them I wasn’t feeling it, and that I thought they weren’t where I had thought they should be. That we needed a new direction, and this is what we were going to try. They looked at me with puzzled looks, but they were willing to try. I think in the end we started over twice. But, they say third time’s a charm for a reason. By the third start, we figured it out. We figured what worked for them, what they needed to grow and be successful.
Like my ceramics classes, I do have some things to tweak, like the timeline for the artistic behavior units, the digging deeper sections, and how we get to full choice by the second semester. I wish I could open the studio to full choice sooner, but seeing as my co-worker isn’t TAB, and my art 2 classes are a combo of his and my students…I have to do a little work to make sure all students understand the TAB studio. It’s all good though….my kids could probably use a refresher anyway.
6. Two Wonderful Opportunities. I work hard, both at my job and as an advocate for TAB. So, it is nice when someone else recognizes what I am doing. This year, not one, but two different people recognized this. First I was asked by my friend, Betsy Murphy, to come and speak about TAB at the T(exas)AEA High School Division meeting at the 2015 conference. I was honored that Betsy, once my mentor, now my friend, thought of me in this way–that I had something important to share with my colleagues.
Second, I was asked to present at the AOE Winter 2016 Online Conference. I presented about the assessment model I was working on. It, again, was an honor to think that something I was doing would be of interest to other teachers. I hope that it helped people make a connection between assessment and grades.
5. Speaking of AOE…Blog Finalist Here. That’s right, Me, Jean Barnett, author of Art
Class by Mrs B, was a finalist in the Art of Education, Blog of the Year, Rising Start category. I didn’t win, but I think it is pretty cool that I made the list. I even got a nifty badge to display on the blog. Oh yeah! I write my blog with the hopes of not only documenting my journey, but also of helping another art teacher by sharing with I have learned along the way.
4. Art Club I have been at my school for 9 years. For 8 of those years, my co-worker “ran” the art club. Well, I wouldn’t really call it running an art club. I’m not really sure what it was. This  year I took over art club. I can’t remember the exact reason why he was willing to give it up, but he did, and finally it was mine. When we started, the club had no money (in fact the account had been closed due to inactivity), and they hadn’t done anything in years. I advertised the club. We met every Friday morning during tutorials. We elected a president, a vice-president, a secretary, and a treasurer. We sold popcorn, made Duck Art t-shirts and sold them, and even held a painting party. Was it the best art club? No. Did we do a whole lot? No. But we did paint a mural in our computer lab, and I am glad to say that we did have a few hundred dollars in the art club account by the end of the year. Furthermore, we still had members returning to meetings at the end of the year. So, I call it a win! Small steps people! I am so proud of the kids. Next year will be even better. I know it.
3. I am Not Invincible, But At Least My Admin Believes in Me. I like to think that I am invincible. That nothing is going to bring me down, except for maybe myself. And, that was definitely the case this year. I won’t go into details, but I did have an incident this year that caused me to pause. I can’t change what happened, but I can say that students can be unpredictable and retaliate in damaging ways. Luckily for me, I have some students that know who I am, what I stand for, and what my students mean to me. They were honest and I commend them for that. I also learned that I have an administration that believes in me and what I do in my classroom. My principal understands the climate of the art room, and how it differs from an academic class. We had a long talk about it, and when I left his office, I knew that finally, I had an administrator that finally understood.
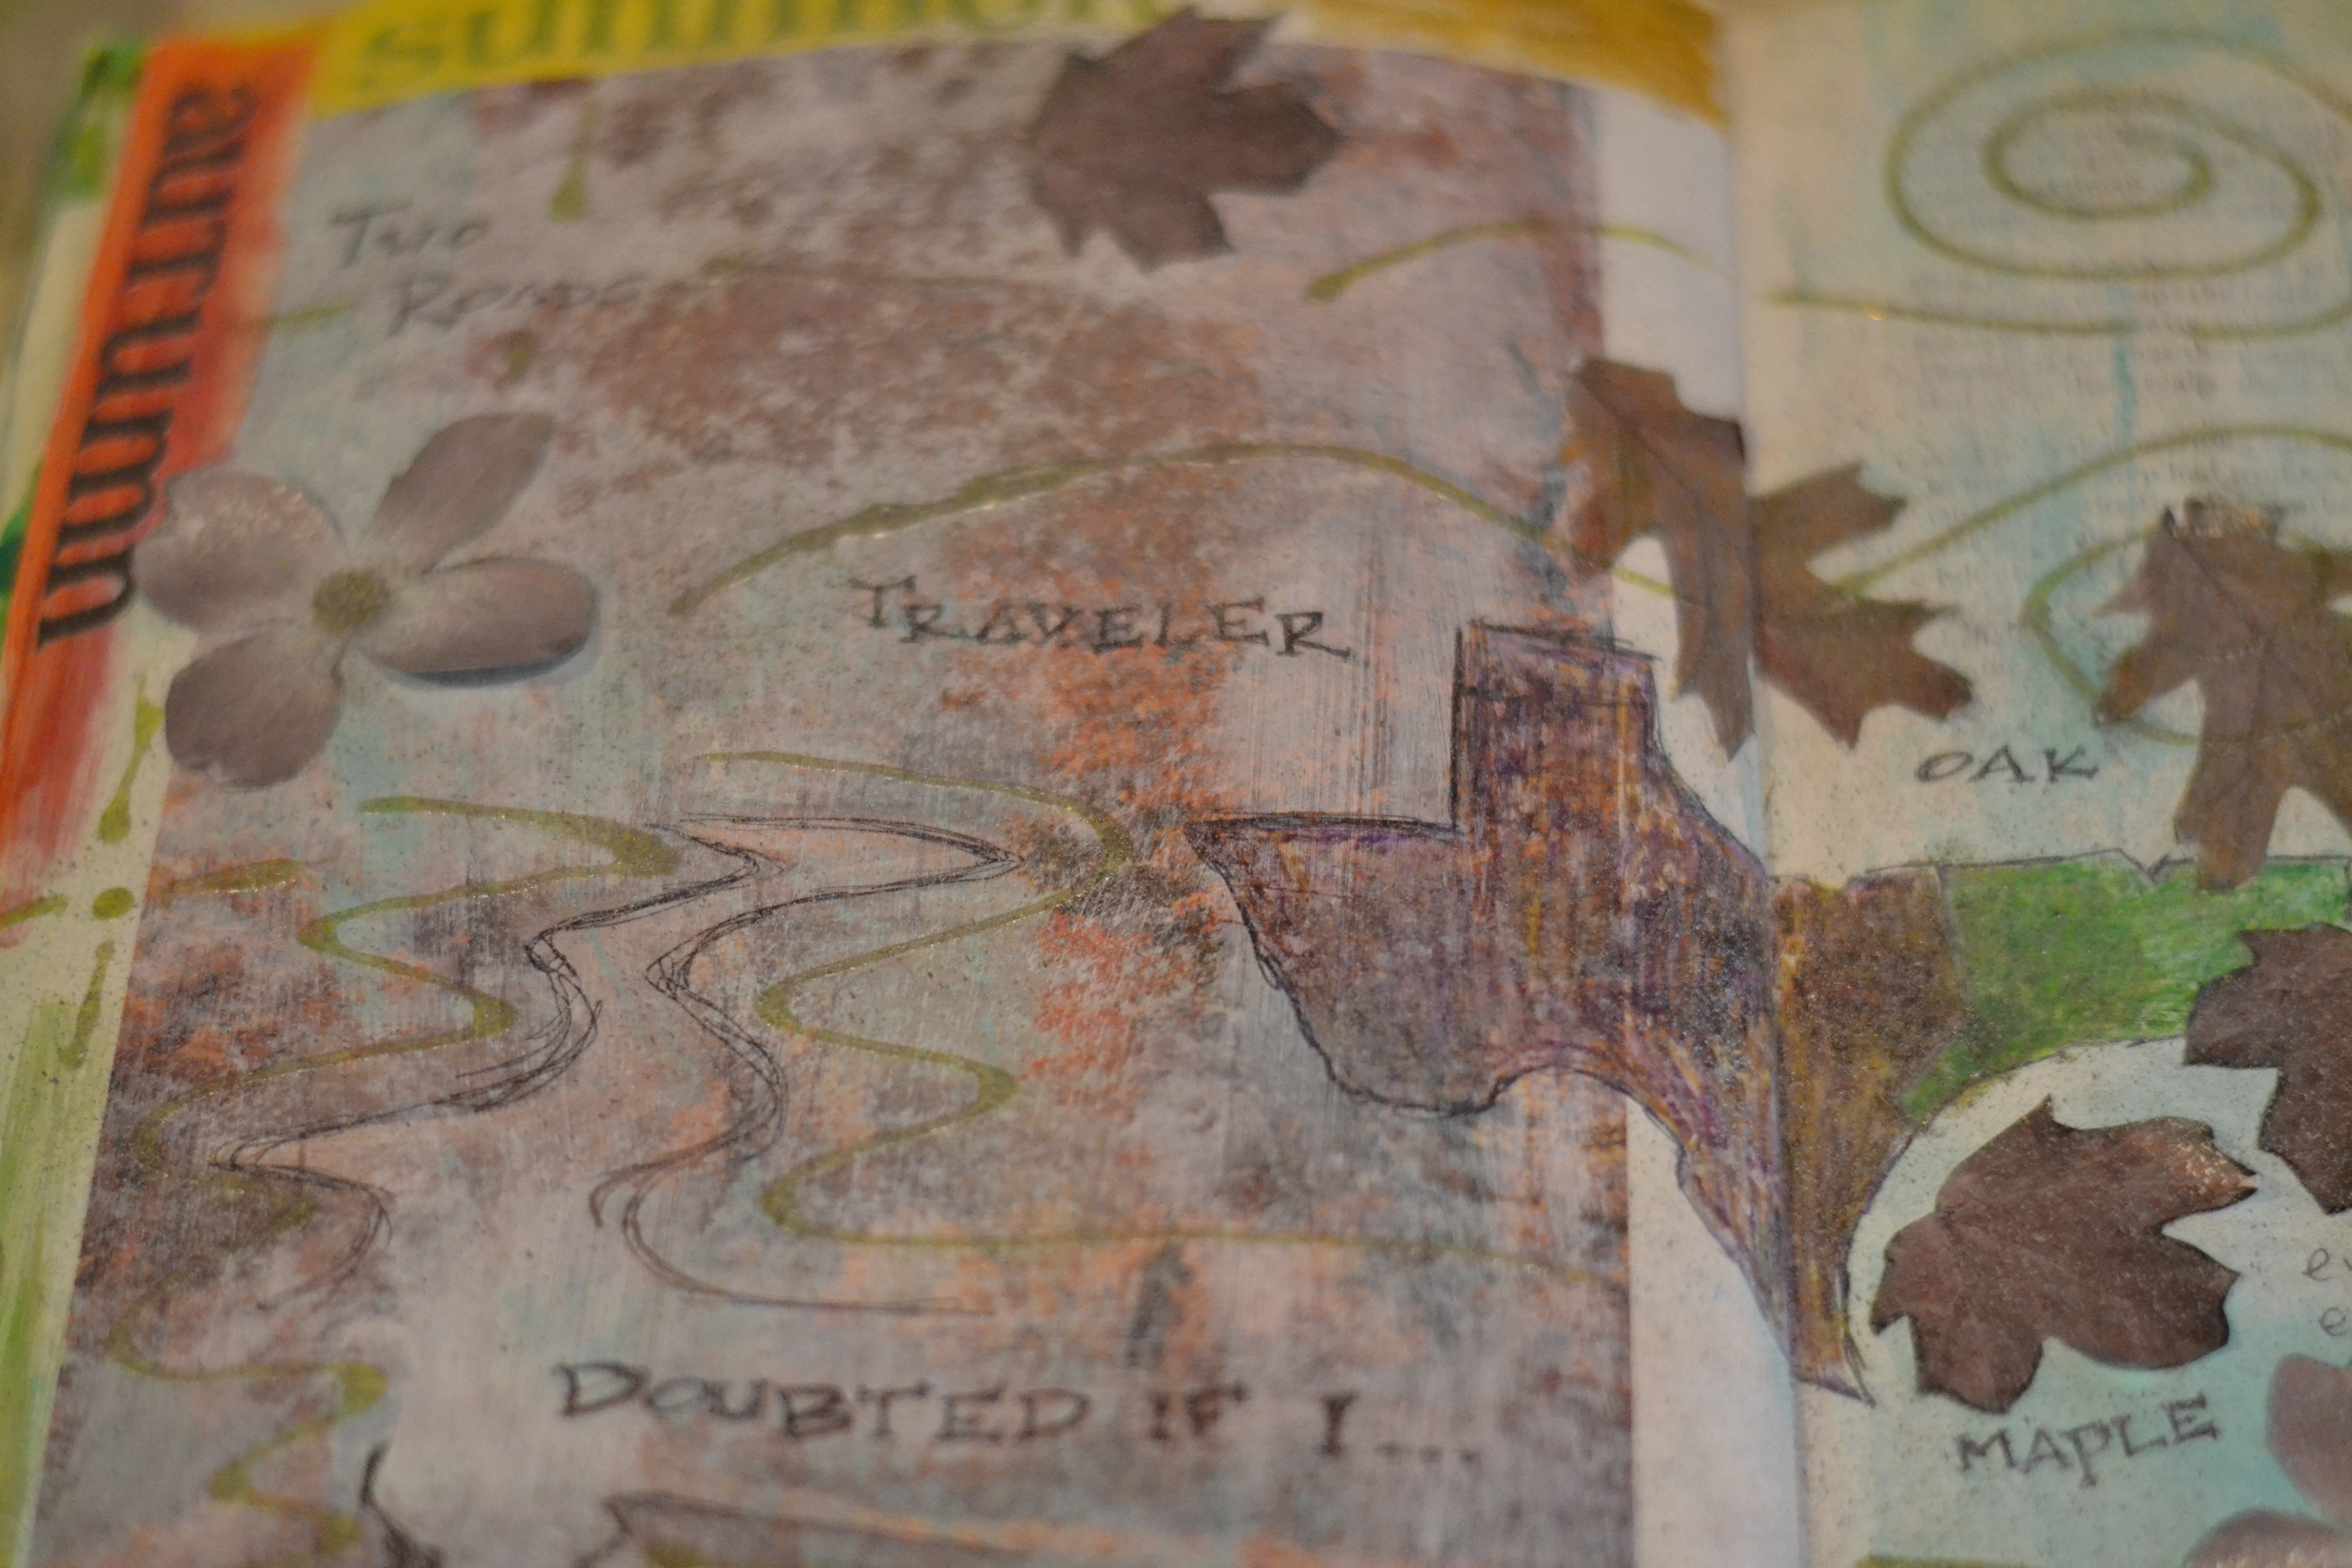
2. School Art vs. Authentic School Art vs. What the Student Really Wants to Make Art This was something that I had not had a ton of thoughts about until I attended a session by Justin Clumpner at NAEA16 in Chicago. He was talking about an AP student he had who wasn’t making the work or getting anything done. Then one day he saw her sketchbook and asked her why she wasn’t creating works like her sketches. Her reply, “I didn’t think I could. I didn’t think this was ‘school art’.” I thought that was an interesting concept…school art. In TAB, we talk a lot about “authentic art”, and what our students are making is authentic art. And, I thought that I encouraged authentic art and that my kids were making what THEY wanted to make.
That was until the end of April this year. I happened to come across a tweet by one of my art 1 students of a painting she had just finished at her house. I tweeted back to her that I thought she should do that in class. When I talked with her about it the next school day, I asked her why she didn’t do this stuff in class. She said she couldn’t figure out how to work it into the themes we were doing. That’s when the lightbulb went off. As much as I thought I was empowering my students to bring their own life into their artwork, and as much as I encourage authentic art…maybe I wasn’t doing all that I could. I don’t have an answer yet as to how to really encourage it more, but I have an idea to work through over the summer.

The Twitter Painting

The Final Artwork
And, just as an aside, while this girl in particular worked hard all year, I never saw her work like the way she did on that final painting. She learned so much and was so proud, and I could tell she was a little sad (but still proud) when I said I wanted to keep it to display in August when we returned to school.
1. Knowing You’re on the Right Track Deep down in my heart, I know that TAB is what is best for my students. It keeps them engaged. It really helps them to grow artistically. And, it makes them think and reflect. My years of running a TAB studio have been my favorite years of teaching. But, sometimes, it is hard. Sometimes you feel like the kids just aren’t getting it. You feel like maybe the “others” are right, and you aren’t really teaching them anything. You doubt yourself and your program.
But, then something happens. You assign a completely open final artwork for your art 1 students. You see 90% engagement. You see growth at its peak. You see that they have been paying attention all year. You see the research and the planning, the trials and errors, the experimentation, and the pushing forward all come out of the students. Yes, I was physically exhausted for the last 2.5 weeks of school. Yes, my room was a constant mess, for which I apologized to Connie, my custodian, on a daily basis. But, I was happy. I was proud. I knew I didn’t need to doubt. I hope to remember this next year when I will more than likely doubt myself again. I can’t wait to display all this wonderful art in August. I did include a few pieces from my art 2 class’ final work, Artists Work in a Series, in the slide show.
This slideshow requires JavaScript.
Hope your year was as good as mine. After I finish recharging over the summer, I will look forward to implementing what I learned from this year. And I do want to take this opportunity to say thanks to my tribe for helping me and encouraging me along the way.