As you may know, I have changed the majority of my classes to a TAB/Choice-Based classroom. And, I love it. The work is authentic and I feel students are really learning and creating something they are invested in, rather than just going through the motions.
Well, how do I do that in a ceramics class? That has been an internal issue I have. I want to bring choice to them, but felt that I couldn’t just jump in.
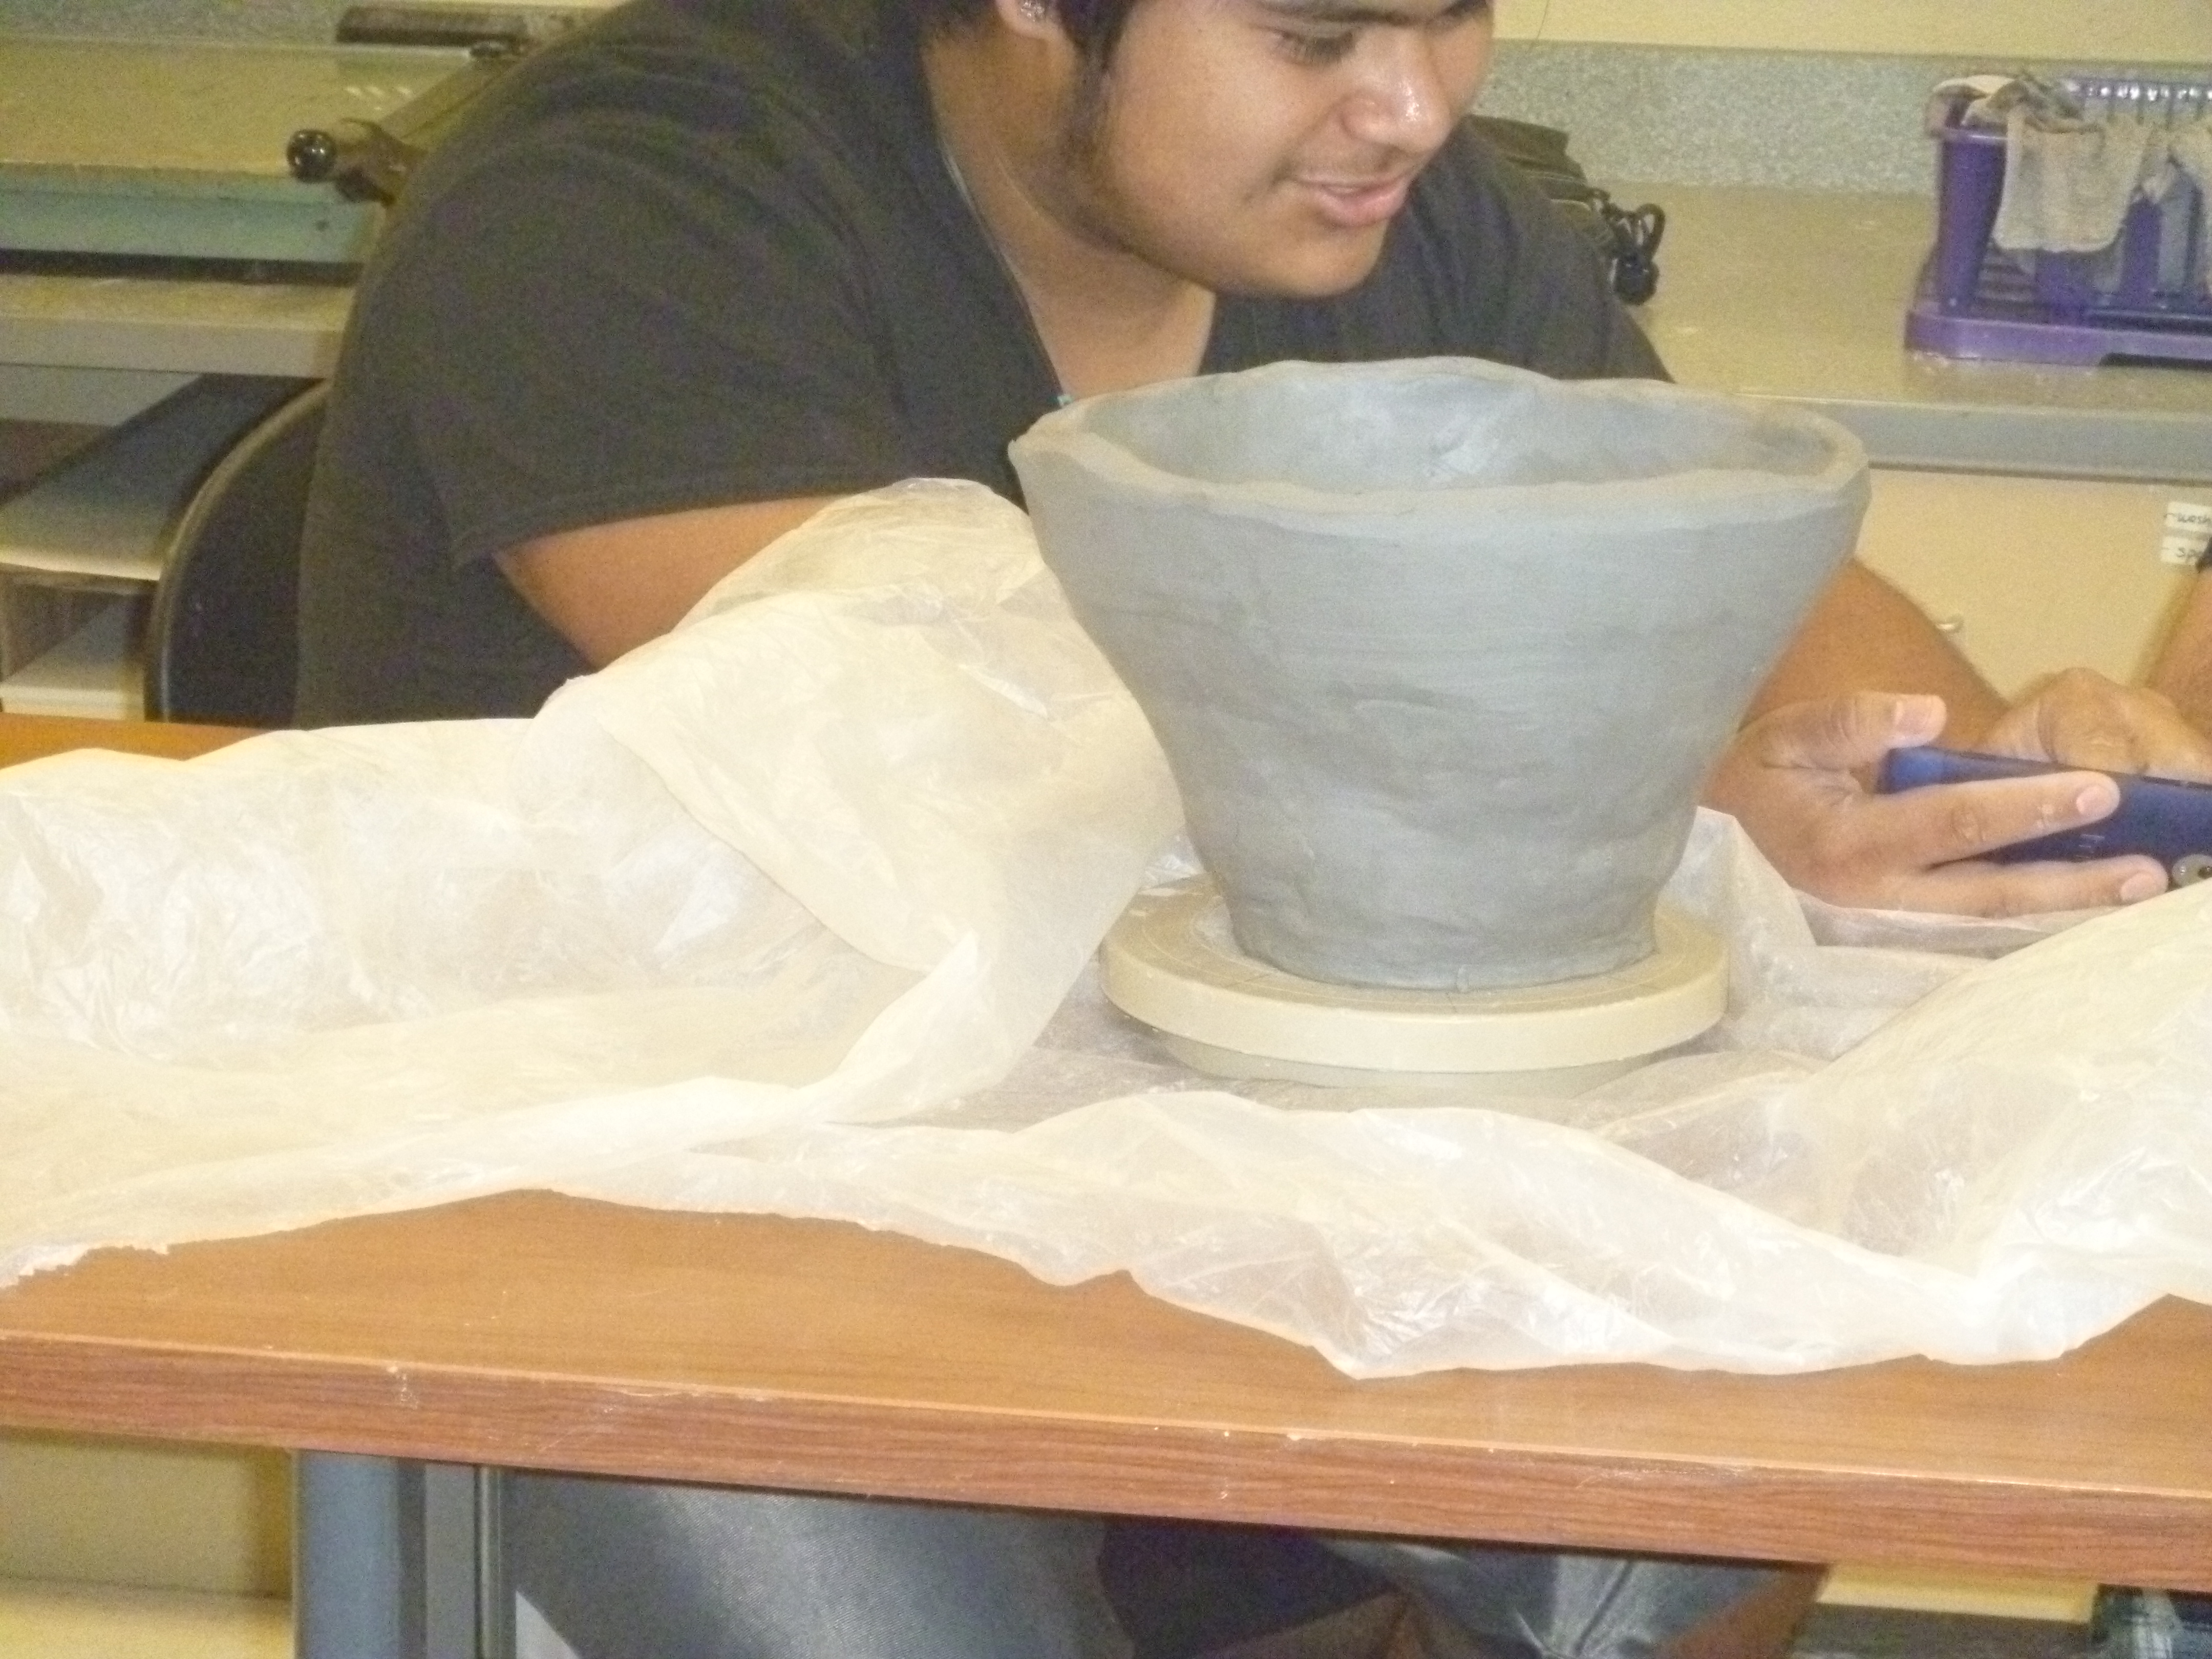
I did with my intermediate and advanced class, but they are really my guinnie pigs. I have told them as much too. There are only 6 kids total in those 2 classes, and 4 of them took beginning ceramics last year. But it was only for a semester, so in reality, they are technically beginners. It’s a long story. Anyway, they know the basics and are just given themes to work with.
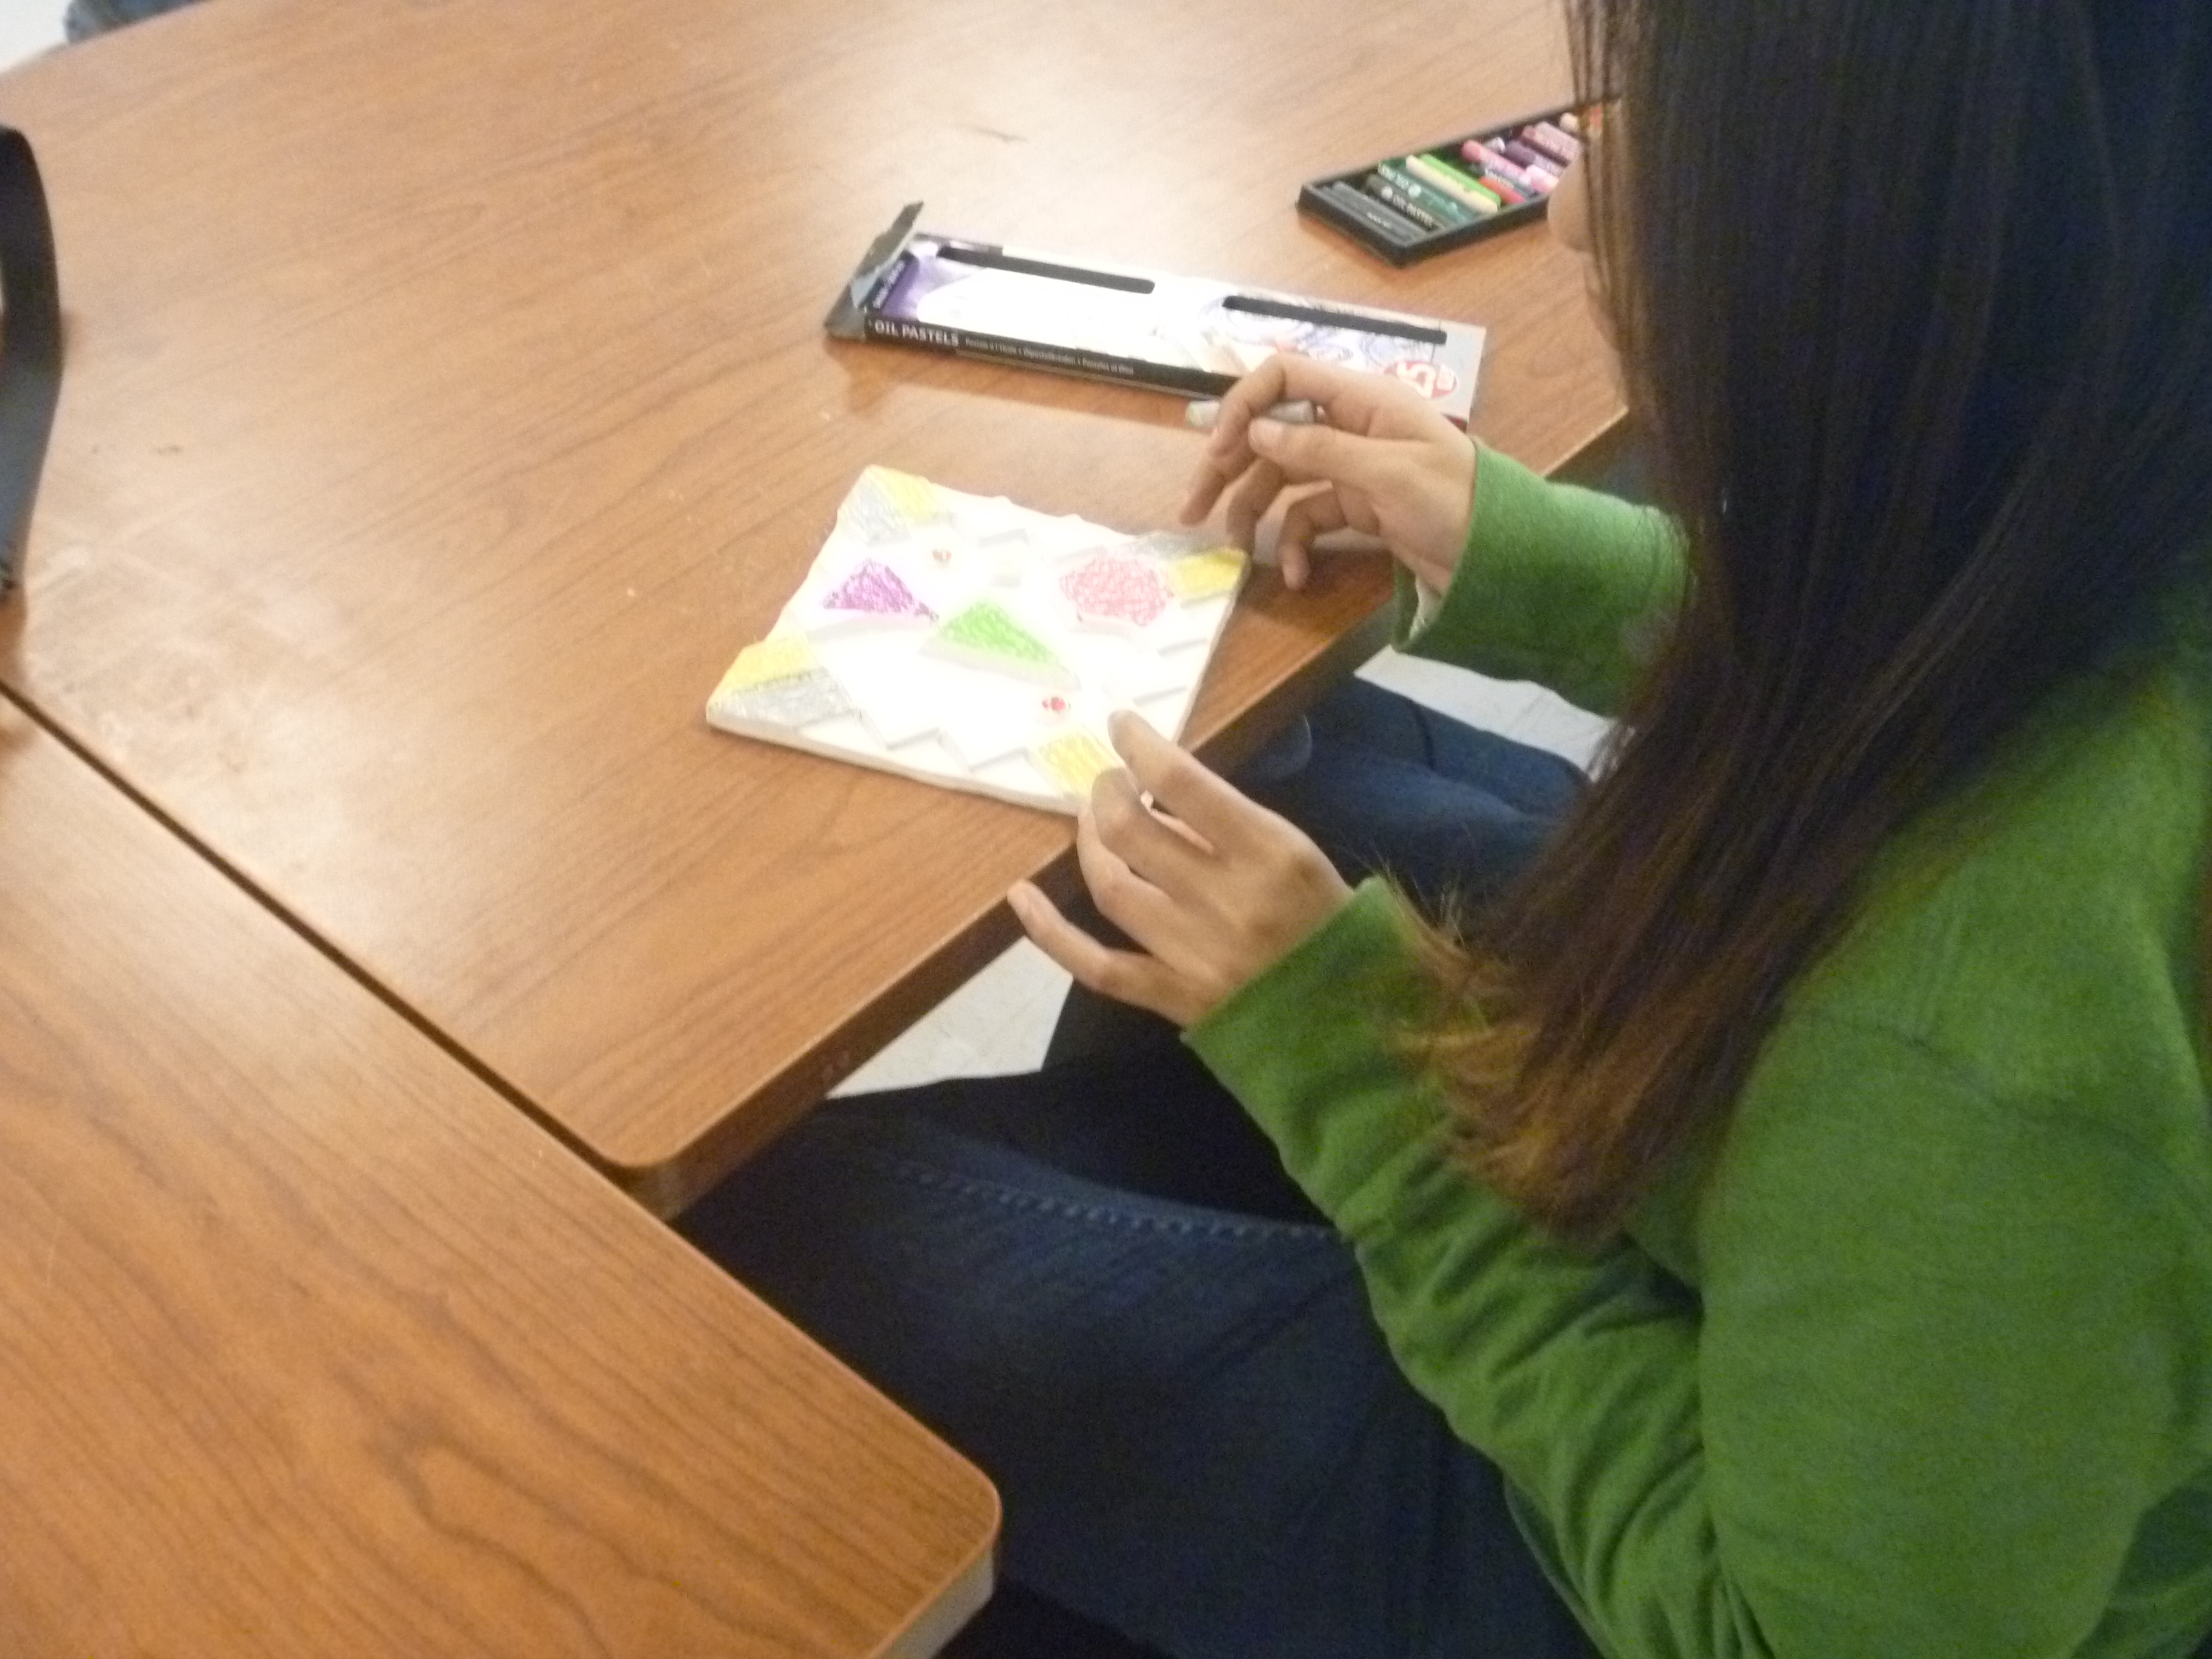
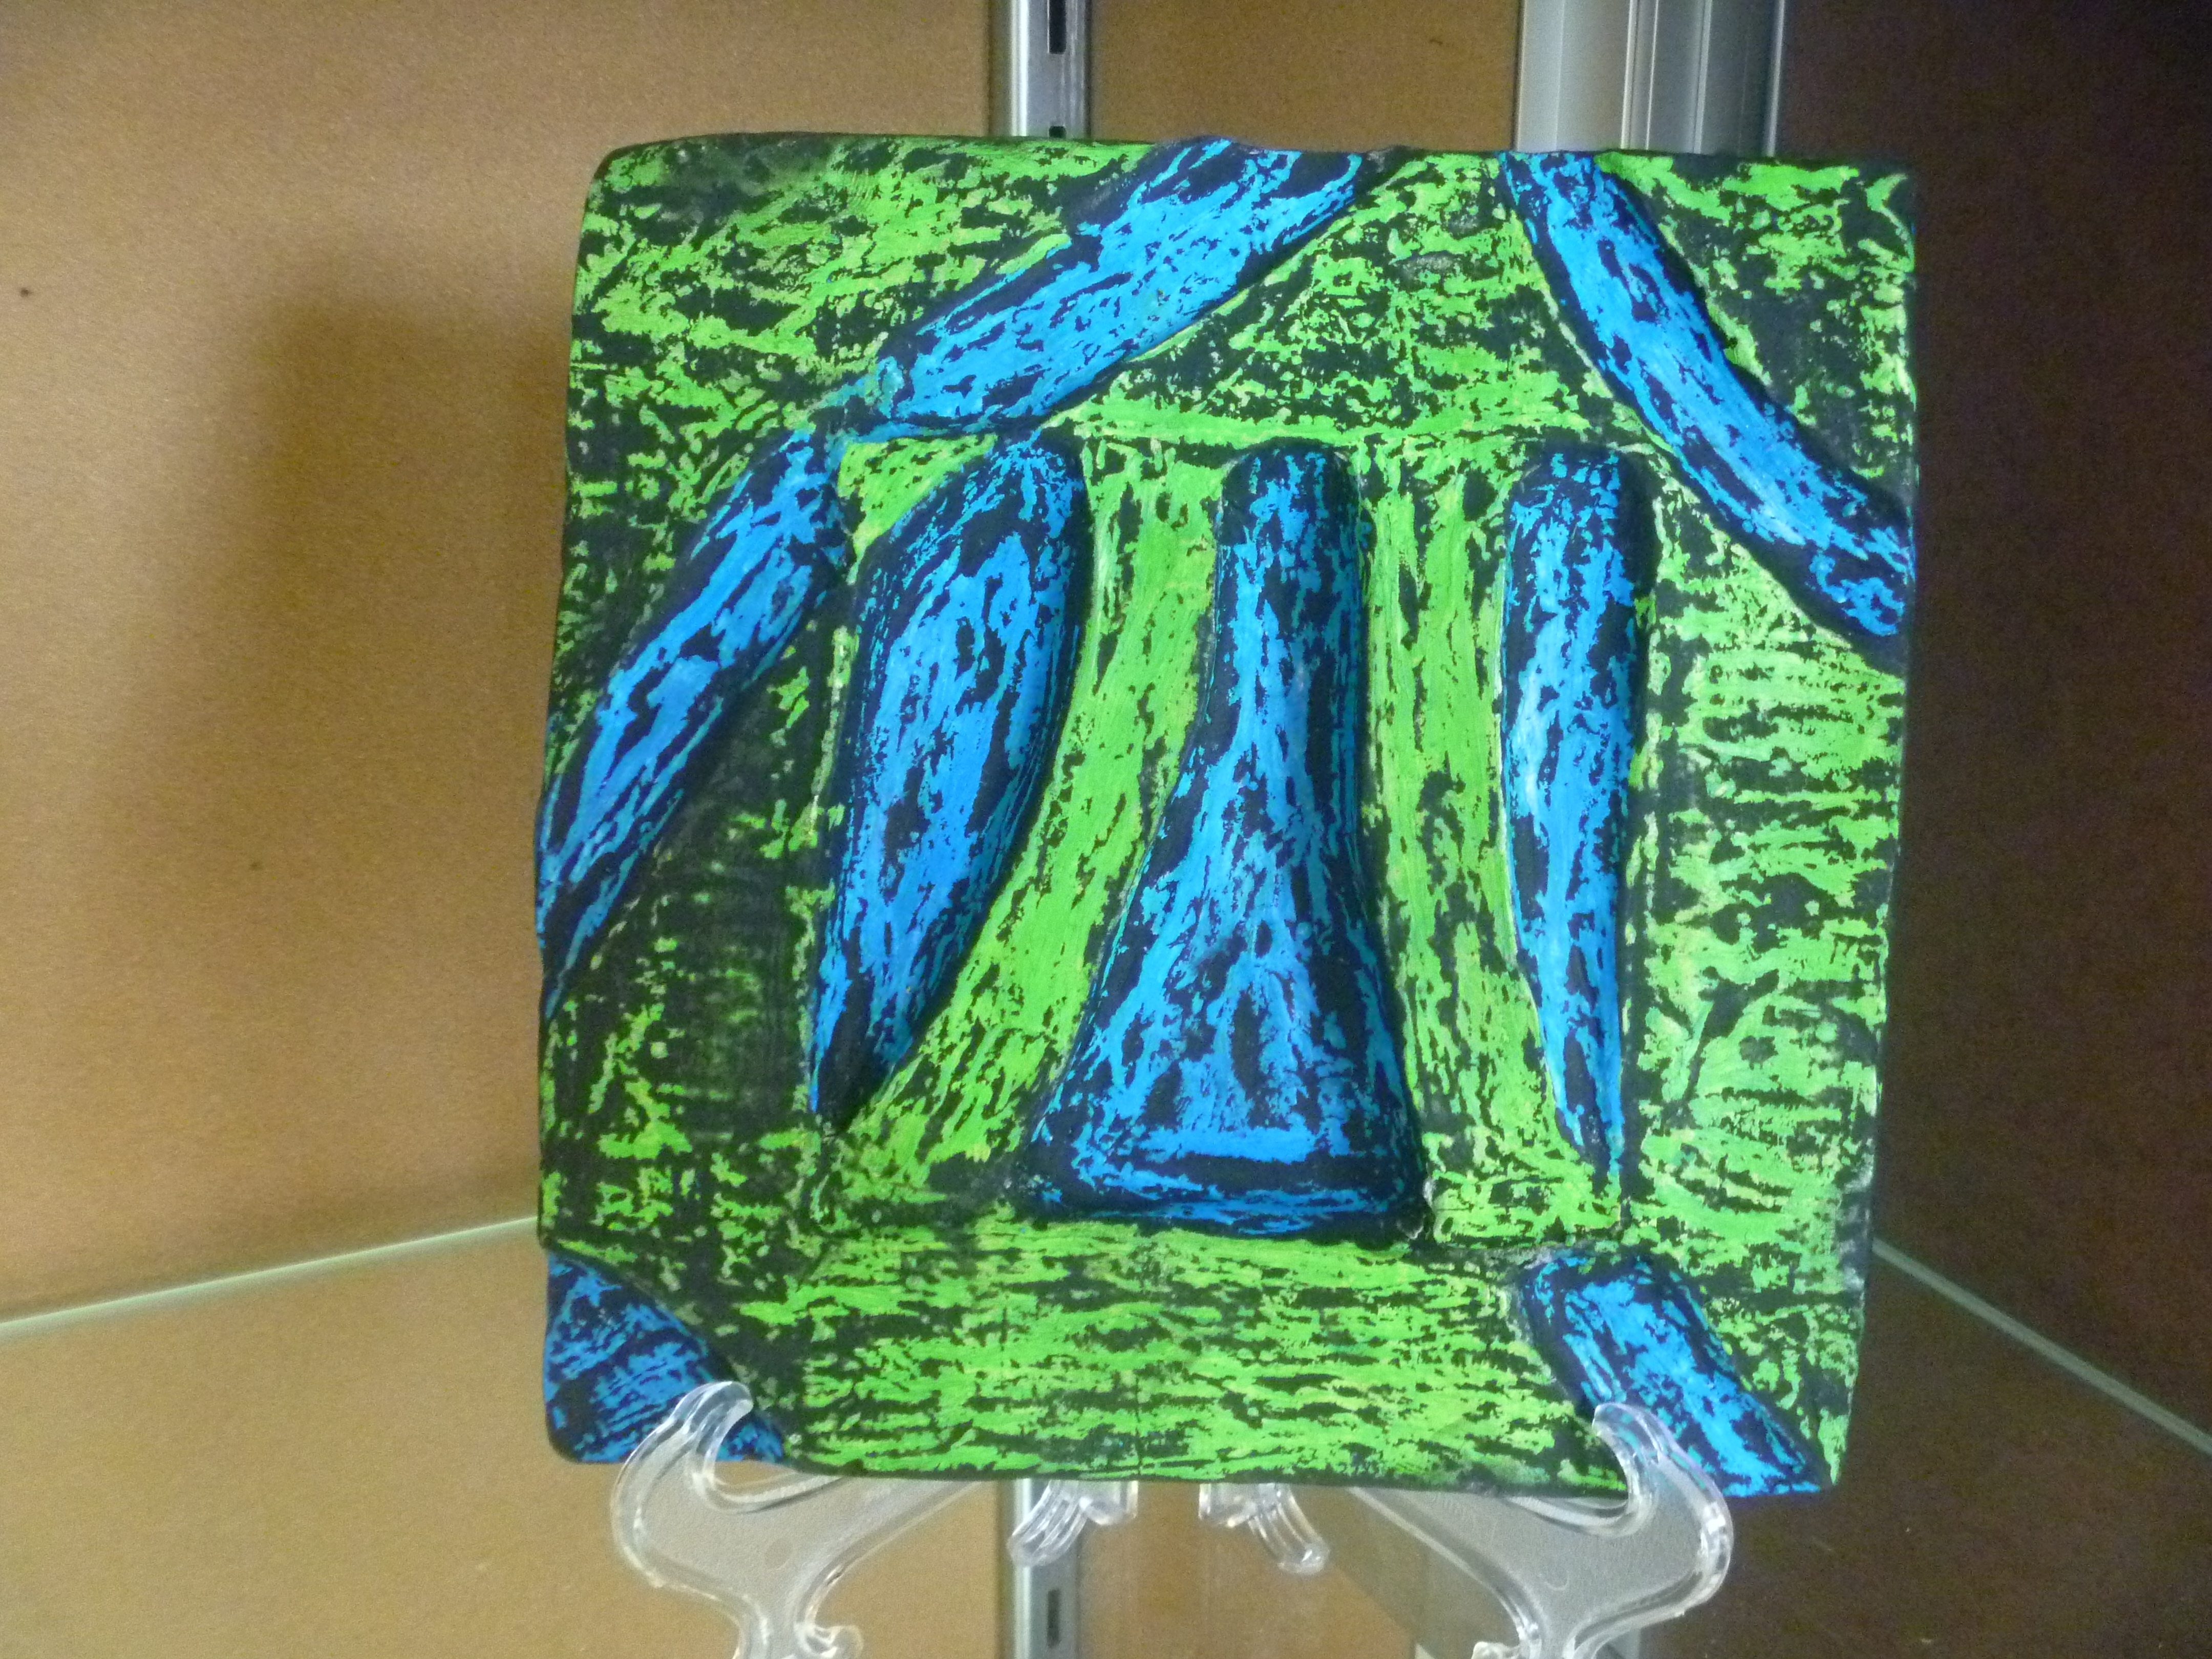
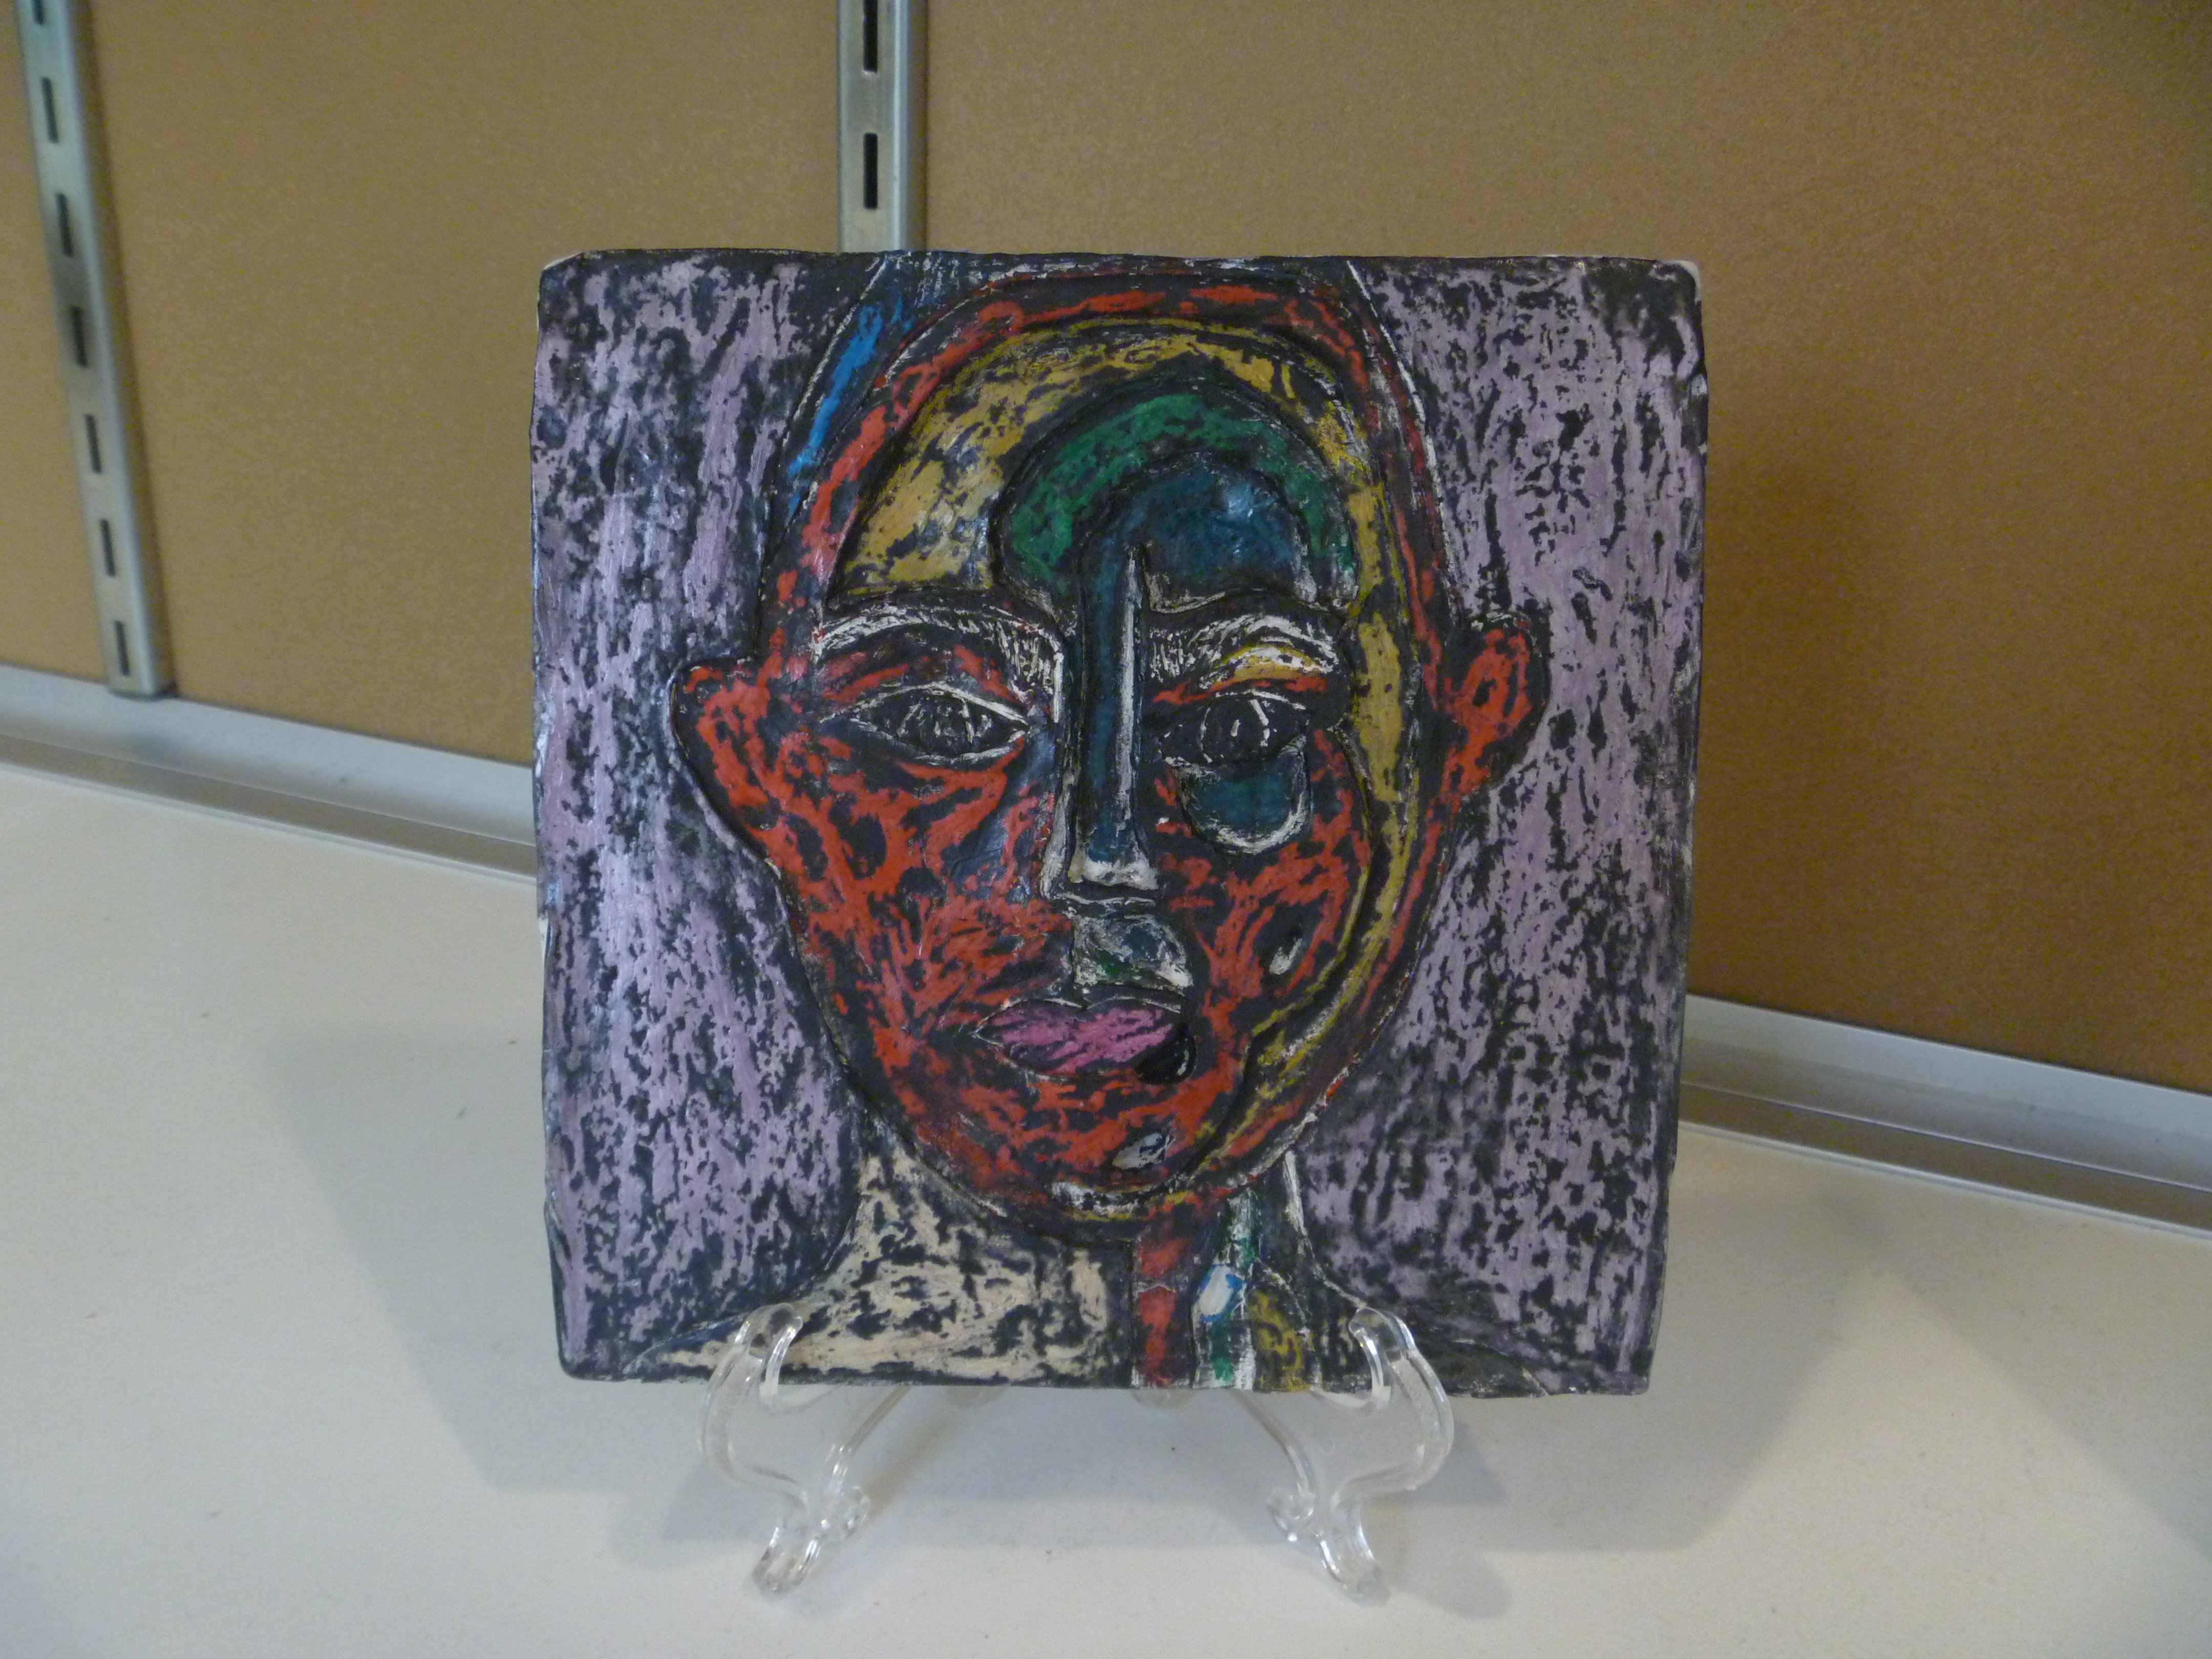
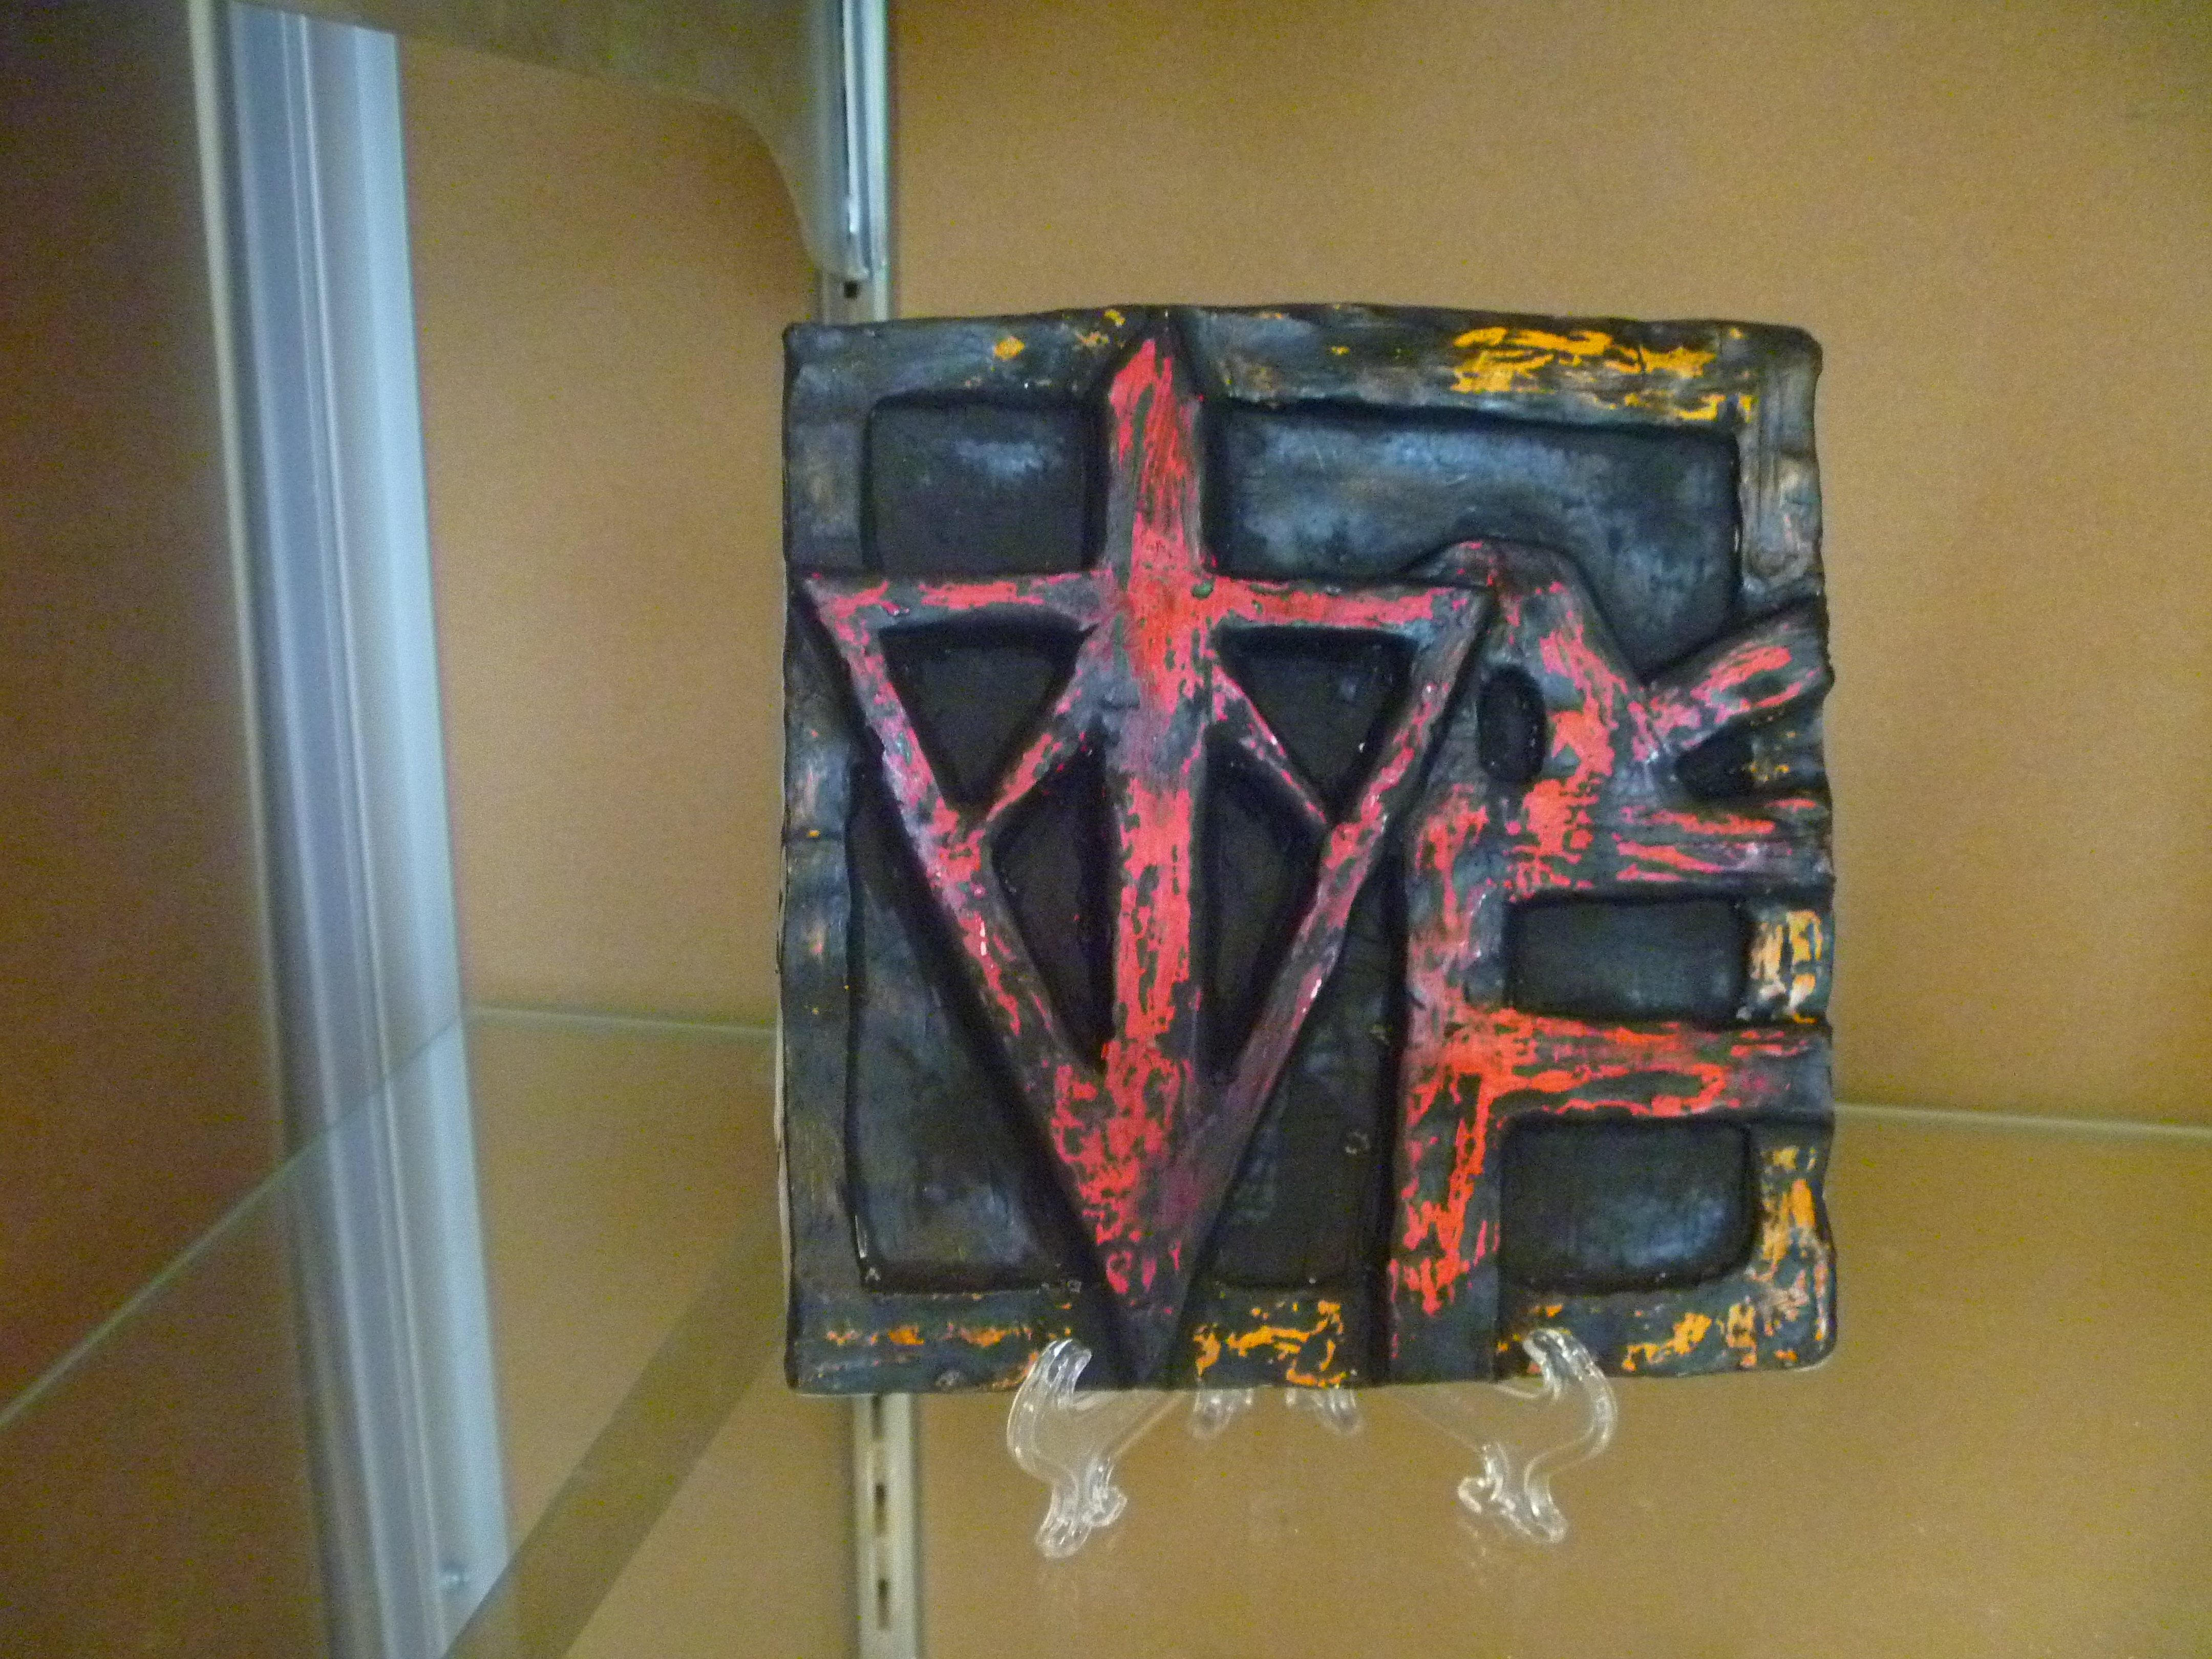
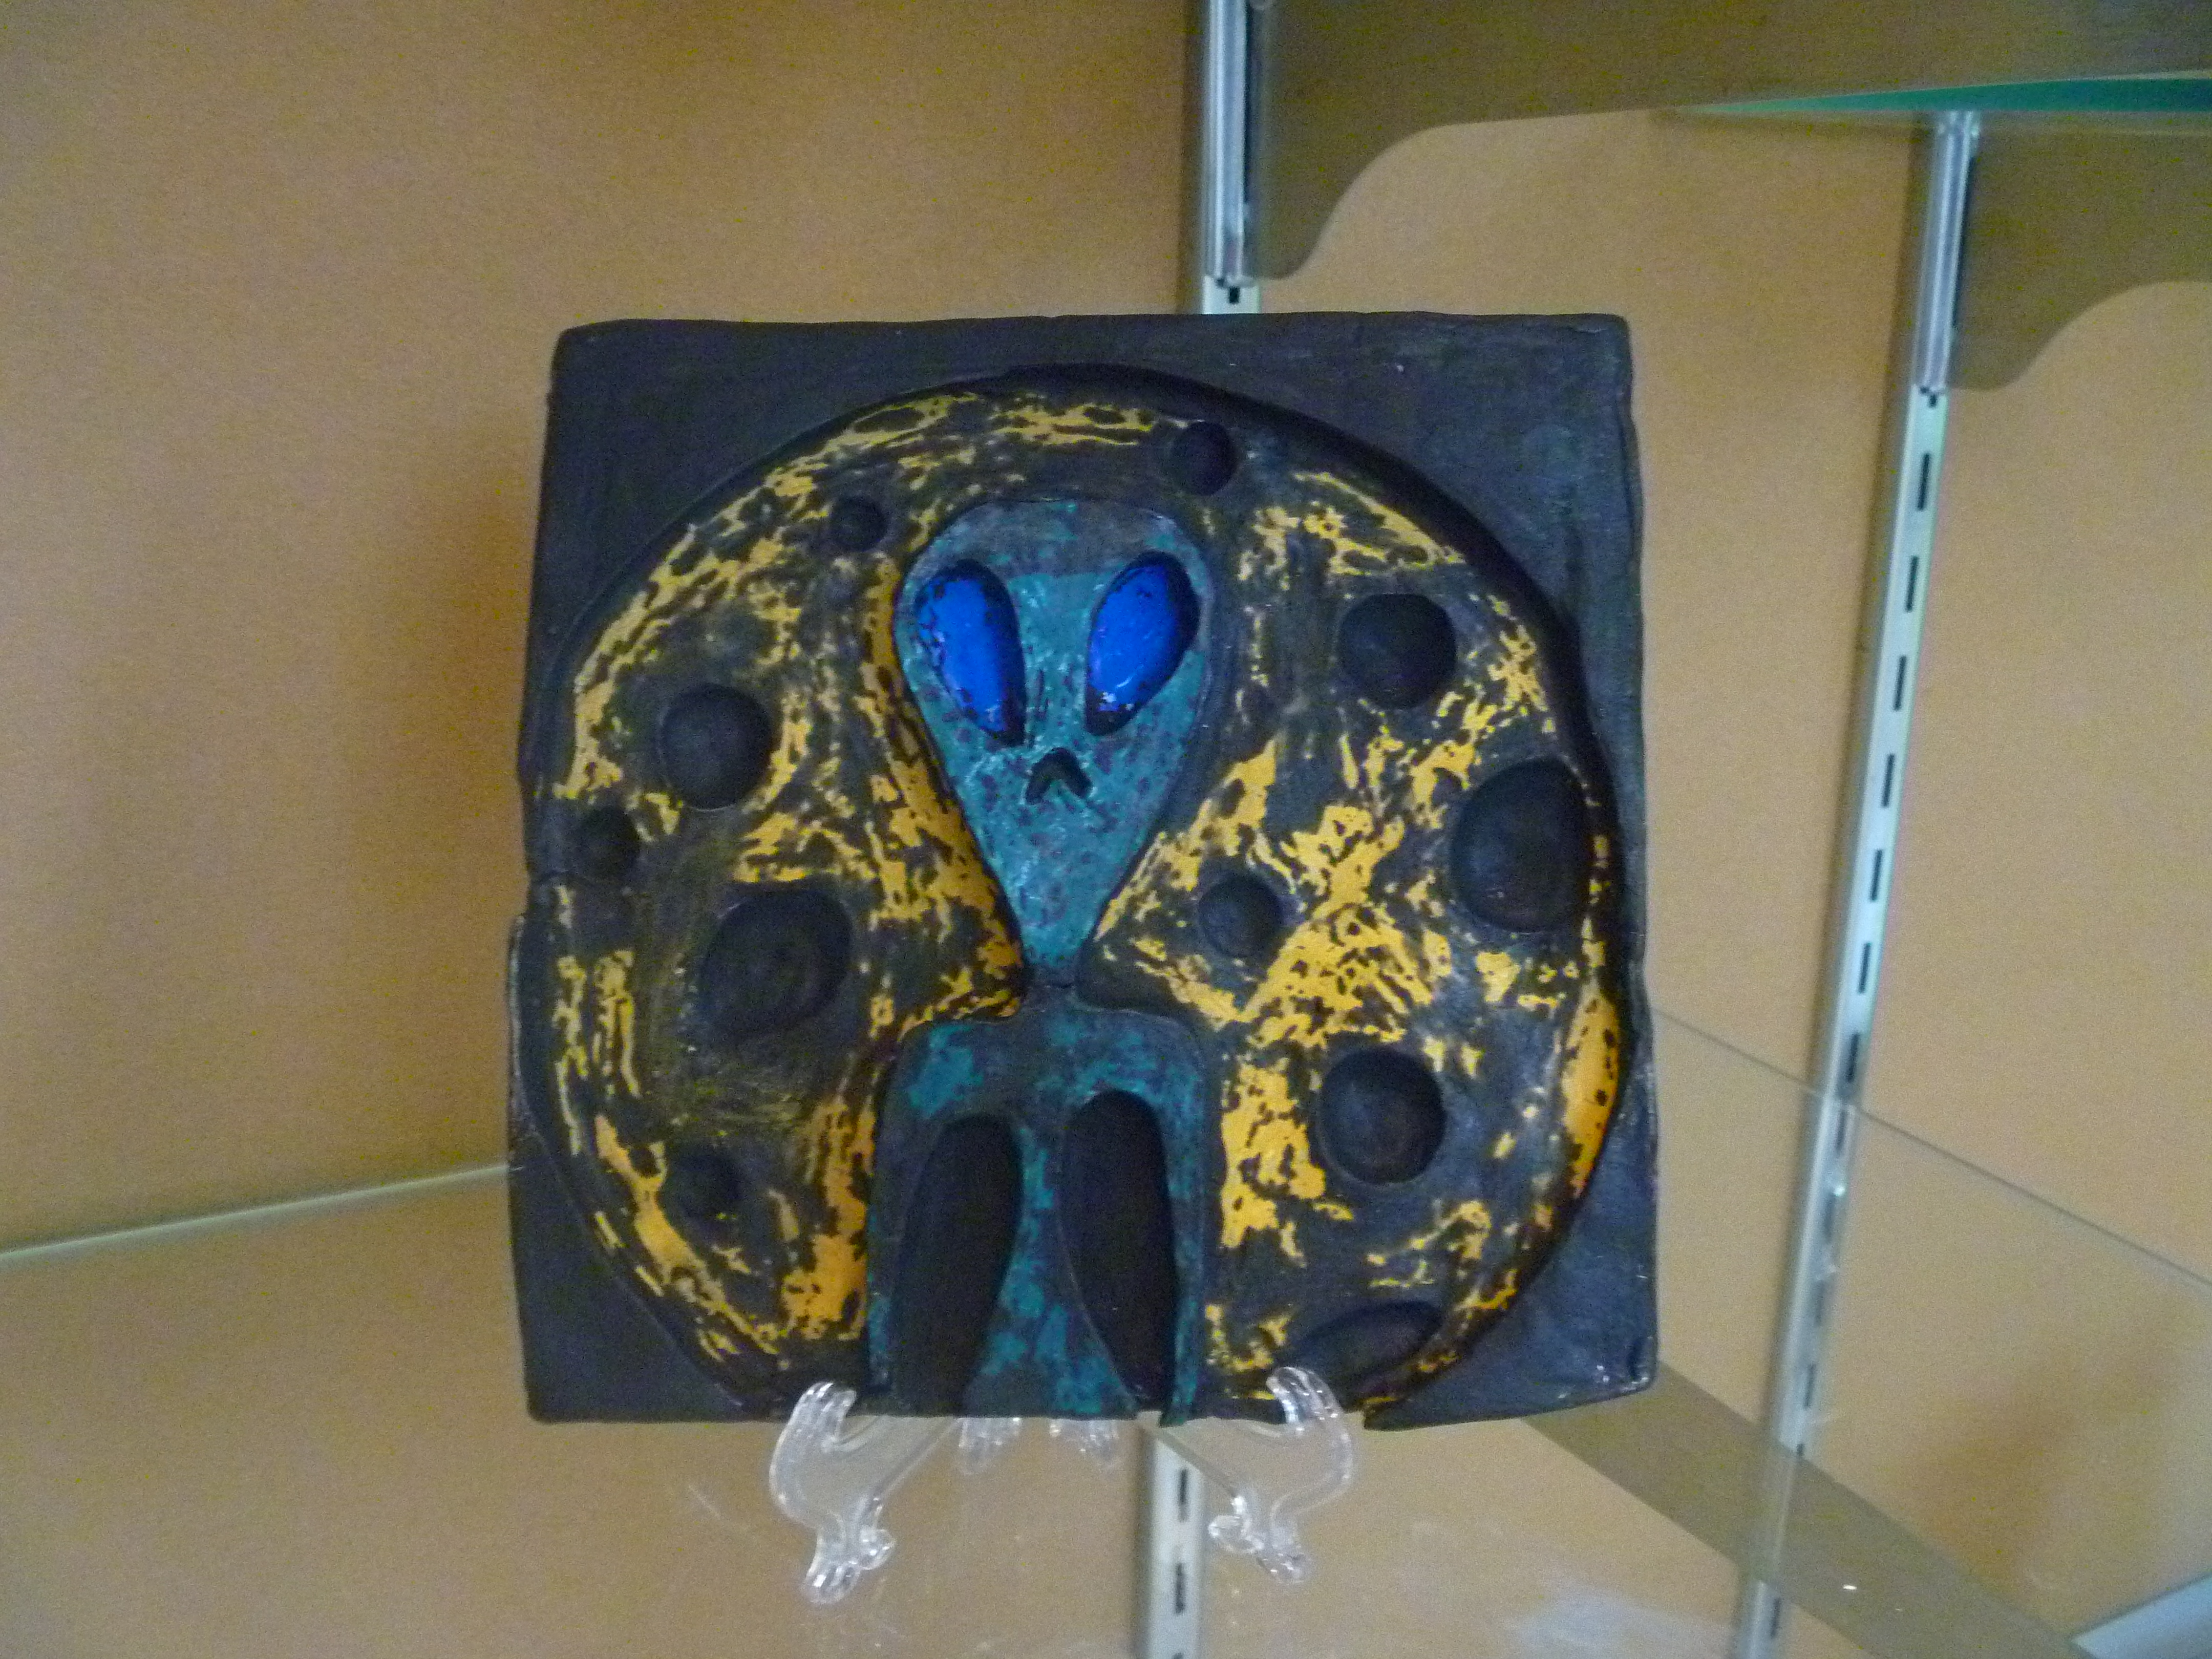
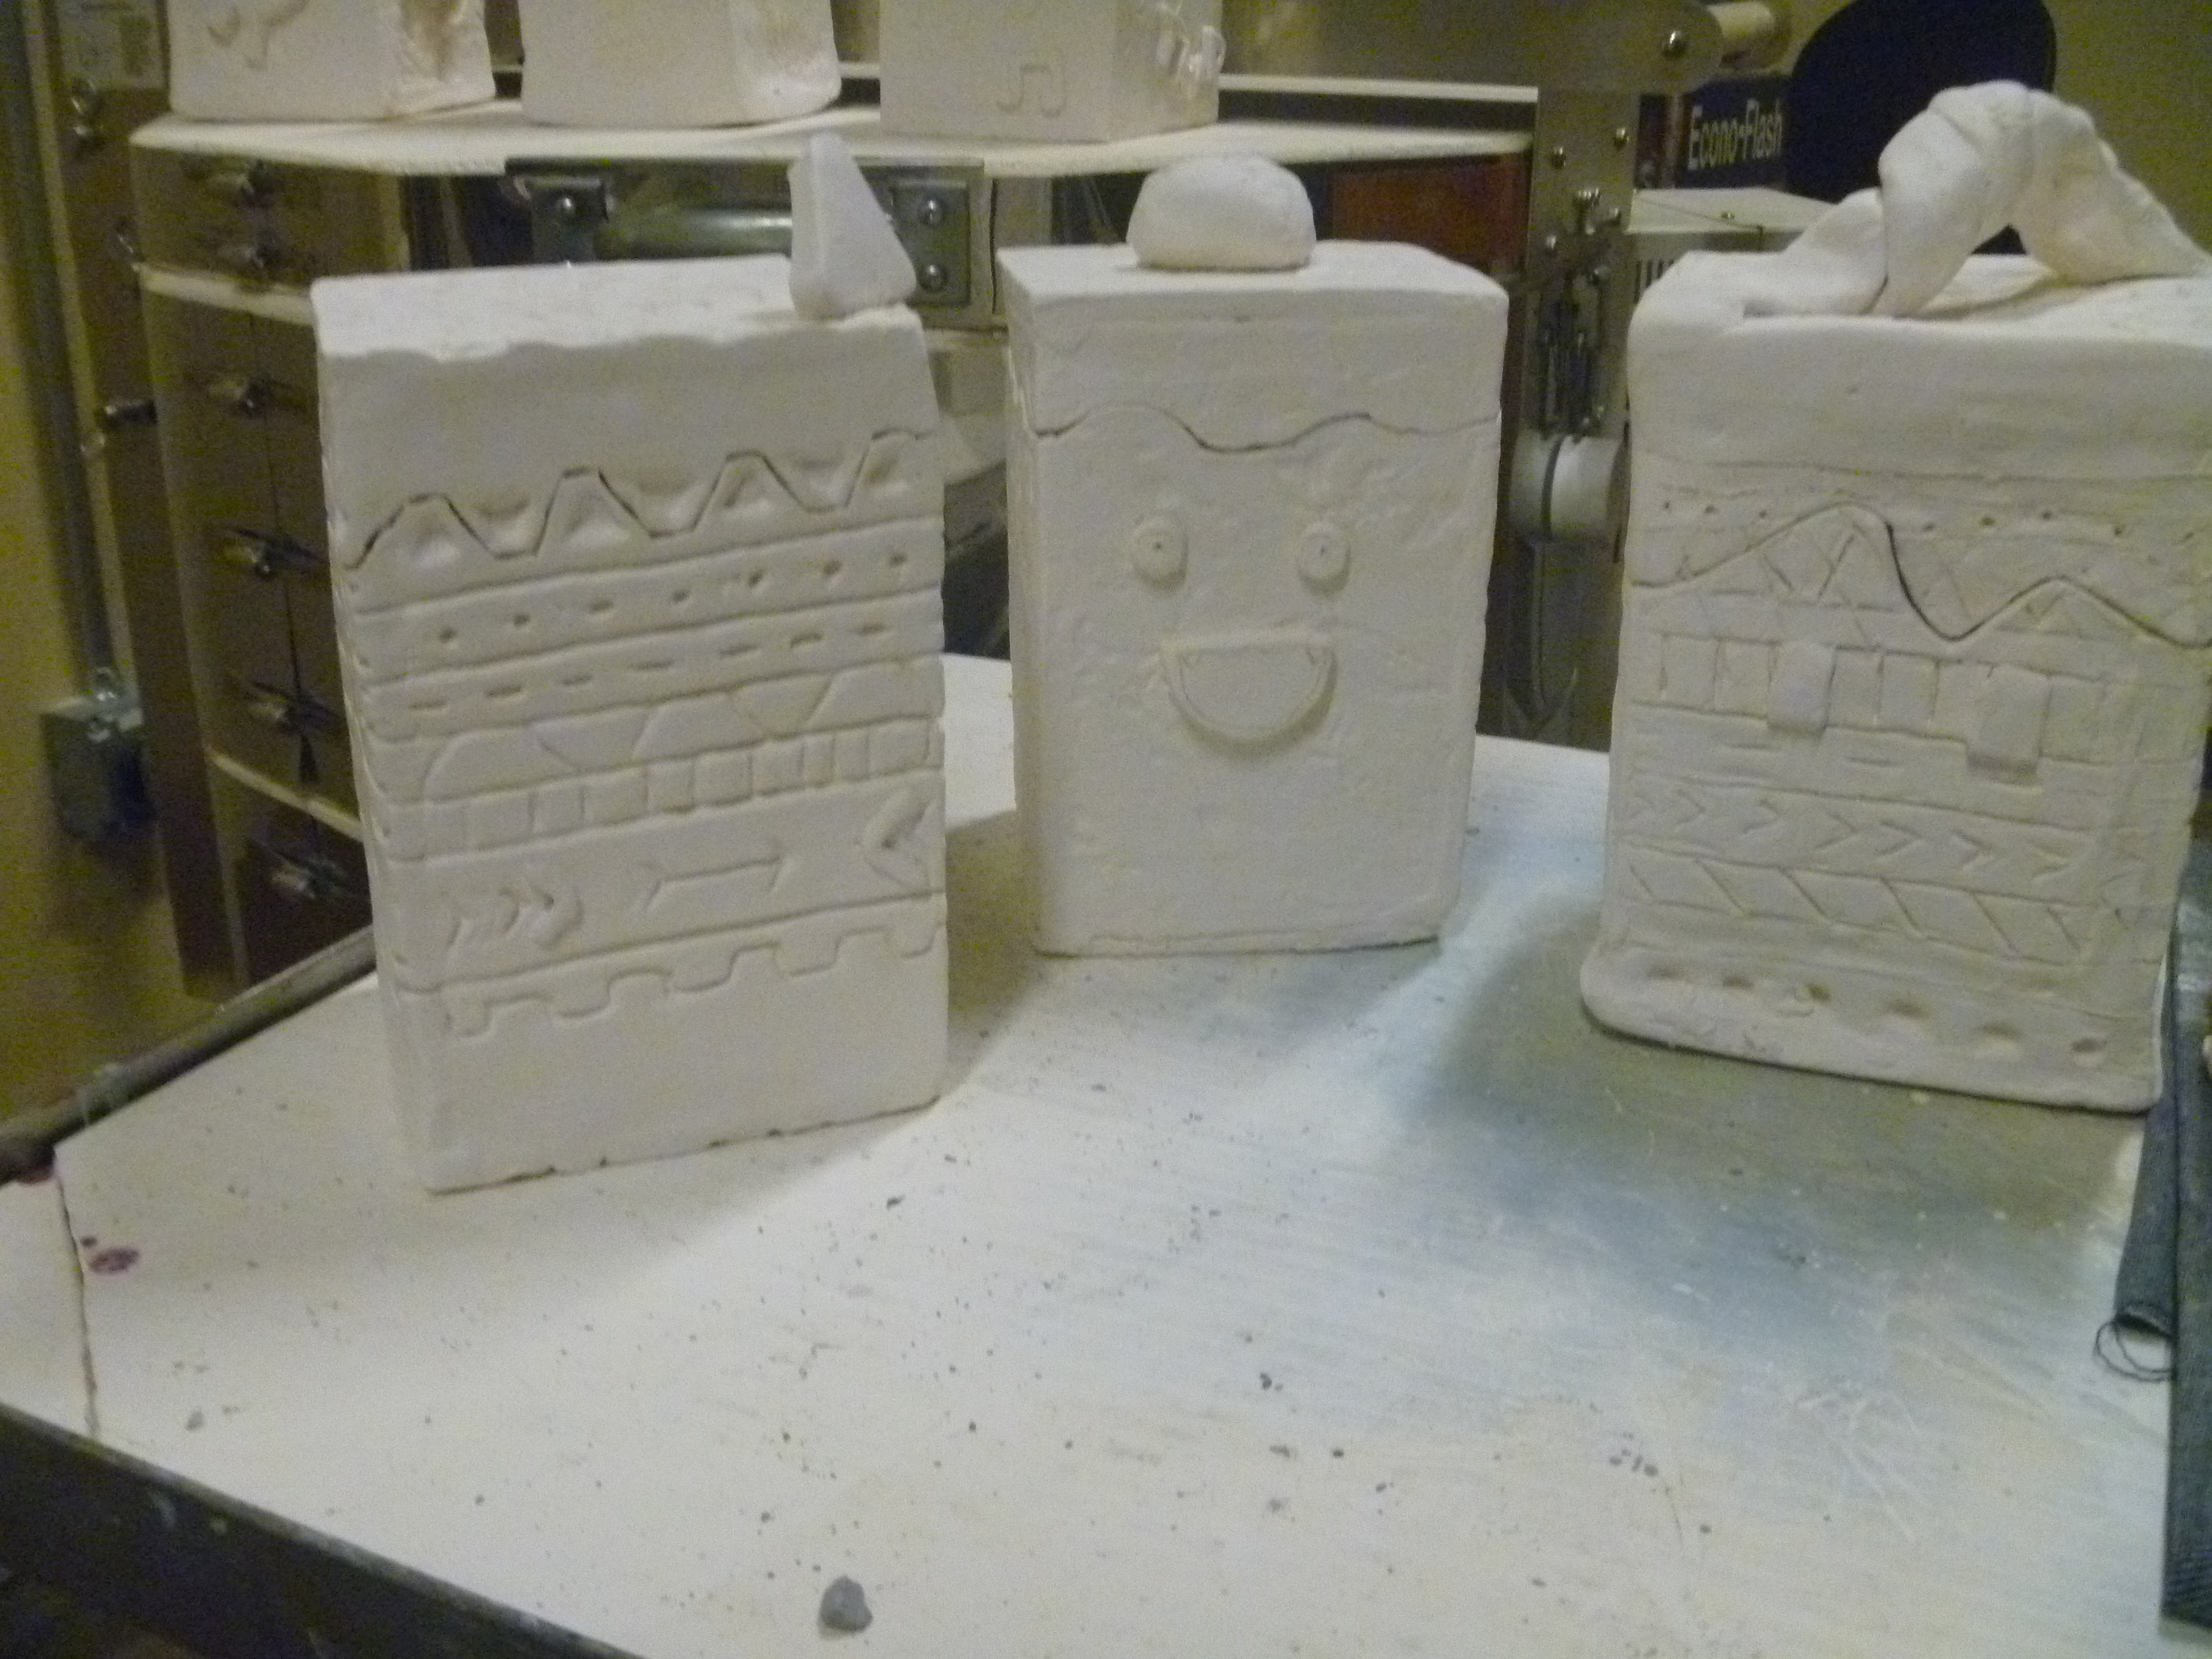
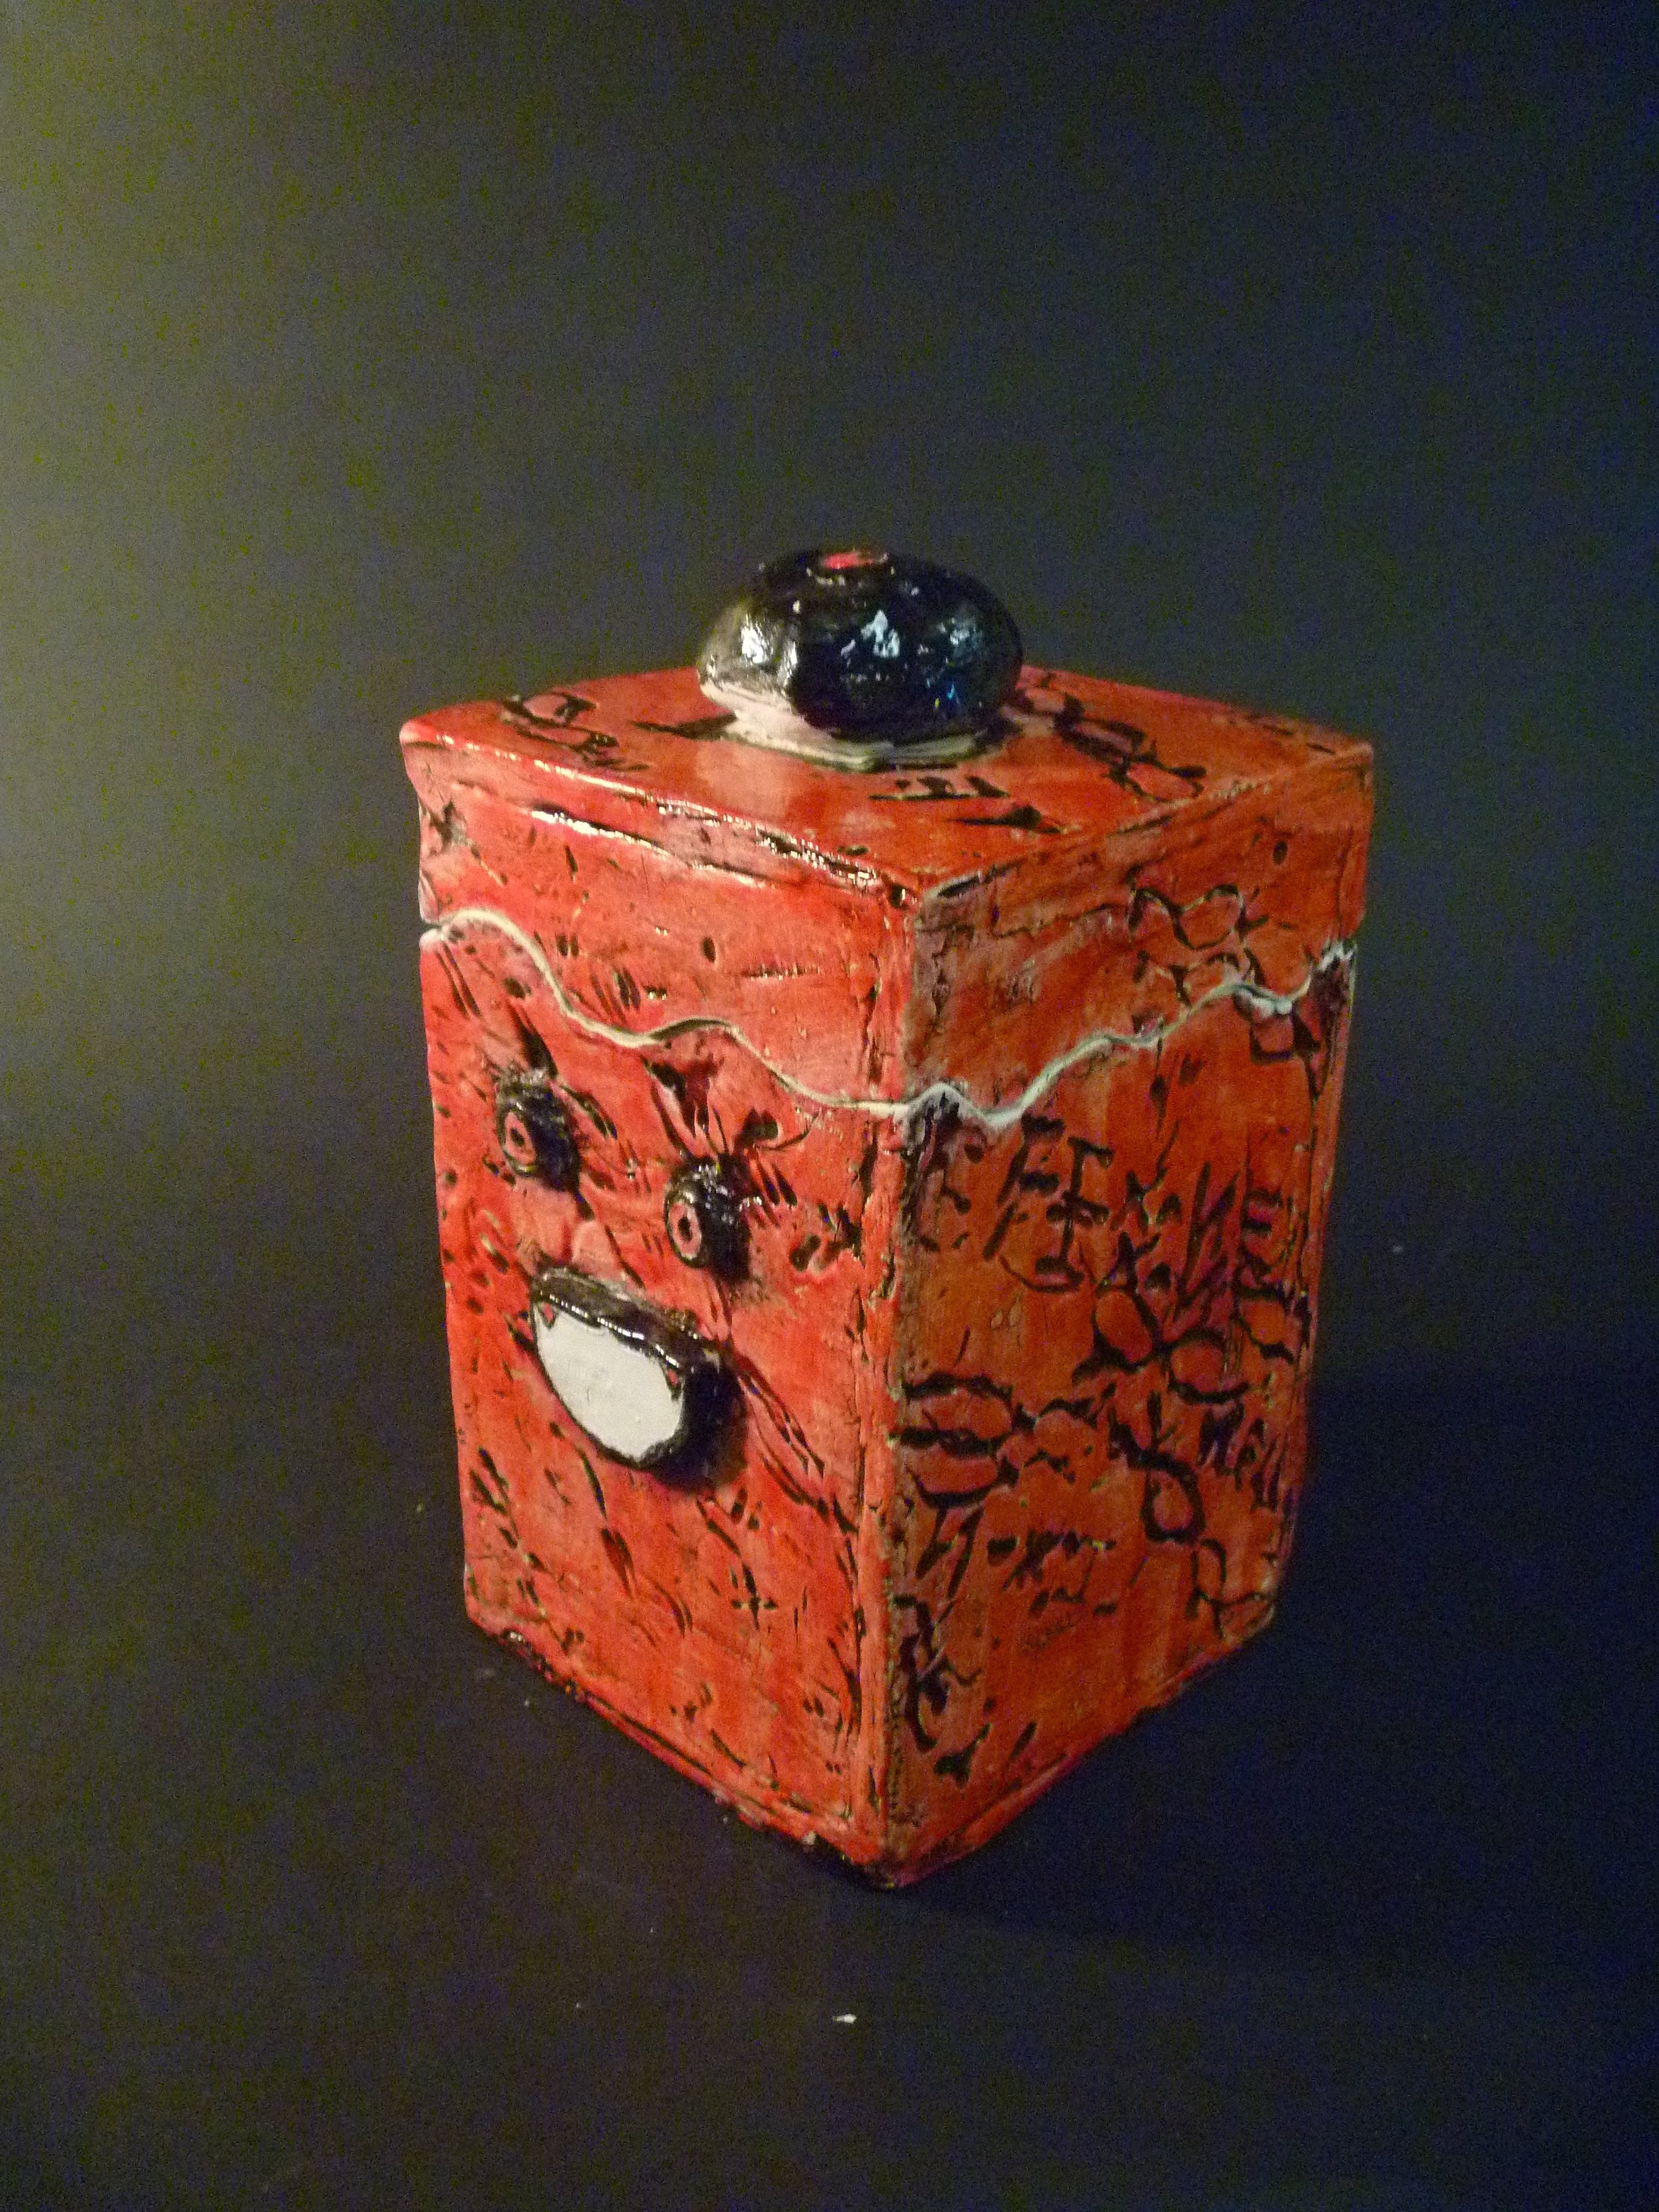
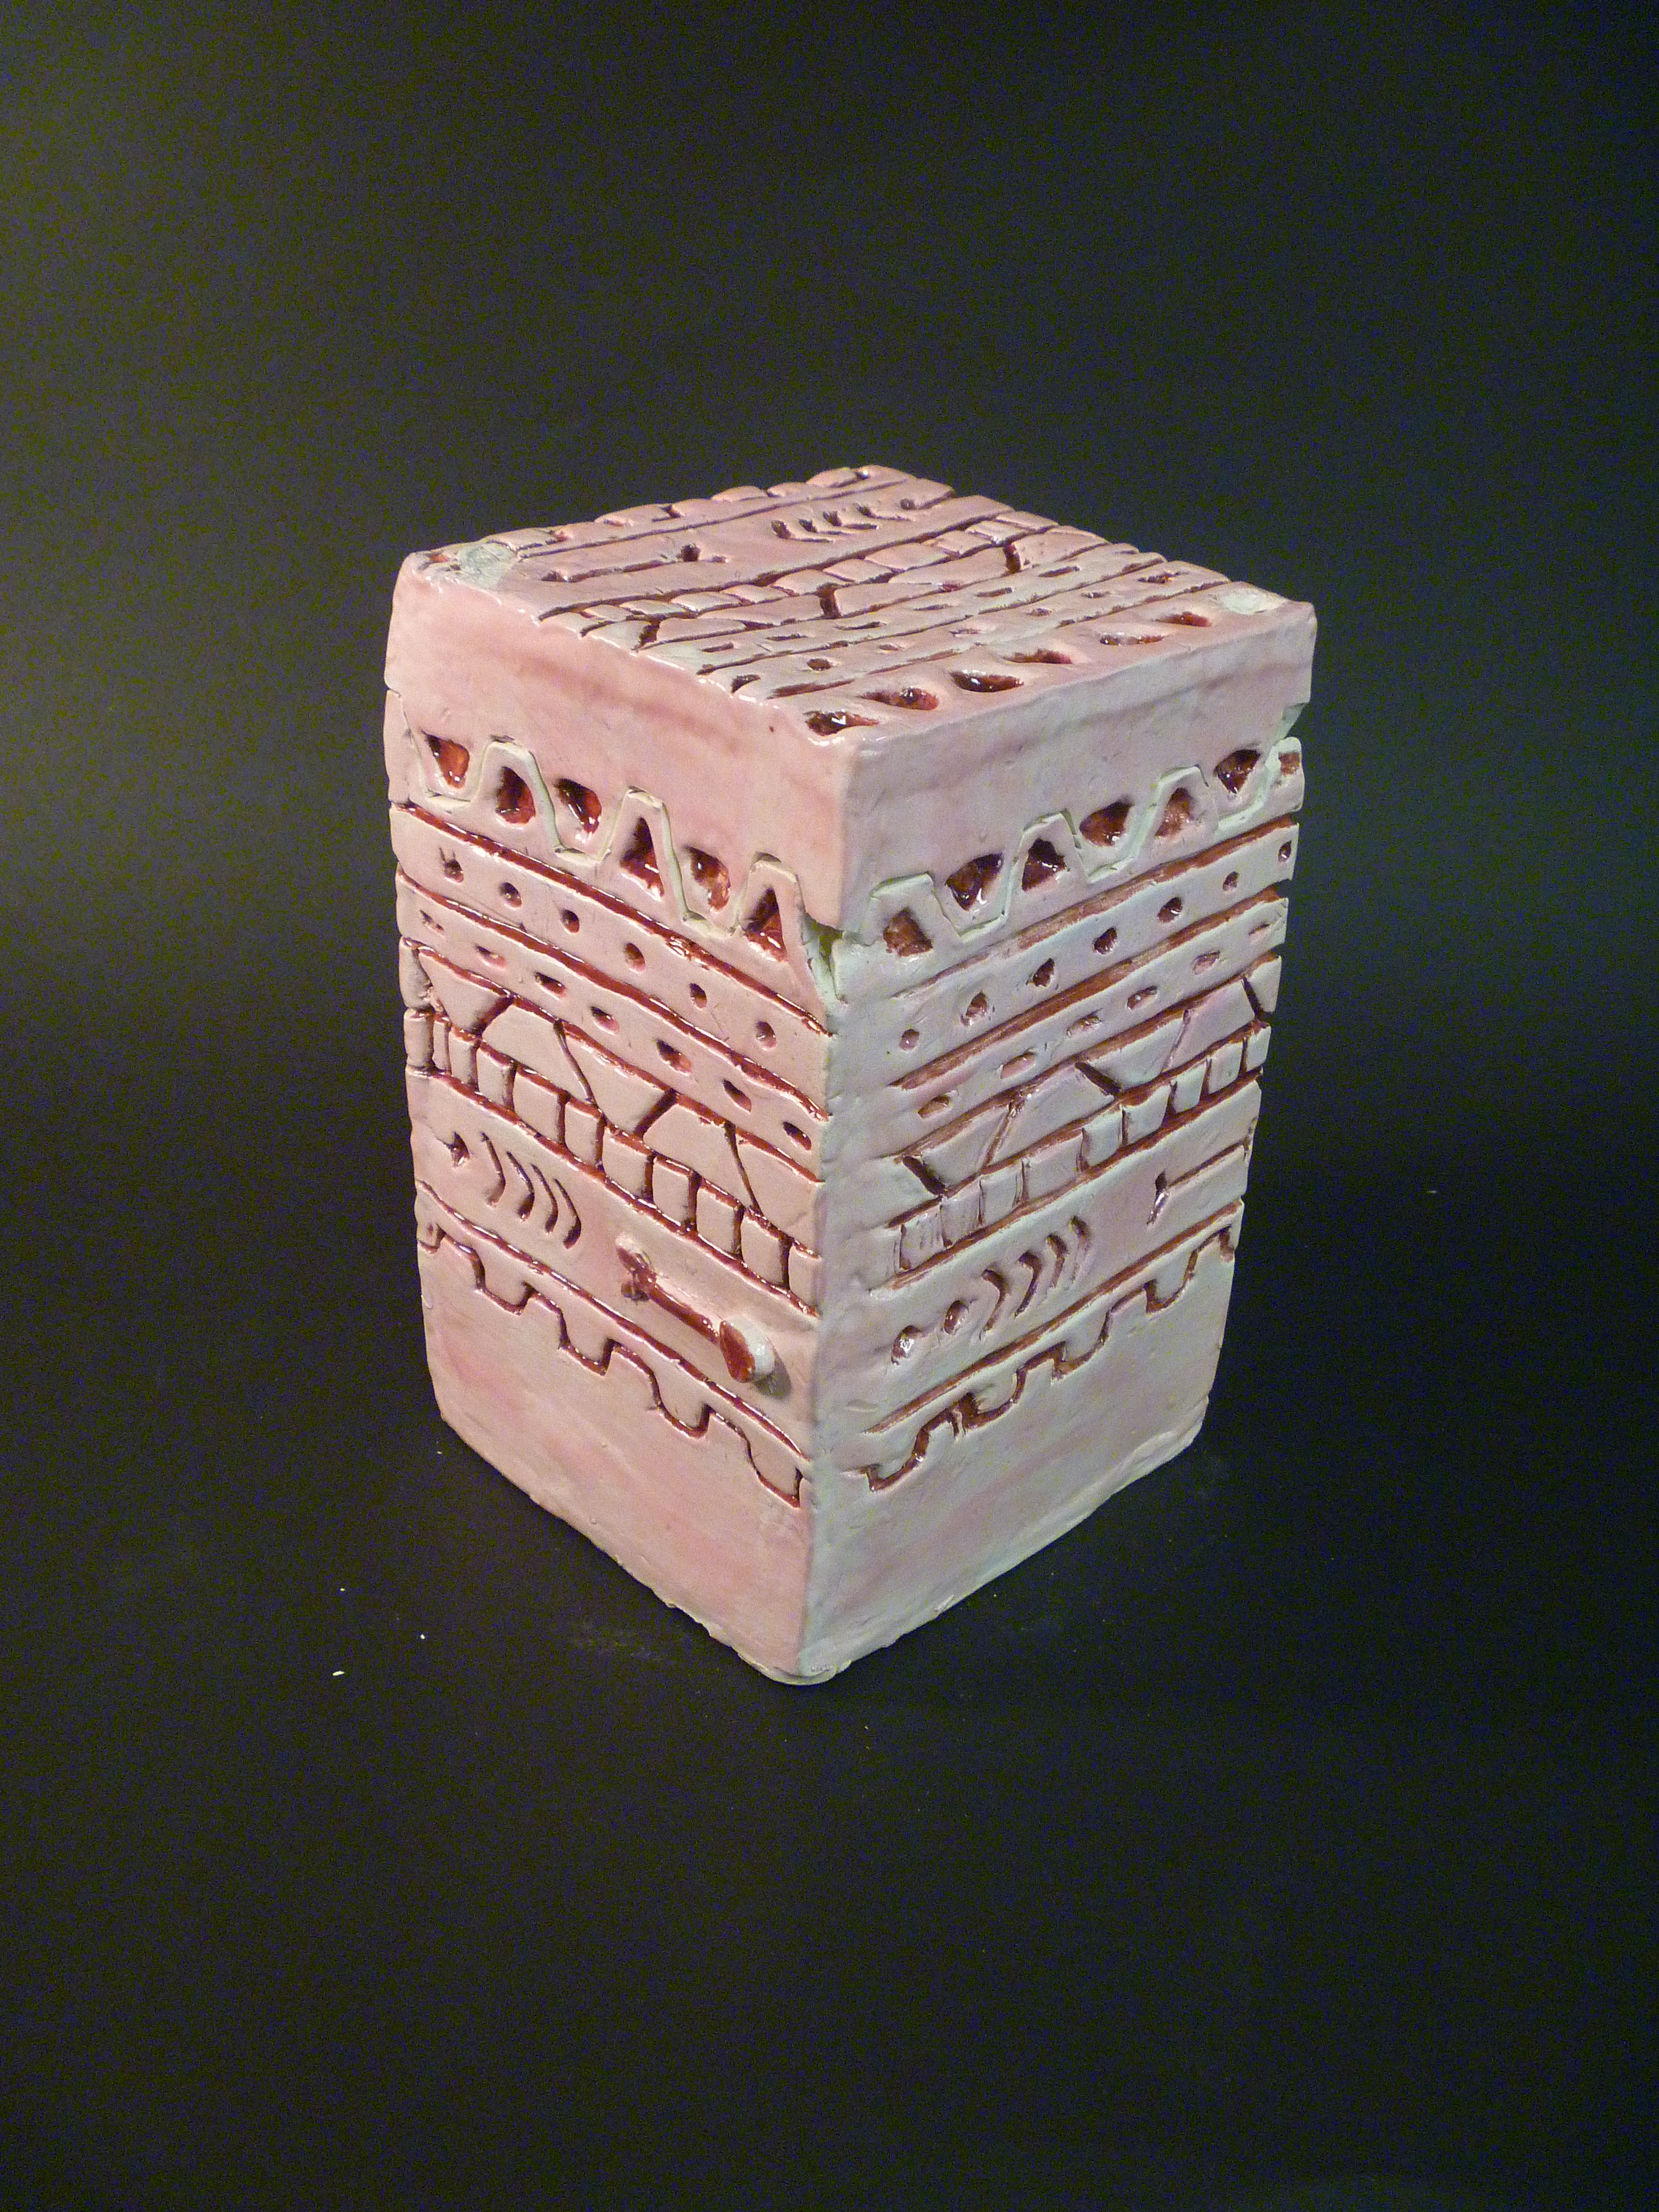
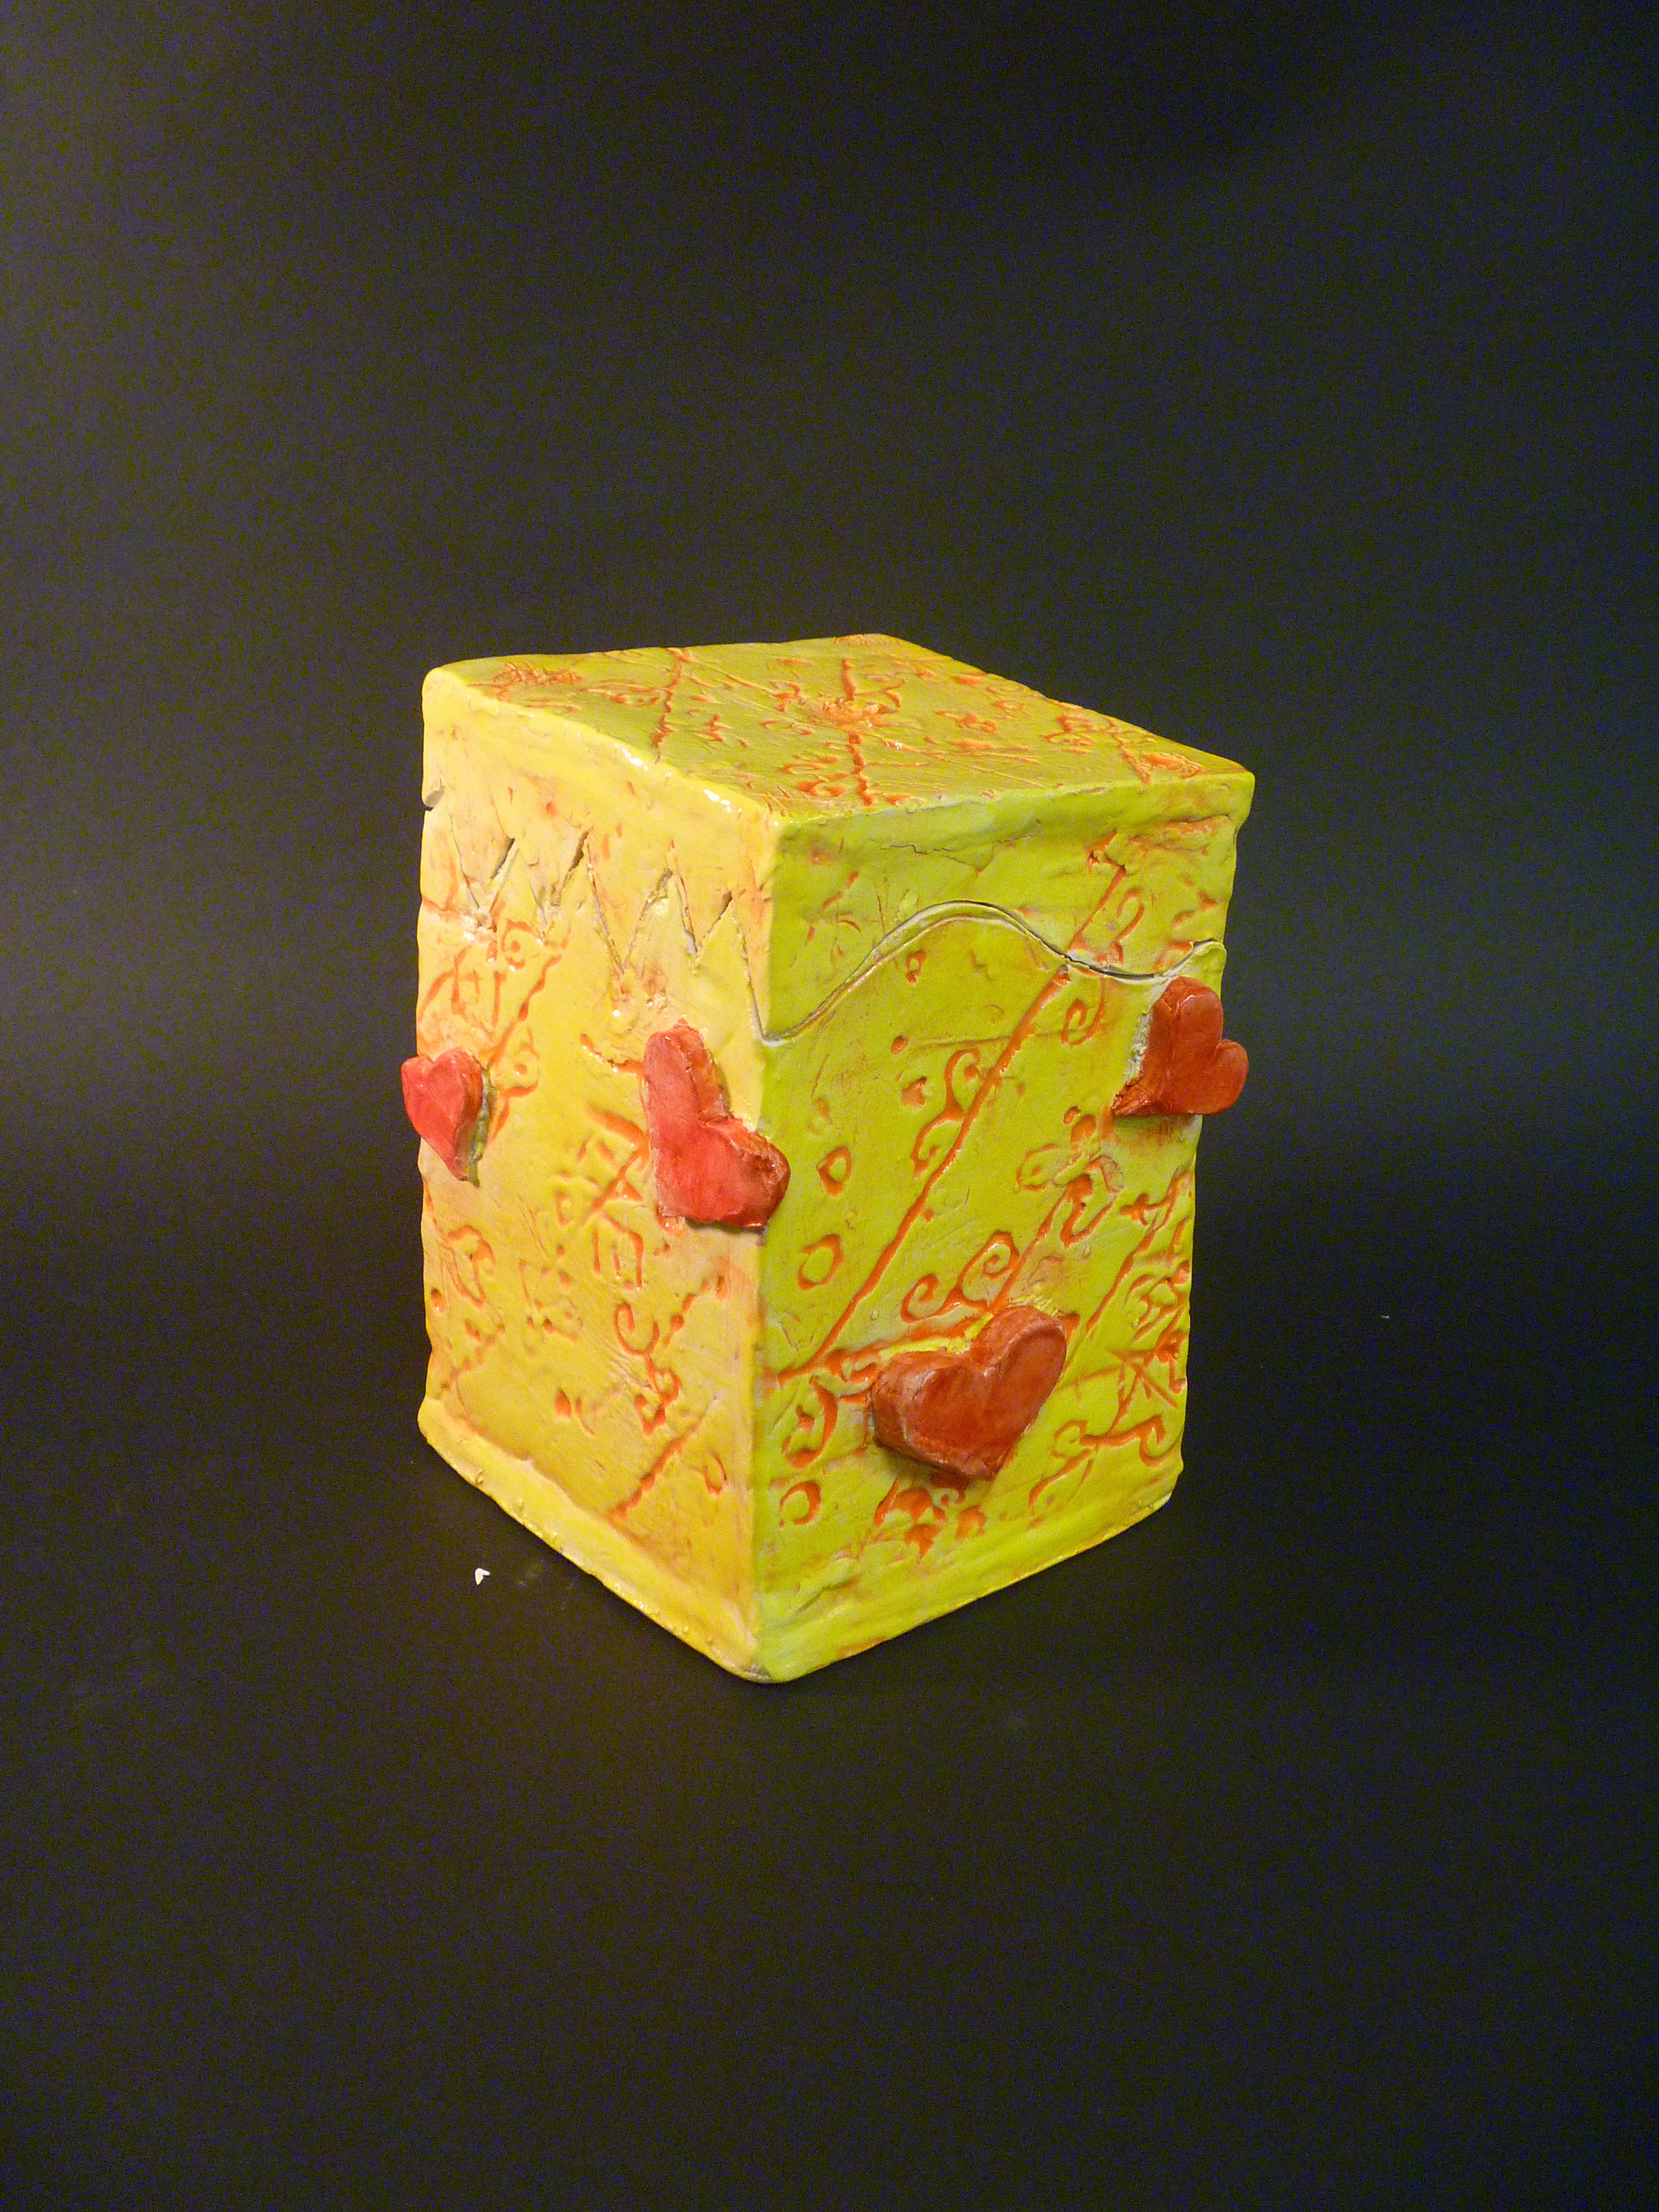
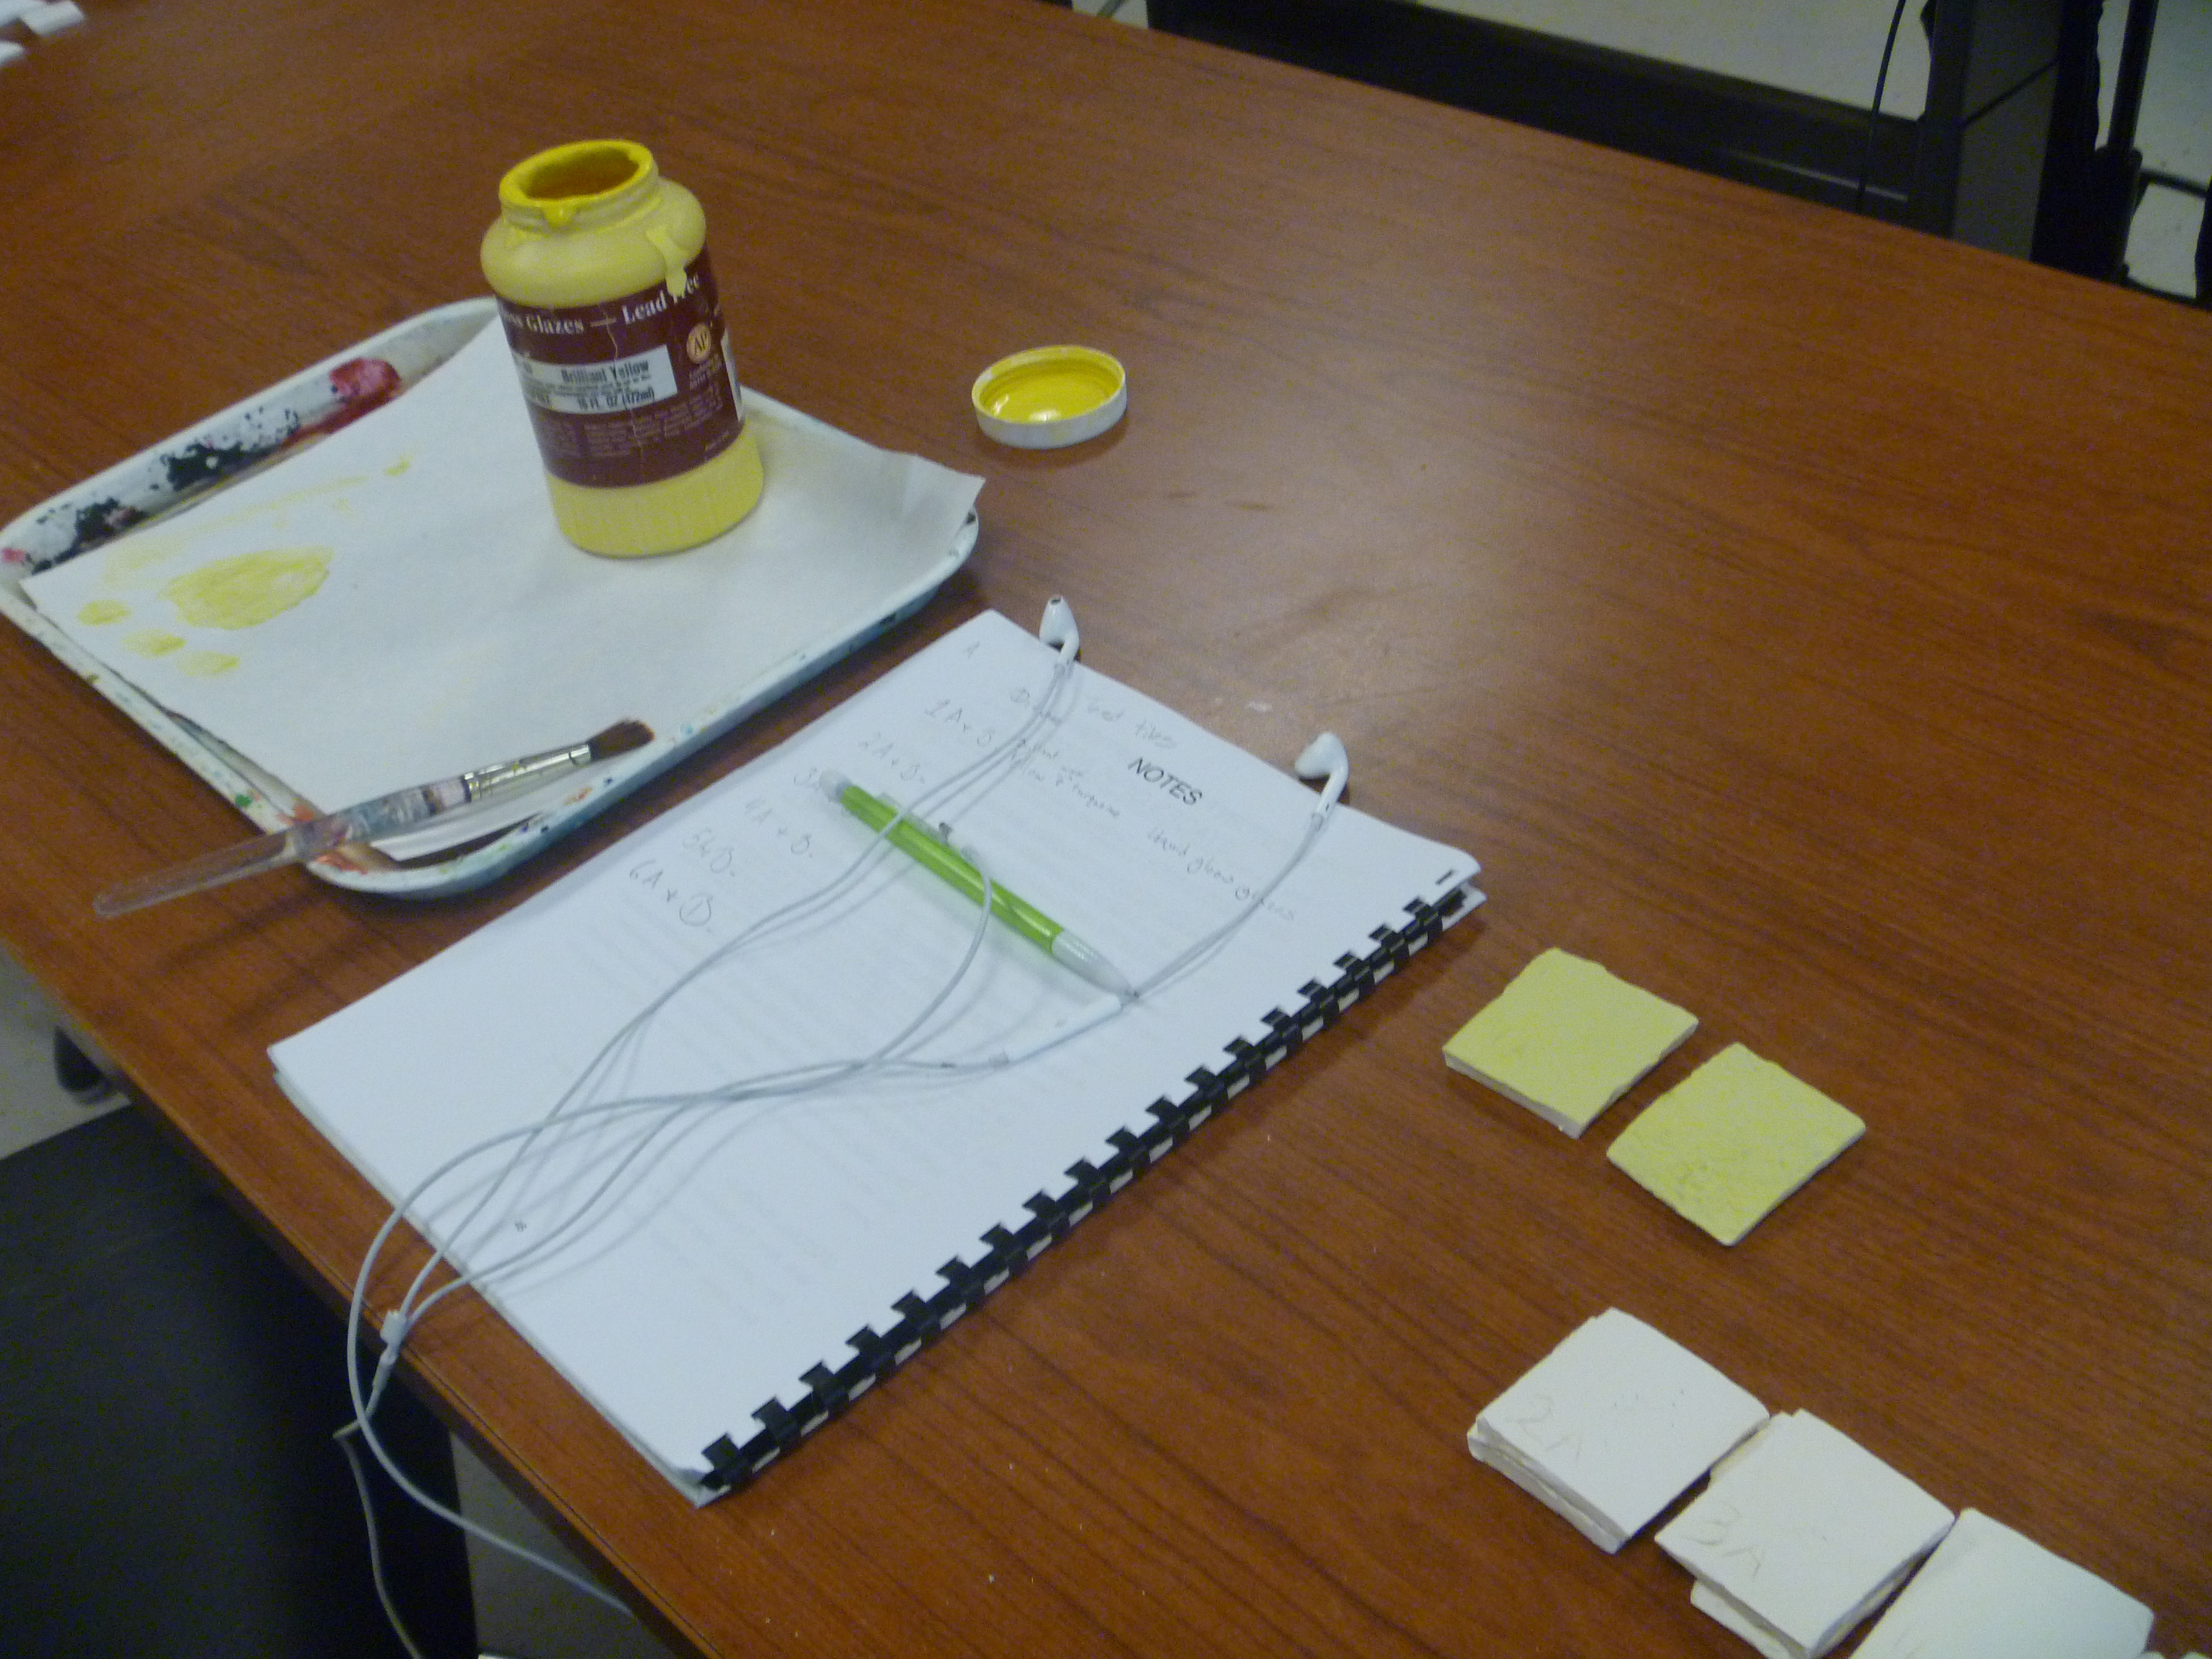
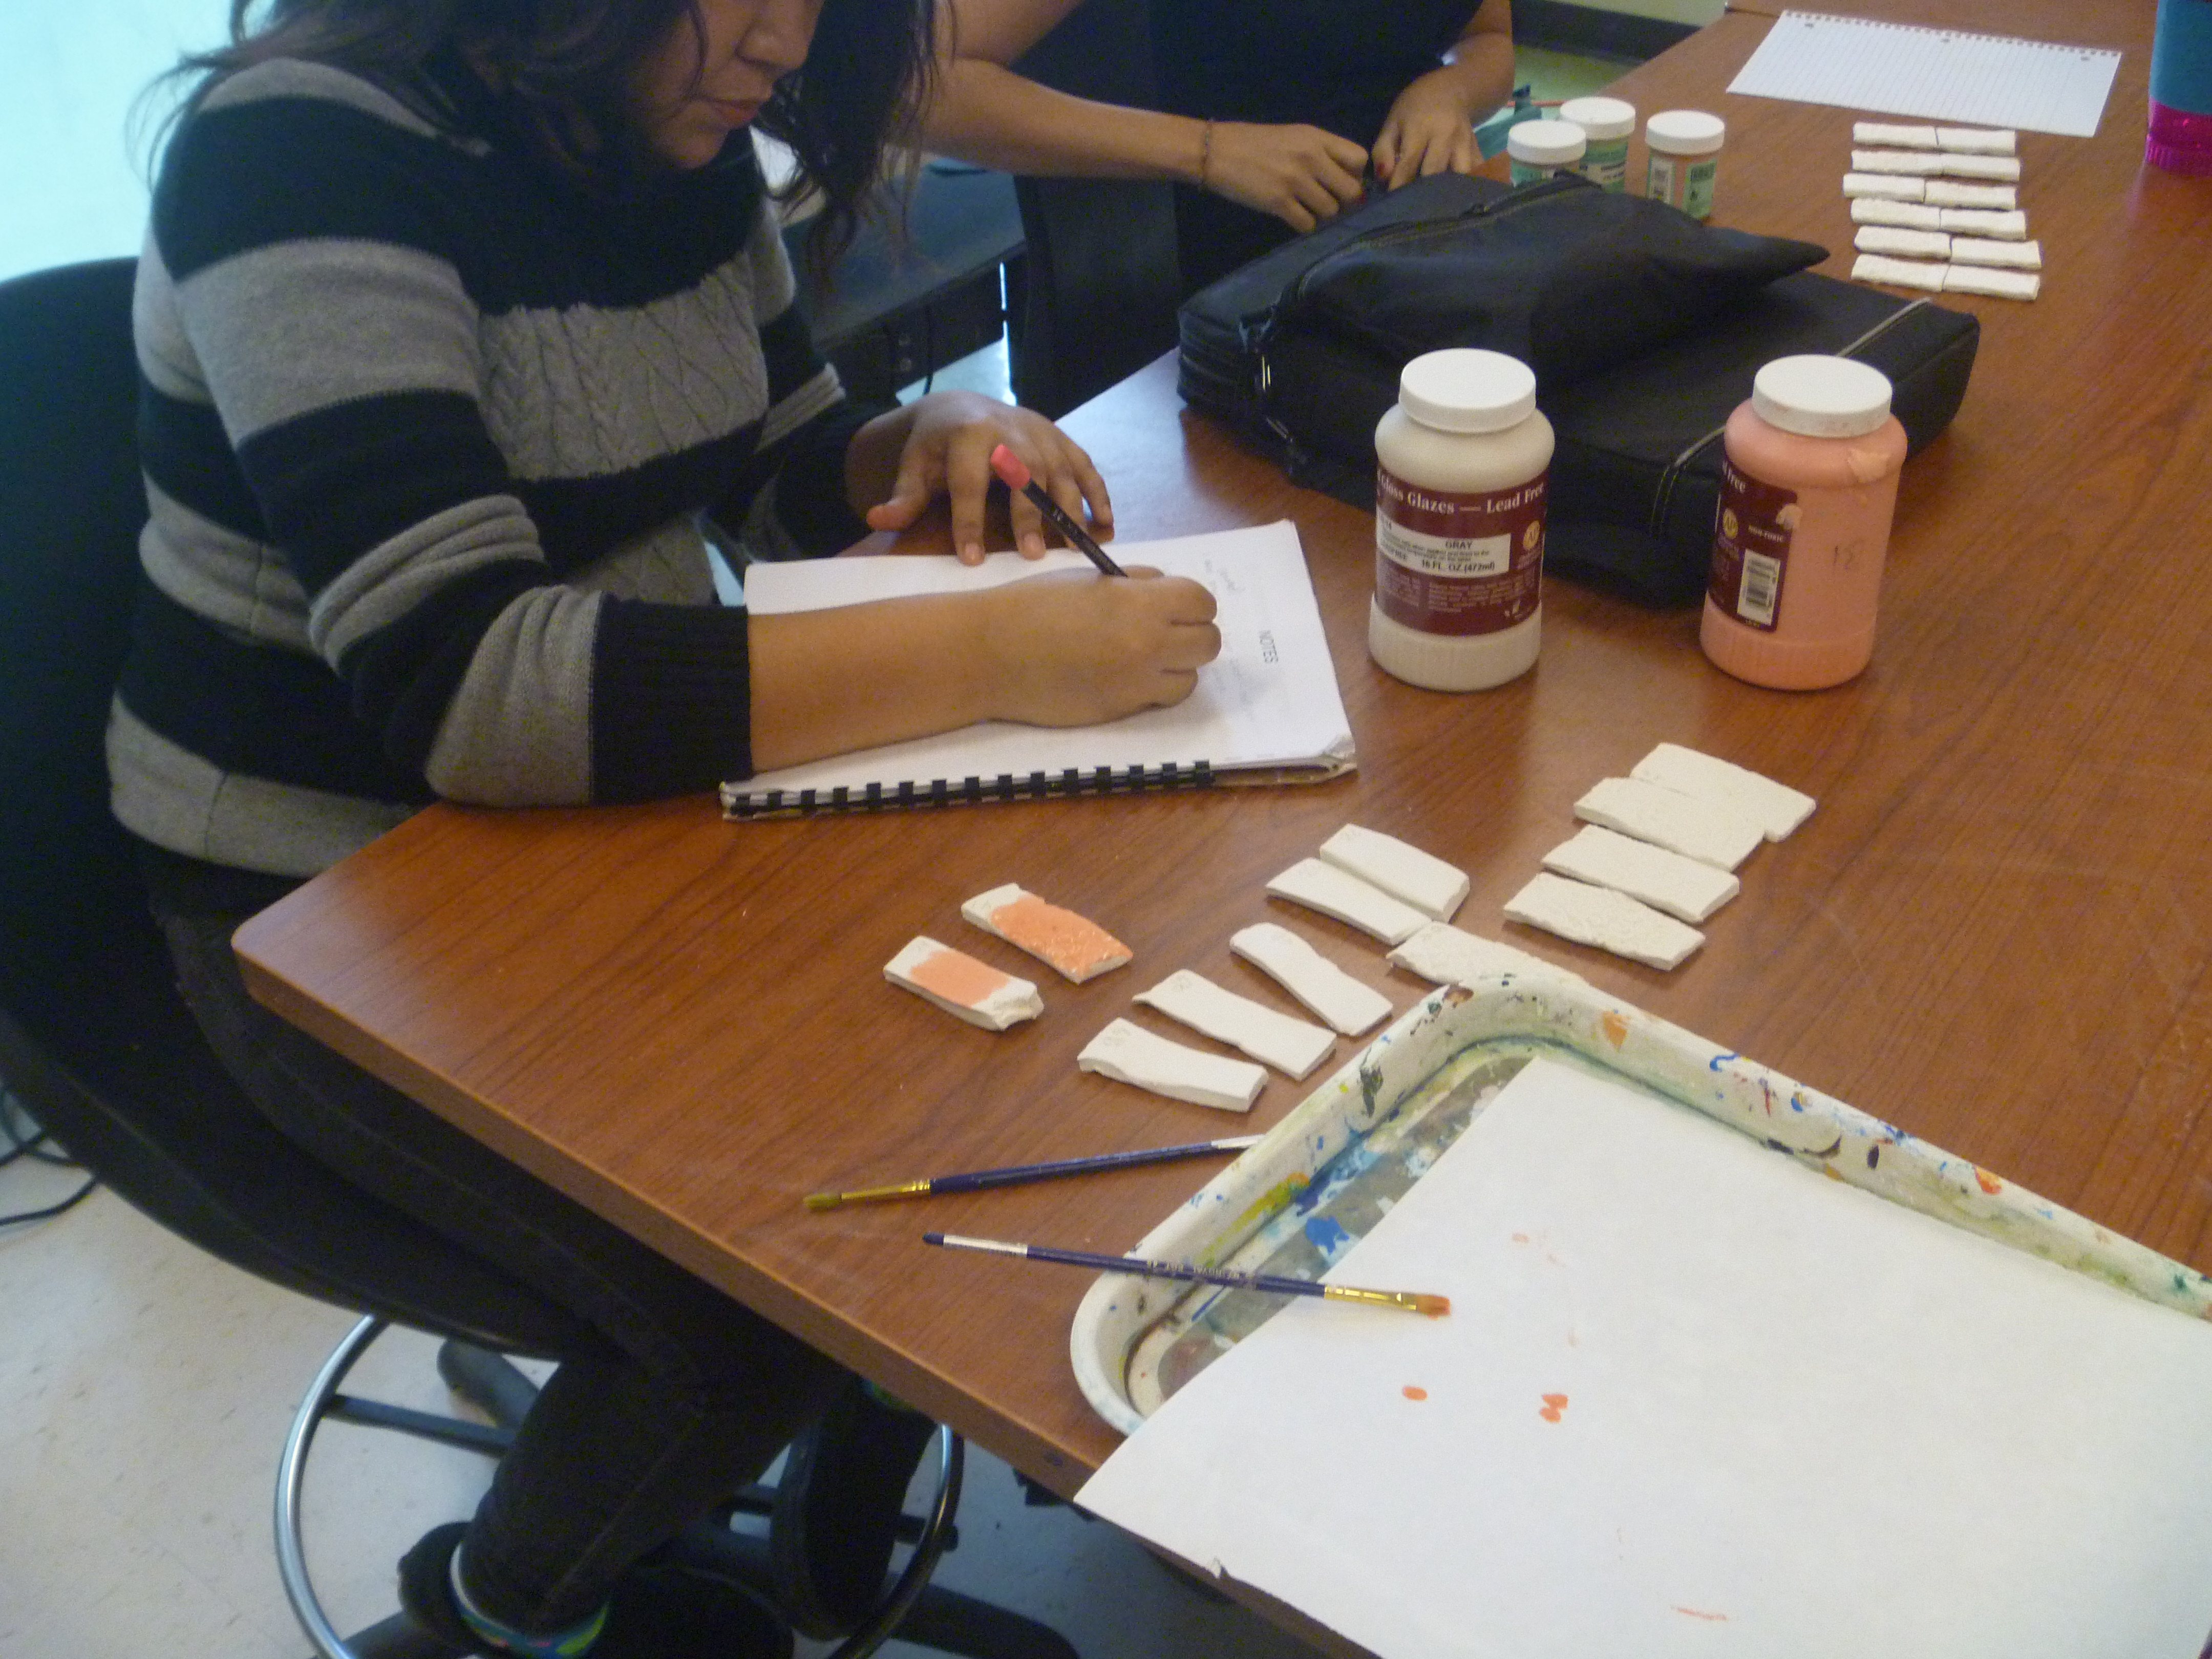
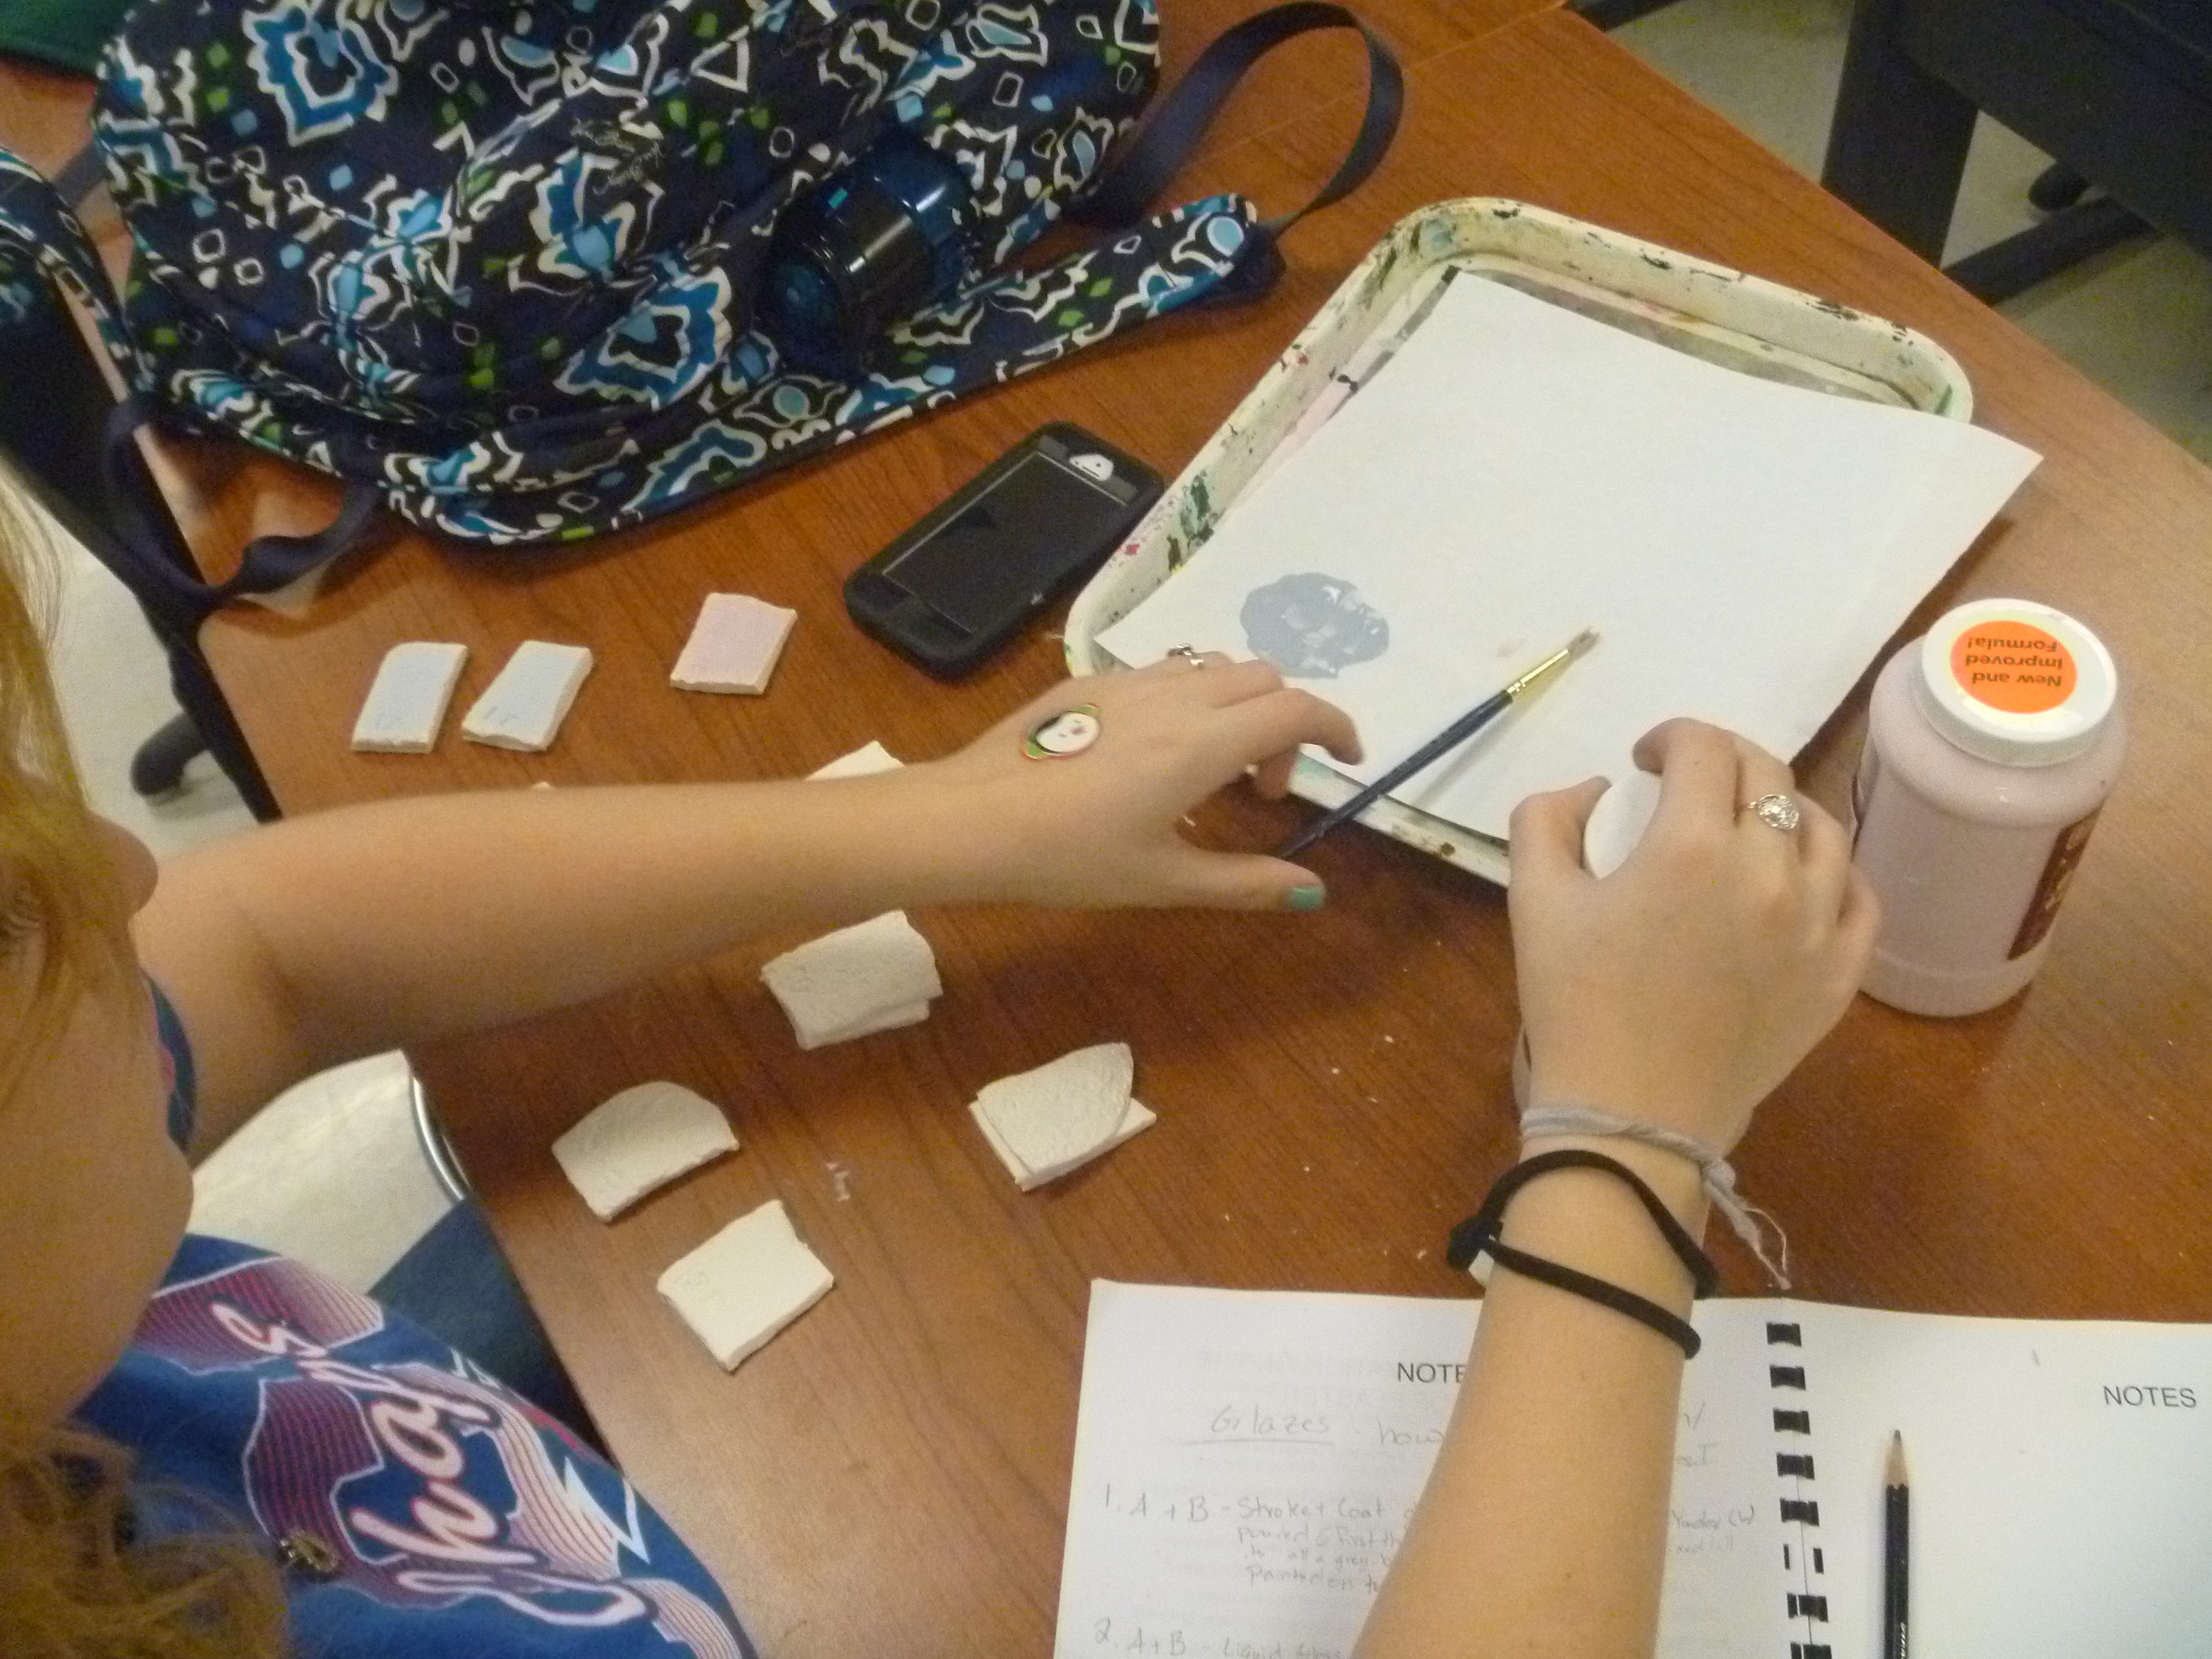
That is my plan for beginning ceramics…to eventually bring a theme for them to interpret how they see fit and to choose the best building method to carry it out. But first, I felt they really did need to have some basics. They needed to learn how to use slabs, how to coil, how to score and use slip. From there, then they could explore further.
I know many are ready to break free, even though we haven’t covered coil yet. But, am I ready for them to break free? There will be some things I will show them as we go along–engobes, slip casting, mold making, the potter’s wheel.
Can I really treat my ceramics class in a similar fashion? Can I just show them a demo, record it, and have them refer to it later if need be? Will that be enough? Can they just have a theme to interpret and explore? I guess after the coil lesson, we will find out.