Category Archives: techniques

Skill vs Creativity

Standard

As a teacher that has embraced the Teaching for Artistic Behavior (TAB) philosophy for almost a decade and a half, I still find myself struggling sometimes with with debate around skill and its importance. I know it’s important for artists to have technical skills and for them to continue building those skills. Buuuutttt…. should that be the most important thing in the high school art room (or any art room for that matter?)

I was doom scrolling the other day, and I came across this reel in my IG feed and I finally felt a little bit of validation. The artist talked about an art teacher he had that pretty much said what I had felt in my art heart all these years.

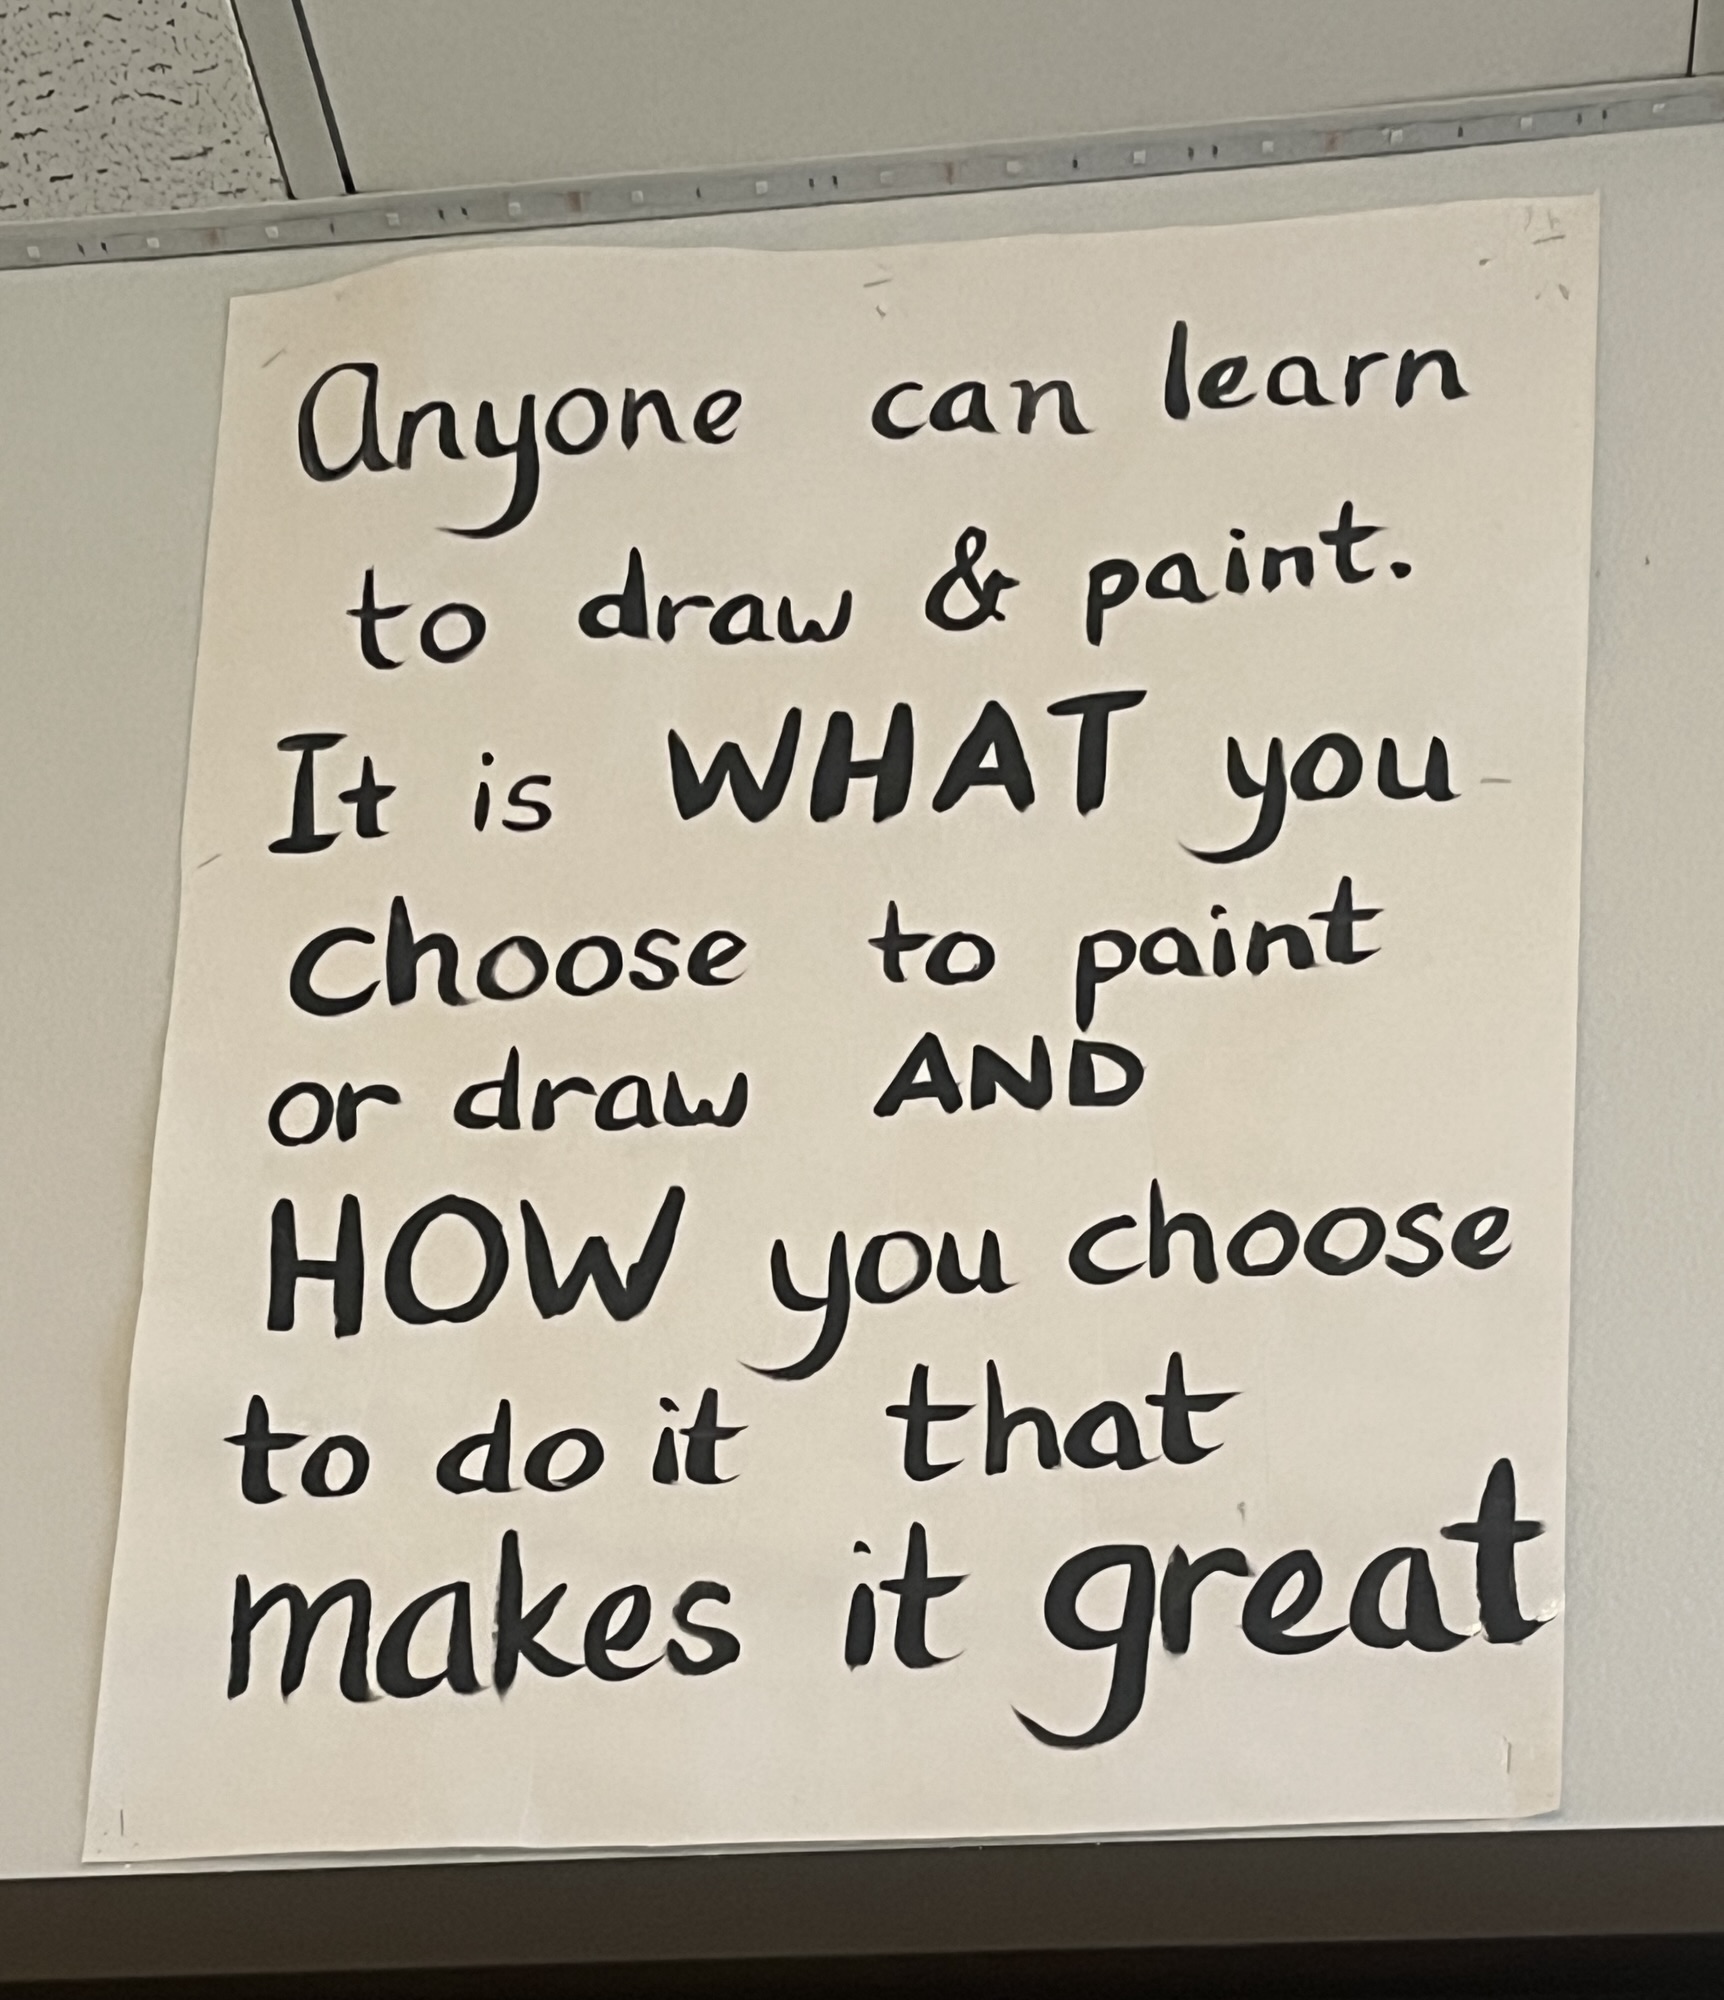
Gabriel talked about an art teacher he had who said that “technical skill is extremely overrated. And she had visited a school that prioritized the technical ability versus teaching the students creativity. And while their paintings were very technically well done, they were super dead, boring, not inspiring whatsoever.” He goes on to say that he thinks we put technical ability on a pedestal way too much, and that there isn’t enough credit to the creativity. Skill is still important, but it is a means to show that creativity.

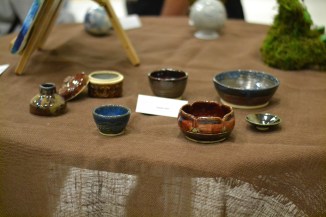
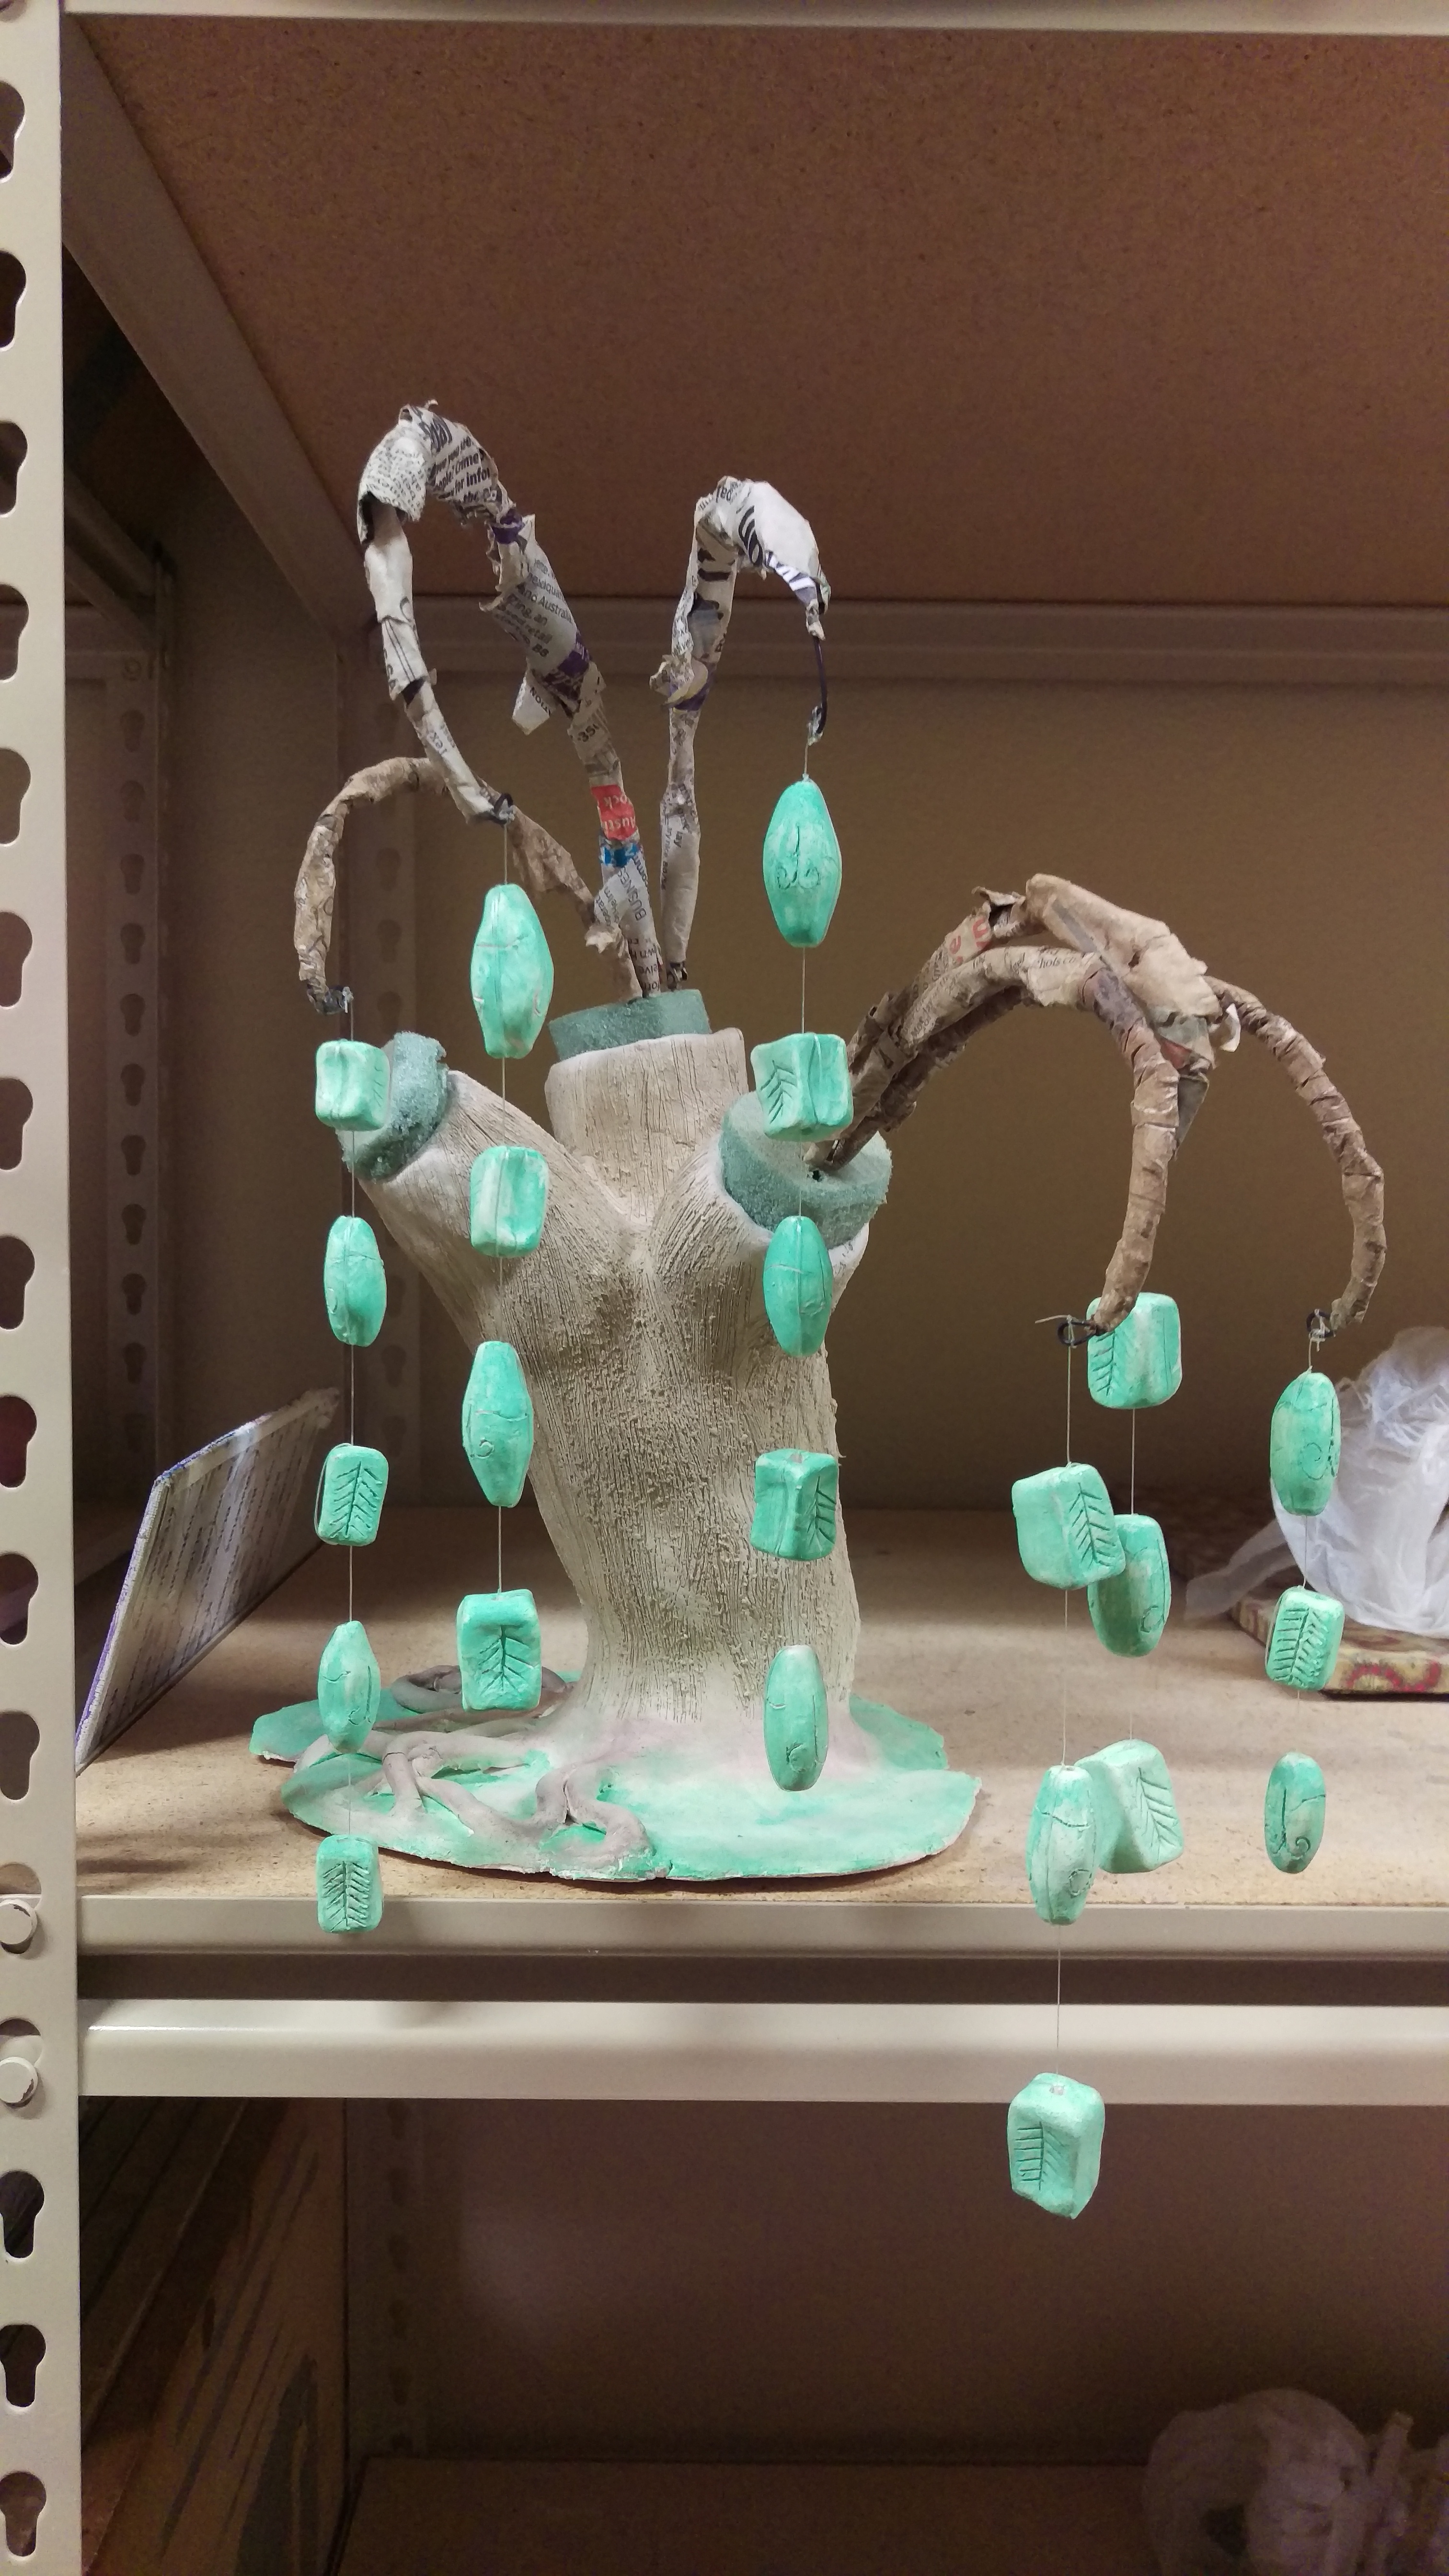
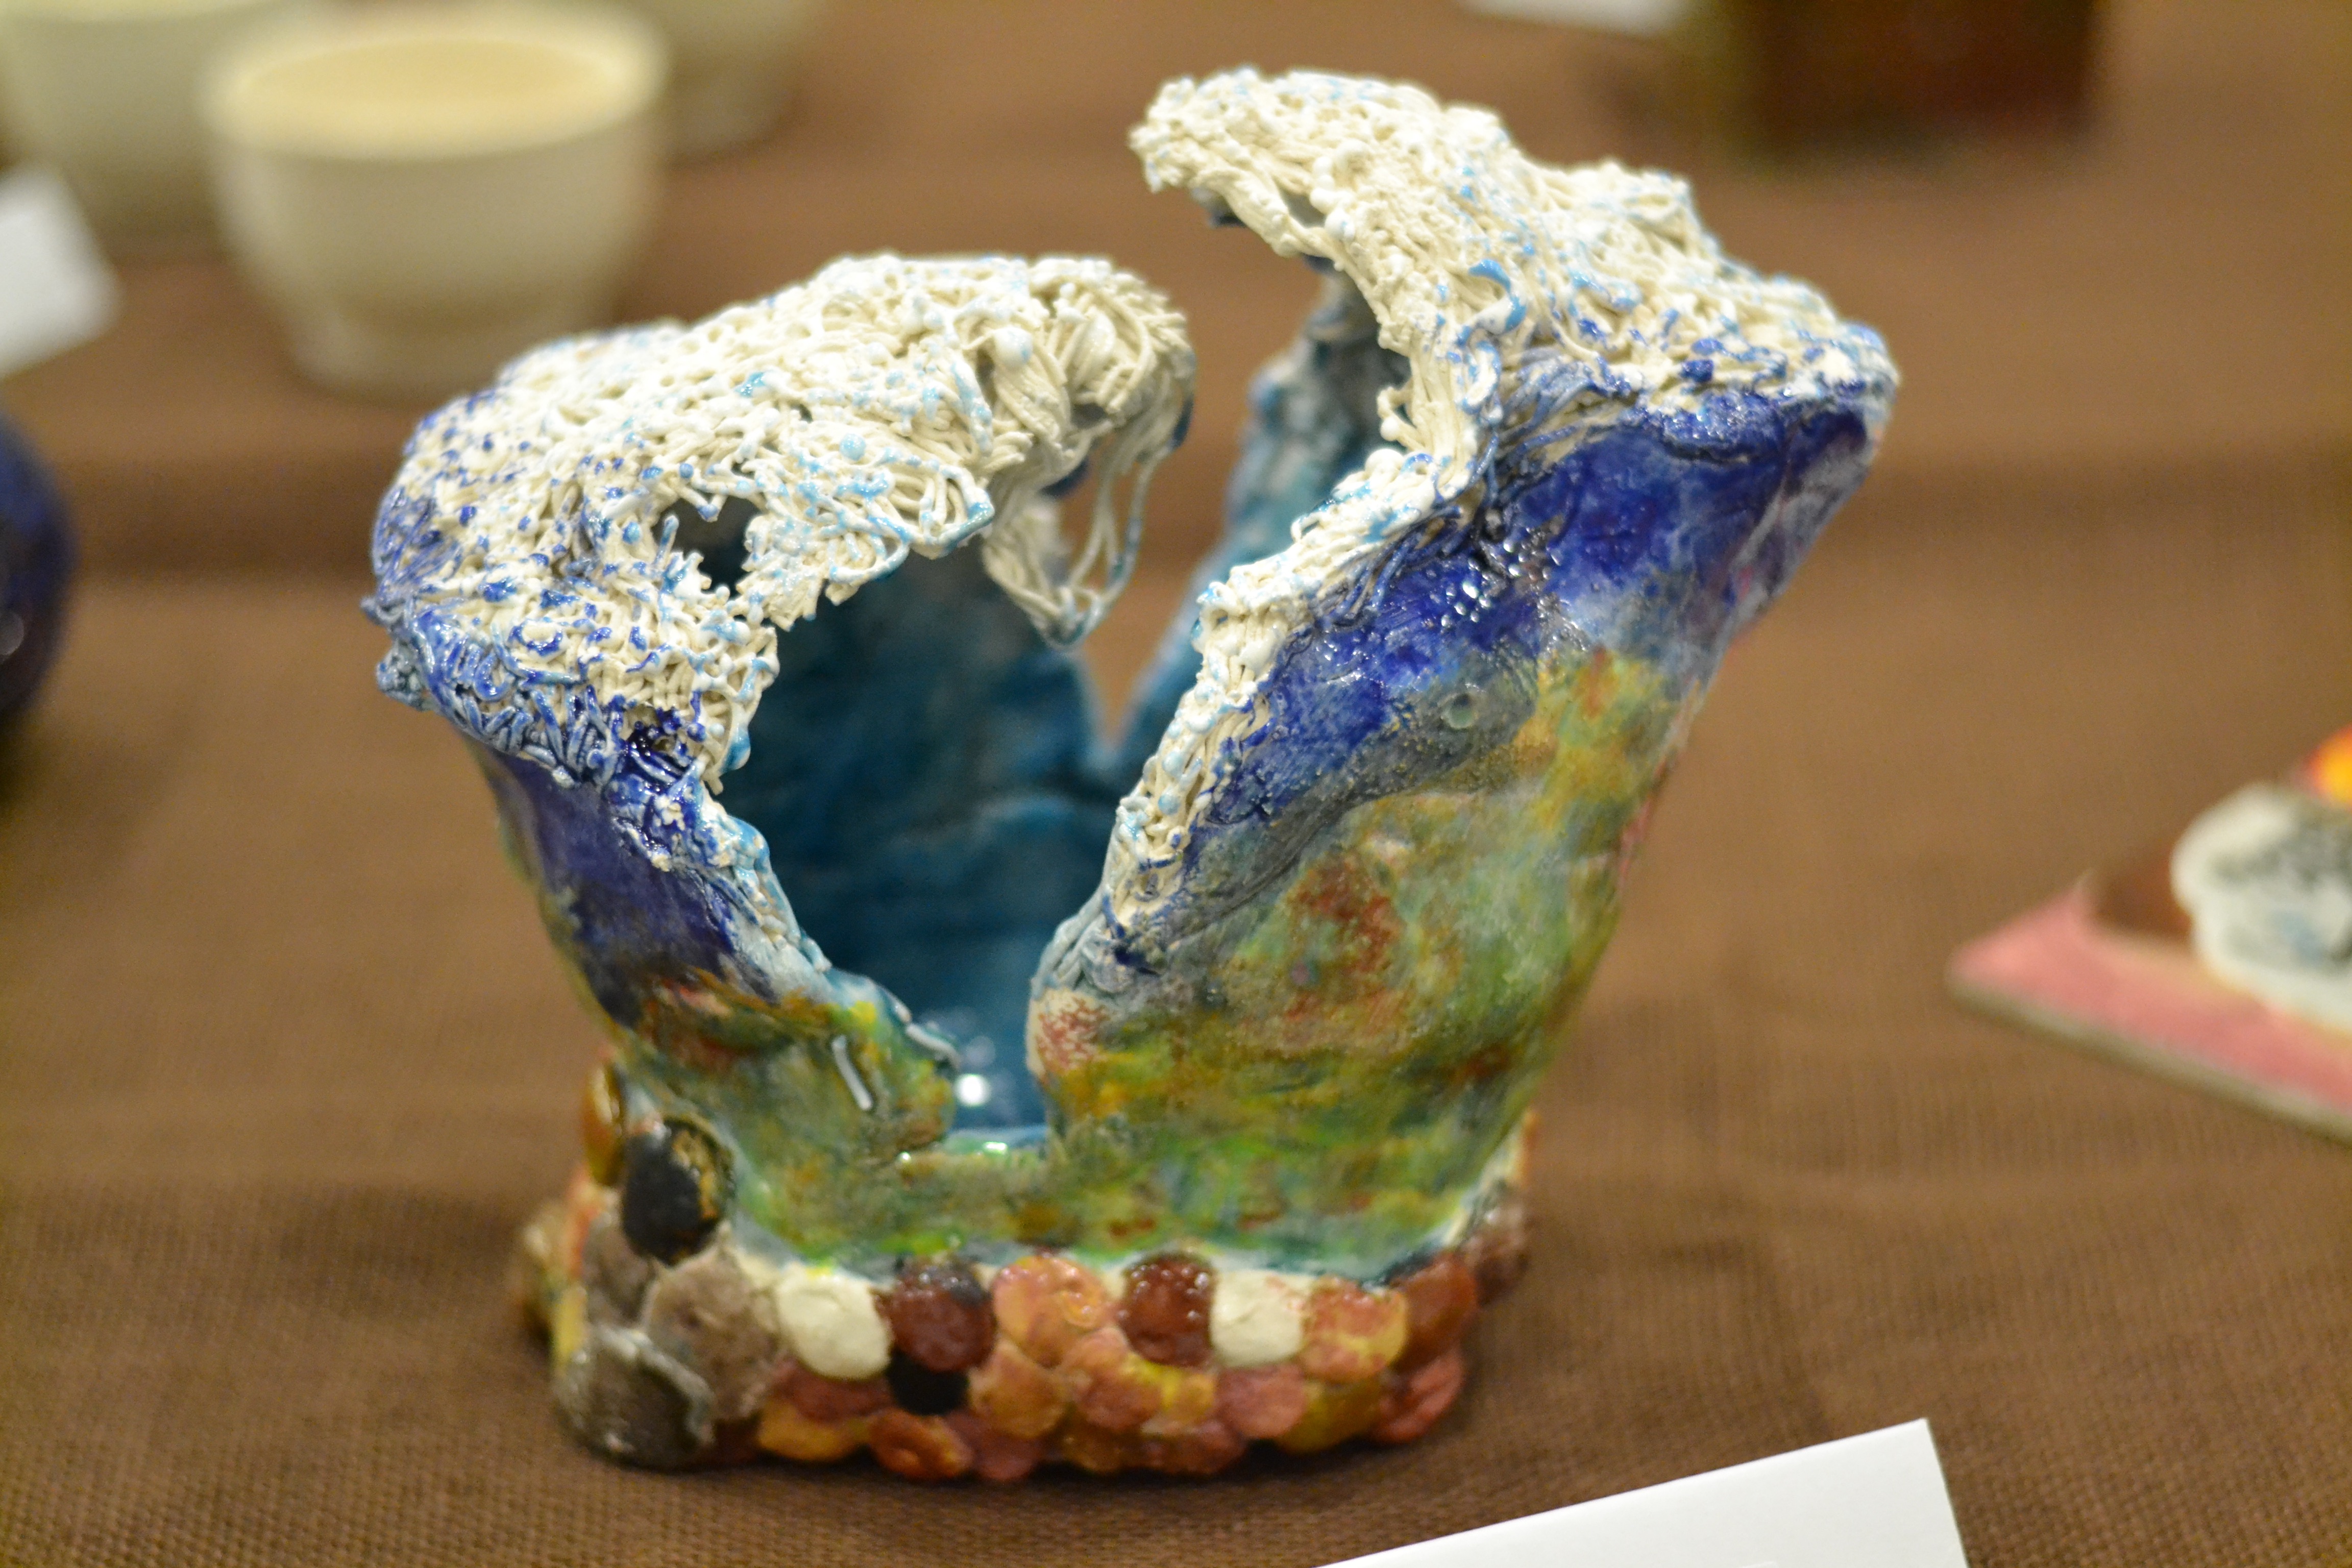
I couldn’t agree more. There are times when I go to conferences and see “award winning” art, or I scroll through Facebook looking at other high school programs and I feel a sense of insecurity. I begin to question if I am doing a disservice to my students by focusing on the process, on creativity, and on what they have to say over spending day in and day out just learning and practicing technical skills and realism. But then I pause and picture in my mind’s eye the work my students are producing. Some of my students are very skilled. Others still have ways to go on their journey. But their work is so expressive. It has life. You can tell they explored new things. You can see the energy in their marks. I think of their faces and conversations when they are in our classroom studios creating, and it fills me with joy. I watch them push themselves to be better than the day before.

It’s not that I don’t teach skill. It’s not that I don’t encourage practice to make better. I do those things. I just don’t preach that it’s the pinnacle of art making. I teach new skills for my students to have in their tool boxes. We practice technical skills every time we make in the art room. It’s just that I put the onus on my students to choose which technical skills they want to practice to get better at. There are so many mediums and techniques that I can’t teach them all, and I am not going to choose which ones are more important than others to focus on. I will let my students decide what is important to them. I let them guide me when it’s time to explore new mediums and techniques.

In the end, I am not saying that those classes that focus on technical skill are wrong. If that is what you want your focus to be, then that’s your prerogative. What I am saying is that I am proud of my students and the work they create. I am proud of my program. They are proud of their work and their growth! Personally, I would rather have my students make work that carries their feelings and emotions out to the world, than a bunch of pretty pictures that are technically well done.

TAB, Modified TAB, and Other TABby things

Standard

TAB is a huge buzzword these days. I see it thrown around in many Facebook groups. But what is TAB exactly? TAB is an acronym for Teaching for Artistic Behavior. It is a philosophy that has three core values. It asks “What do Artists do?” It believes the child is the artist. And, it believes the art room is her/his studio. It is these three ideas that drive a TAB teacher’s curriculum…how they run their studio.

That brings me to my next topic, Modified TAB. This isn’t really a thing. A teacher either believes in the philosophy or doesn’t. They don’t really pick and choose which of the values they want to believe. What confuses people is the misunderstanding that being a TAB teacher means you are balls to the wall full choice, all day long. Like I said…this is a misconception of the philosophy. When running a TAB studio, no matter the level, there is a spectrum of choice. The amount of choice a teacher will allow has several variables.

  • Campus/district expectations
    • Some teachers are expected to do x, y, and z. And most of us do like to be in compliance.
  • How “on board” a principal is with the change in the art program.
  • Bootcamp vs studio time
    • bootcamps are short amounts of time where the full class will explore a specific topic such as acrylic paints and color theory or copyright. Bootcamps should last a few days to a week tops. Studio time is where the students create their artwork.
  • Needs of the child
    • Each child is different in their learning styles and how comfortable they are with freedom. TAB is differentiation at its best.
  • Have to’s
    • There are certain things that teachers believe every student needs to know. This could be doing an attachment test to be able to use the sculpture center or biweekly drawing tests that have kids focus on the eye/brain/hand connection.
  • Teacher comfortability with giving up control.

Basically, a TAB teacher utilitizes varying degrees of choice throughout the year, for various reasons. But, they don’t utilize varying degrees of the philosophy.

Teaching in a “TAB-like” way isn’t a thing, but using varying levels of choice is. You can offer choice without being TAB, but you can’t be TAB without offering choice. You are a TAB teacher or you are not. There is not a formula as to how to run a TAB studio. There are as many ways to run the studio as there are TAB teachers. That’s the beauty of it. Believe the philosophy and do what works for you, your population, and your admin…as long as you have student Artistic autonomy as a goal for your students.

For more information about Teaching for Artistic Behavior, visit teachingforartisticbehavior.org

20171027_1535122129426906.jpg

A High School TAB studio with multiple mediums being worked on at the same time.

TAB and the Single Media Art Class

Standard

From time to time, I come across the question of how to run a class that has a single focus such as painting, printmaking, or ceramics following a TAB pedagogy.  It seems as if people think it isn’t possible to be fully TAB because the students don’t have 100% choice of everything.  I mean, the medium is already chosen for them.

DSC_0375.jpg

Well, I think it is possible, and I have been running my ceramic classes that way for the past couple of years.  It has evolved into the almost fully student-led class it is today, but there is always room for improvement.

As we know, TAB isn’t just about giving the students free reign over things. It’s about a way of thinking and about the process of going from conception through to end product and all the steps in between. So, since it isn’t about a product so to speak, that leaves room for lots of exploration, skill building, and concept growth.

DSC_0360.jpg

I have three levels of ceramics…beginning, intermediate, and advanced.  My program is small, so intermediate and advanced meet at the same time.  I think that is better anyway.  Our classes run for a full year.  I start off my beginners with a bunch of “have to” projects. Yes, I know, not very TAB, but I think this lays the ground work for moving to full student driven work.  We spend the first semester learning basic hand-building techniques: a slab box with rolled in texture, a carved pinchpot sphere, a carved tile, and a coil built vessel with some kind of additive texture.  We also spend some time on the wheel. The students do have some choice aesthetically, but in the end, I have picked the project for them and I know the outcome.

DSC_0372.jpg

Once we get passed that, we move to themes.  I came up with a bunch of themes and put them on the class’ website.  Under each theme, I asked some questions to help them begin thinking about how they could interpret the theme.  From there, they can pick a theme that speaks to them and begin the creative process.  They decide how to build.  They decide size.  They decide clay type (we have low-fire, mid-fire for the wheel, and porcelain).  They also decide their time schedule.  They work at their pace.  No longer is the class all together in the same place working on the same thing.  My intermediate and advanced classes work in the same way, but without the have-to projects at the beginning of the year.  We do start together with the same theme–just to get back into the flow and shake off the summer, but after that, they can move into their own groove.  If a student wants to repeat a theme, they can.  If a students doesn’t like any of the themes, they can come up with their own.  Once pieces are bisqued, they also get to choose surface treatments.  Not all students like to glaze, so I have tried to show and display many other non-glaze treatments.  This really gives a lot of variety to the pieces my students create.

DSC_0314.jpg

Another great thing about keeping the class student-led is that it really allows for mistakes and taking risks.  Students don’t have the looming deadline over them of a piece they may not even want to be doing.  If a piece blows up in the kiln because I rushed it or it falls apart because they didn’t score/slip properly, the kids have been okay with that. They move on to the next thing and figure out what went wrong so they don’t do it again.  If something they are building isn’t coming out right, they are more willing to fix it or take it apart and try again because they know their project isn’t being graded and that I am instead looking at their artistic process, habits, and growth.

As for assessment, I do follow the same thing I do for all of my classes.  Each student has a blog and has to write about artistic behaviors every other week to let me know what they are doing and how they are progressing and thinking like artists.  However, for the past 6 or so weeks, we have been playing with a combination blendspace and the blog.


As my class evolves, I am working on changing up the ceramic reader I have created to be more helpful to the students.  I am also going to implement what I plan on calling “Technique Tuesday”.  I have created a list of things I think the students should know how to do and what they are, such as press molds, sprigs, 2 part molds, different tools, glazing techniques, etc.

imag5890.jpg

I really enjoy running my ceramic classes under the TAB pedagogy.  My students have really began to flourish.  I can see them applying the techniques they have learned.  They are creating pieces that are important to them.  It allows them to be always working and not waiting on classmates to finish in order to move on.  It allows them to stop a project for a while and come back to it later.  One of my intermediate students, Julia, is working on a willow tree.  She has been all year.  But, she also has worked on other pieces when she tires of it.  She comes back to it with more interest each time.  It is a fabulous piece. Another student, Frank, has been able to work in a more “make it up as I go” type fashion…which is where his work flourishes and becomes fabulous.  Having “projects” wouldn’t work for him.  A beginning student, Braeden, has completely blown me away this year because the TAB atmosphere has allowed him to follow his path.  He has learned how to make his own clay, how to create his own wood ash glaze, and he is close to surpassing me on the wheel.  If I made him to projects, he wouldn’t have realized that working in ceramics is what he wants to do with his life after high school.DSC_0383.jpg

I am writing about my experience, but I think this can be done in any single-medium class. It’s all about giving them the reins to drive what interests them.  They will learn the process as they go along.  It’s about learning through exploration.  Because it is single-media, they really get to know the ins and outs; therefore, since so much time isn’t spent learning multiple mediums, they can really focus more on message, process, and content. Which, in my opinion, leads to higher quality work.

Tired of Traditional Wedging?

Standard

I hate wedging.  There I said it.  My name is Jean, and I hate wedging.  I have no upper body strength.  I don’t have a wedging table that is the correct height for me.  And I don’t like spending my spare time wedging.  Earlier this year one of my ceramic students came upon this video that showed him how to “Slam and Stack Wire Wedge”.  He said it would be easier for me, but of course, I didn’t believe him.  And, well, it seemed like a lot of work…I would have to have him teach me and set up a make shift wire cutting station.  I was very busy. (Yeah, I wasn’t busy, I was just lazy and wanted him to do all the grunt work for me.)

I finally told him that if he would make a tutorial video for me, I would watch it over the summer and use it next year.  He said okay.  Then, about a week ago, a video appeared on a Facebook group, Clay Buddies, showing exactly what my student had been talking about. The method looked easy enough, so I thought I would try it out.

So, I had my student take some our reclaim and spread it out onto our plaster wedging table to dry out some.  We left it overnight, and the next morning, he set up the make-shift wire cutting station for me.

Game on.  We cut the clay into 4 “smaller” sections, so it was easier to work with.  I took 2 pieces and slammed them together 4 times, flipping over each time.  Next I cut the “new” piece in half with the wire cutter.  Then I put the 2 pieces on top of each other and slammed again 4 times, flipping over each time.  Wash, rinse, repeat for 30 times.

The result?  My clay is wedged.  My students can get back to hand-building.  My arms aren’t so tired.  I am a little sweaty, but I did get a lot of frustration out with all that clay slamming.  And, it saved me so much time.  I call this a win.

imag5985.jpg

The clay after 30 stacks and slams. You can see it is uniform and ready to be used.

Does this mean I don’t have to wedge traditionally anymore?  Yes.  Of course I will wedge my clay before I throw, and of course my students will wedge before they throw.  But, that will be smaller quantities. This is good for all that clay I have in my reclaim buckets.  Now I have 2 methods to help me with all that “old” and reclaimed clay I have just cluttering up my classroom and kiln room.  (Other method for larger blocks of clay.)

Here is the “Stack and Slam Wire Wedging with Michael Wendt” video: